
| Technique | At-home gel manicure |
| Difficulty | Beginner to intermediate |
| Time | 45 to 60 minutes |
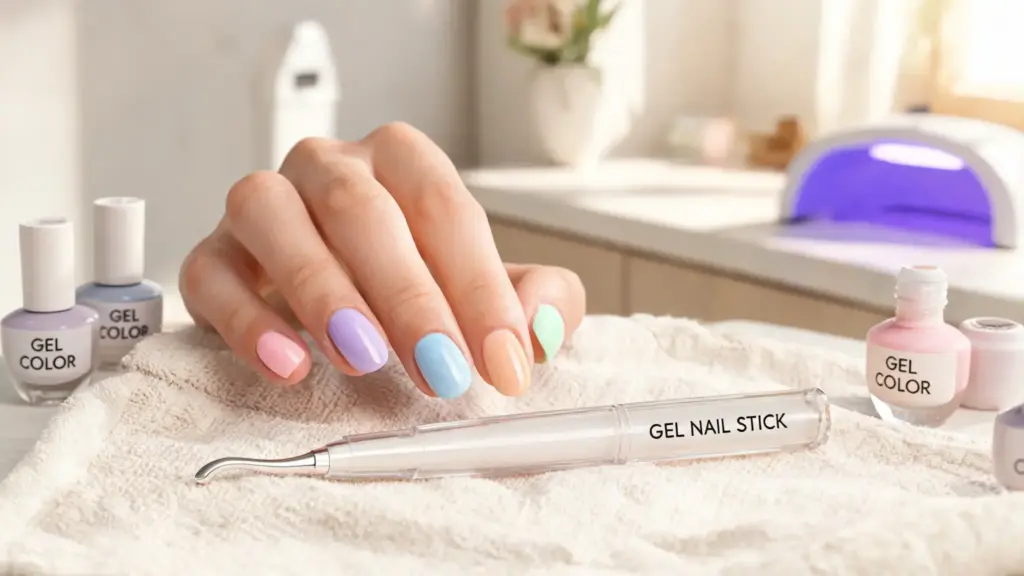
| Key Tools | Cuticle remover, orange wood stick, 180 grit file, LED/UV lamp, gel base, colour, and top coat |
| Pain Level | None if done correctly |
| Aftercare | Daily cuticle oil, gloves for cleaning, avoid using nails as tools |
Most gel manicures fail at home for one reason. The nail was never actually prepped for the gel to hold onto. I’ve tested this process enough times to know that chipping, lifting, and dull shine almost always trace back to the first two or three steps, not the polish itself.
Once you get the prep right, the actual application becomes far less finicky than people expect. Below is the exact order I use, along with the small adjustments that make the biggest
Achieving Salon-Quality Gel Nails at Home
Getting salon-level results with gel nails at home is less about expensive kits and more about precision, patience, and correct technique. Most at-home failures don’t come from the products themselves, but from rushed prep work, uneven application, or overly thick layers that prevent proper curing.
From my experience working with nail application techniques and refining at-home setups, I’ve learned that consistency, taken in small steps, makes the biggest difference in the final results.
When you follow a structured process, proper prep, controlled base application, thin color layering, correct curing, and careful sealing, you create a foundation for long-lasting, glossy nails.
Each stage plays a role in how smooth and durable the final finish looks. This section breaks down every step so you don’t just follow instructions blindly, but actually understand why each part matters for achieving professional-looking gel nails at home.
Each stage builds on the previous one, so skipping even a small step can affect shine, durability, and overall finish quality significantly over time.
How to Do Gel Nails at Home Step-By-Step Manicure
Achieving salon-quality nails at home starts with understanding the right process rather than rushing through the steps. A gel manicure isn’t just about applying polish; it’s about proper prep, controlled layering, curing, and sealing to ensure long-lasting shine and durability.
This step-by-step gel manicure at home guide walks you through the complete process so you can avoid common mistakes and build a clean, long-lasting finish with confidence.
Step 1: Cuticle Preparation (Most Important Step)
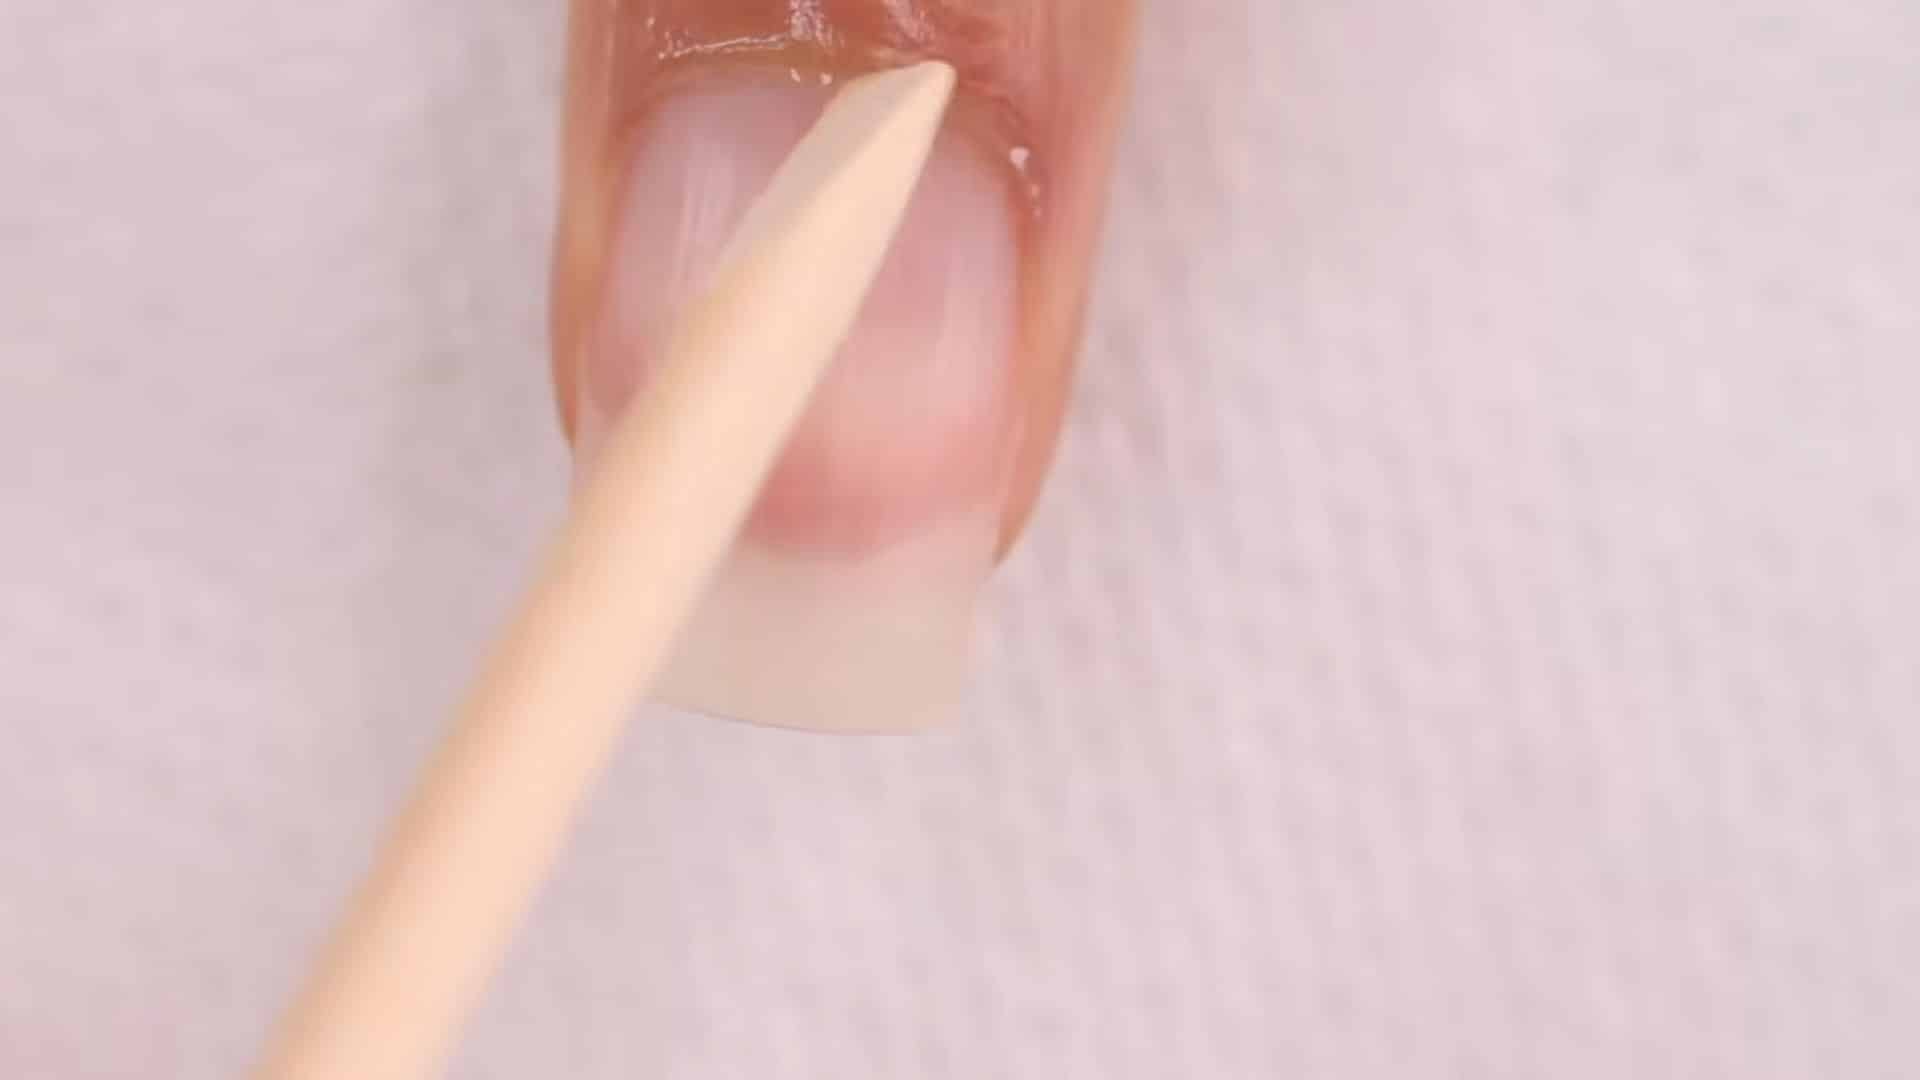
Cuticle preparation is the foundation of a long-lasting gel manicure because it ensures the nail plate is clean and free from excess skin that can cause lifting.
Apply a cuticle remover evenly around each nail, then gently push back the cuticles with an orange wood stick in soft, controlled movements. Avoid any forceful scraping or pressure that can damage the skin or cause irritation. This step creates a clean working surface and significantly improves product adhesion.
Tip: Fully soften cuticles with remover for 30–60 seconds before pushing them back. This reduces resistance, prevents tearing, and ensures cleaner nail edges for stronger gel bonding.
Step 2: Wash and Clean Nails
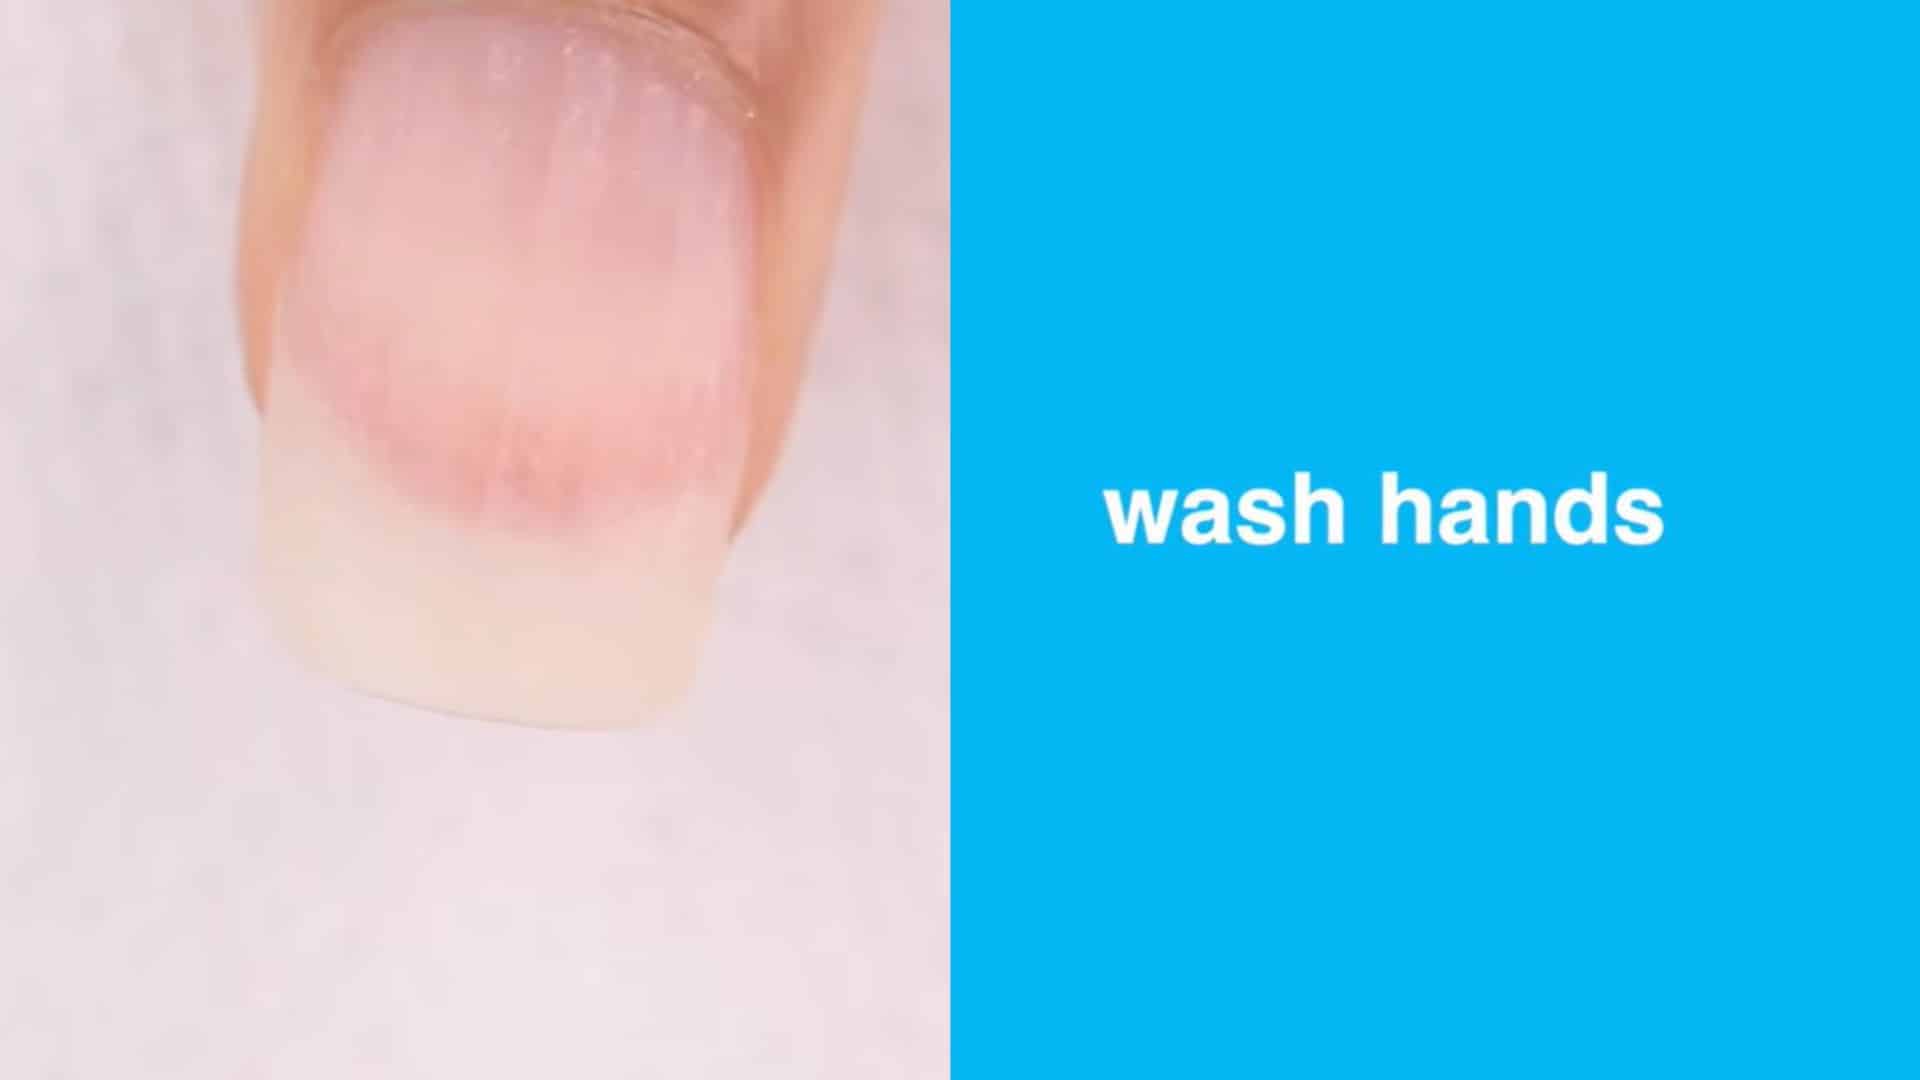
After cuticle work, it is important to wash your hands thoroughly to remove any leftover cuticle remover and debris from the nail area. Clean nails ensure that no residue interferes with gel adhesion in the next steps.
Once washed, dry your hands completely before proceeding to avoid trapping moisture under the gel layers. This step also helps reset the nail surface for better preparation before buffing.
Tip: Use mild soap and ensure nails are fully dry for at least 1–2 minutes so no hidden moisture weakens gel adhesion.
Step 3: Remove Natural Shine (Buffing)
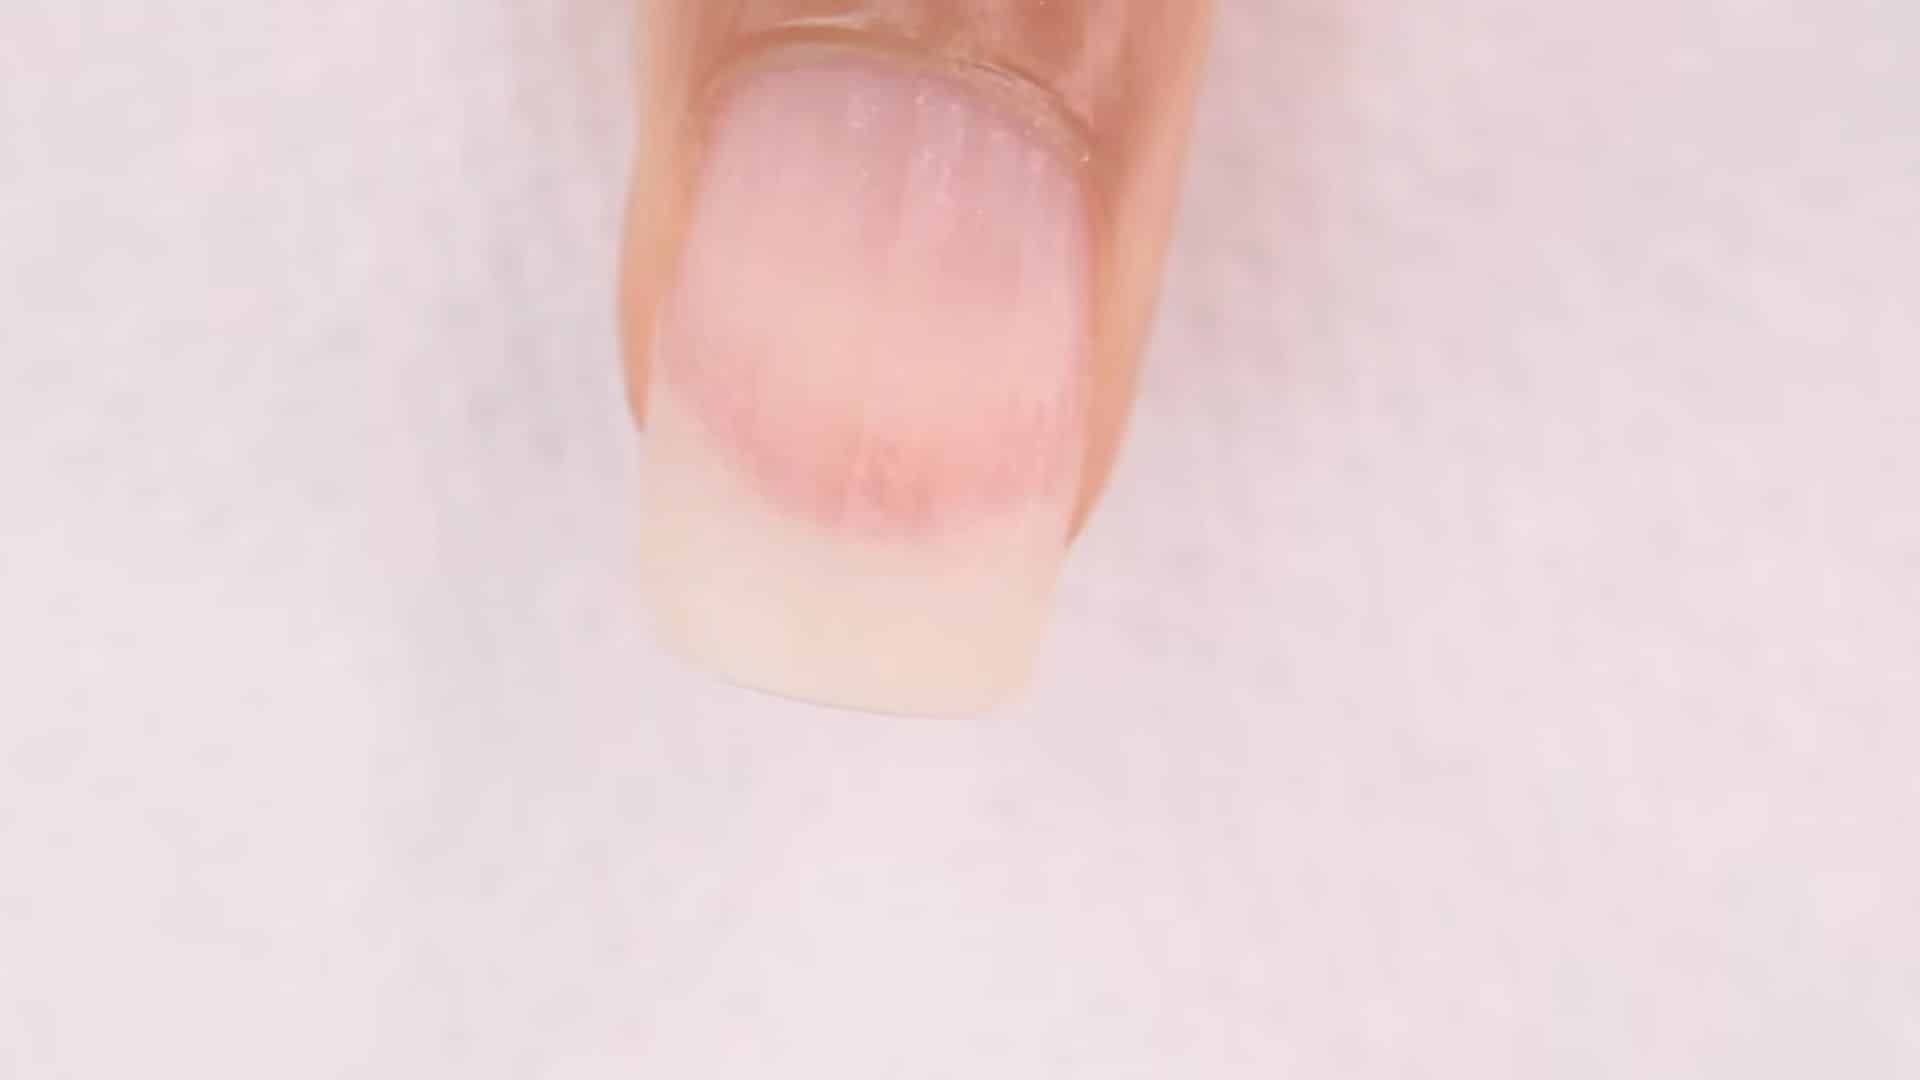
Buffing removes the natural shine from the nail surface and helps the gel polish grip better during application. Use a 180-grit nail file and gently move in circular motions across the entire nail plate, including edges and sides.
The goal is not to thin the nail but to create a slightly textured surface for better adhesion. Over-buffing should be avoided as it can weaken the nail structure.
Tip: Focus only on removing shine, not layers of nail. Stop immediately once the glossy surface turns matte to avoid thinning nails.
Step 4: Shape the Nails
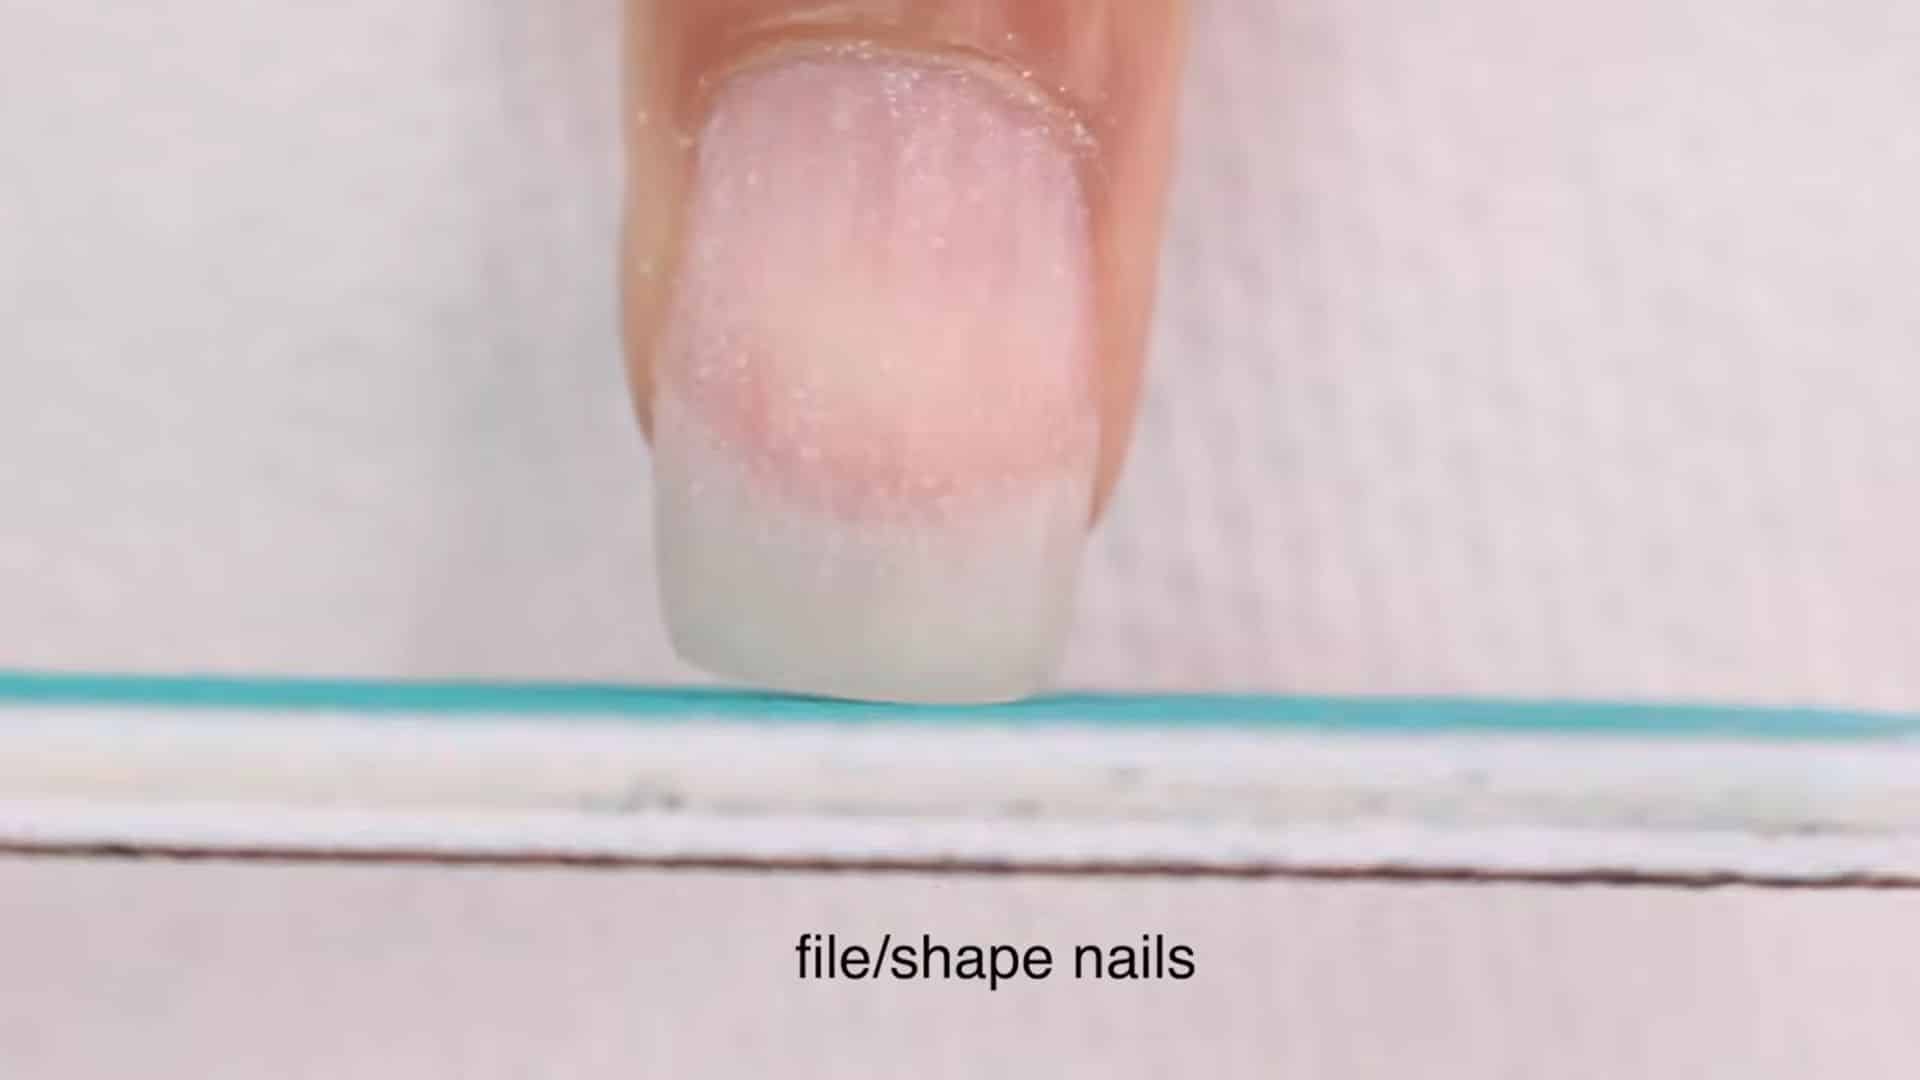
Once buffed, shape your nails into your desired style, such as square, round, or almond. Even if nails are pre-shaped, lightly refine the free edge to ensure smoothness and symmetry across all fingers.
Consistent shaping enhances the final look of the manicure and helps gel polish apply more evenly. This step also reduces rough edges that can cause snagging or uneven coating.
Tip: File in one direction rather than back and forth to avoid splitting and ensure a smoother, salon-level nail edge finish.
Step 5: Apply Gel Base Coat
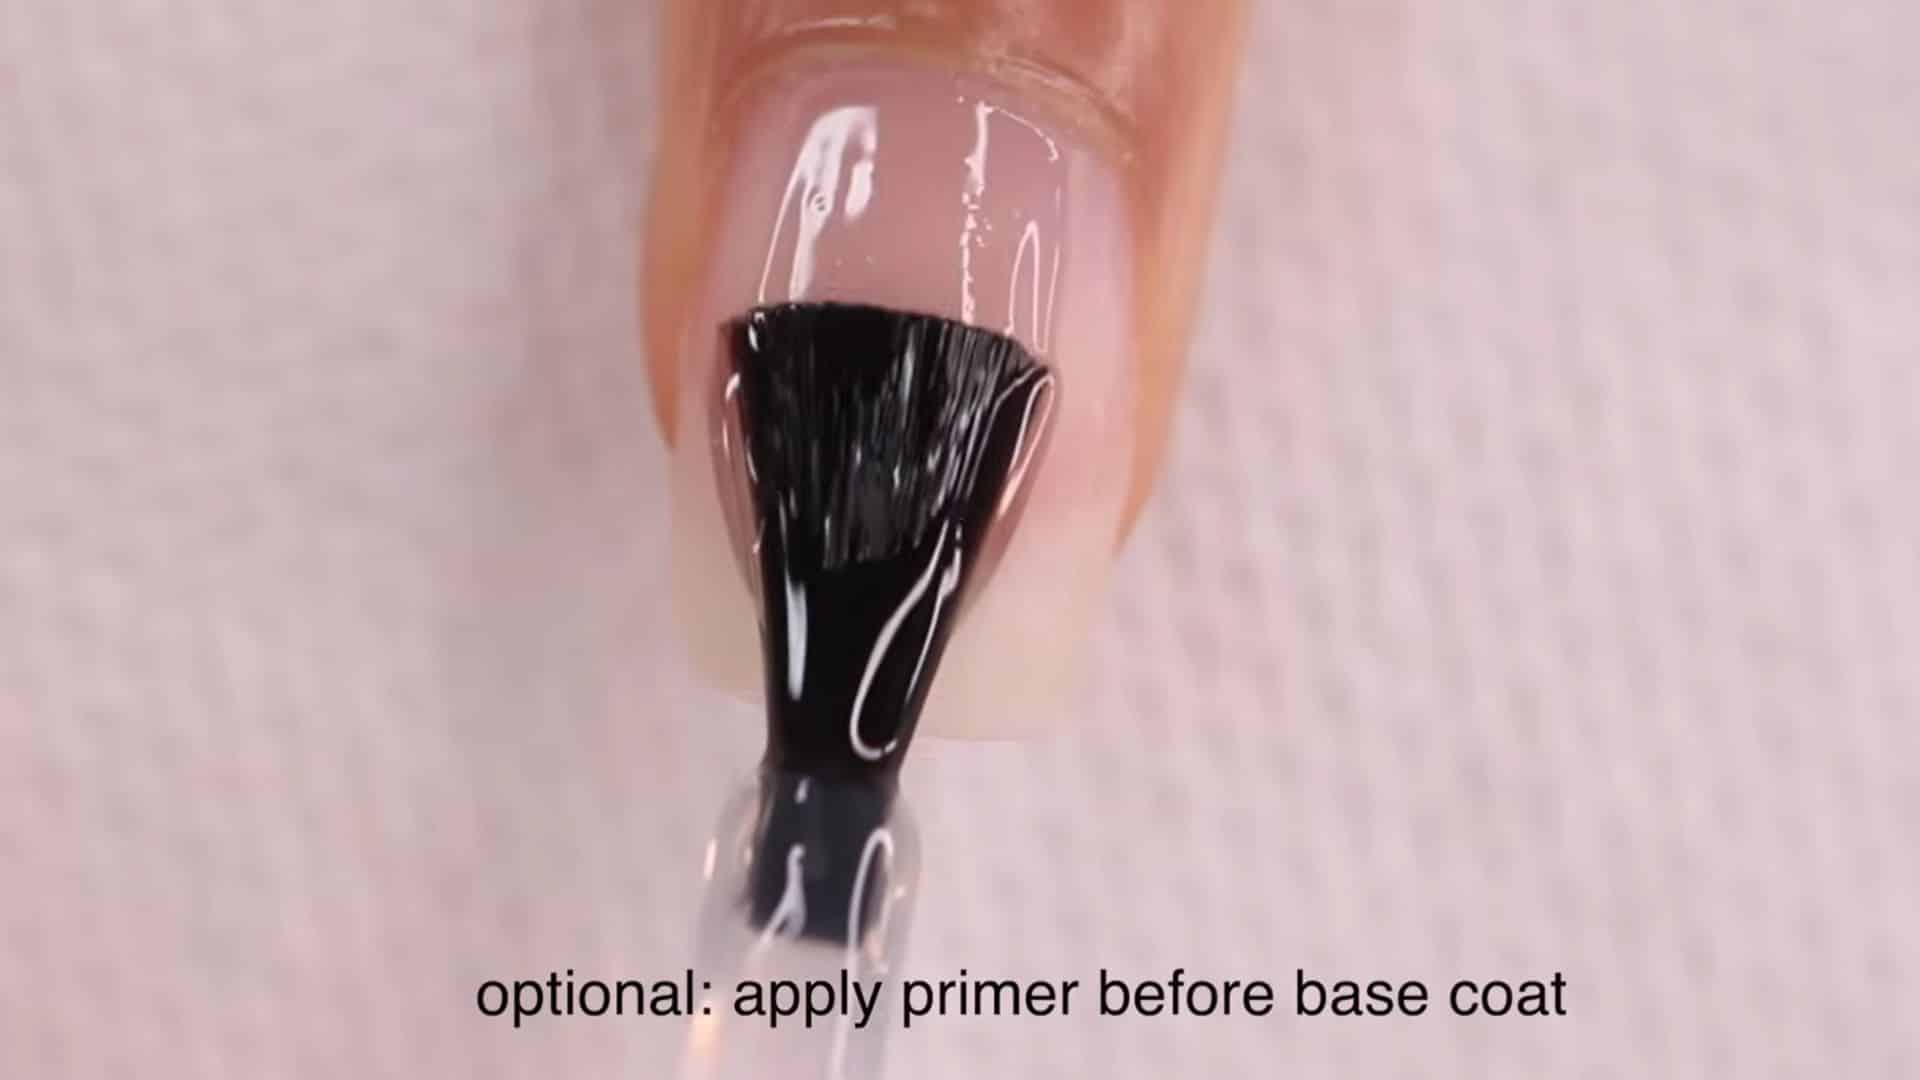
The base coat is what actually bonds the polish to your natural nail. Keep it thin and away from the skin and cuticles, then cure under an LED or UV lamp for about 30 seconds.
If you’re deciding between gel systems for this stage, it helps to understand the difference between builder and hard gel before you commit to a full set.
Tip: Apply a very thin coat and avoid flooding cuticles, as thick base layers often cause lifting and uneven curing.
Step 6: Apply First Gel Color Coat
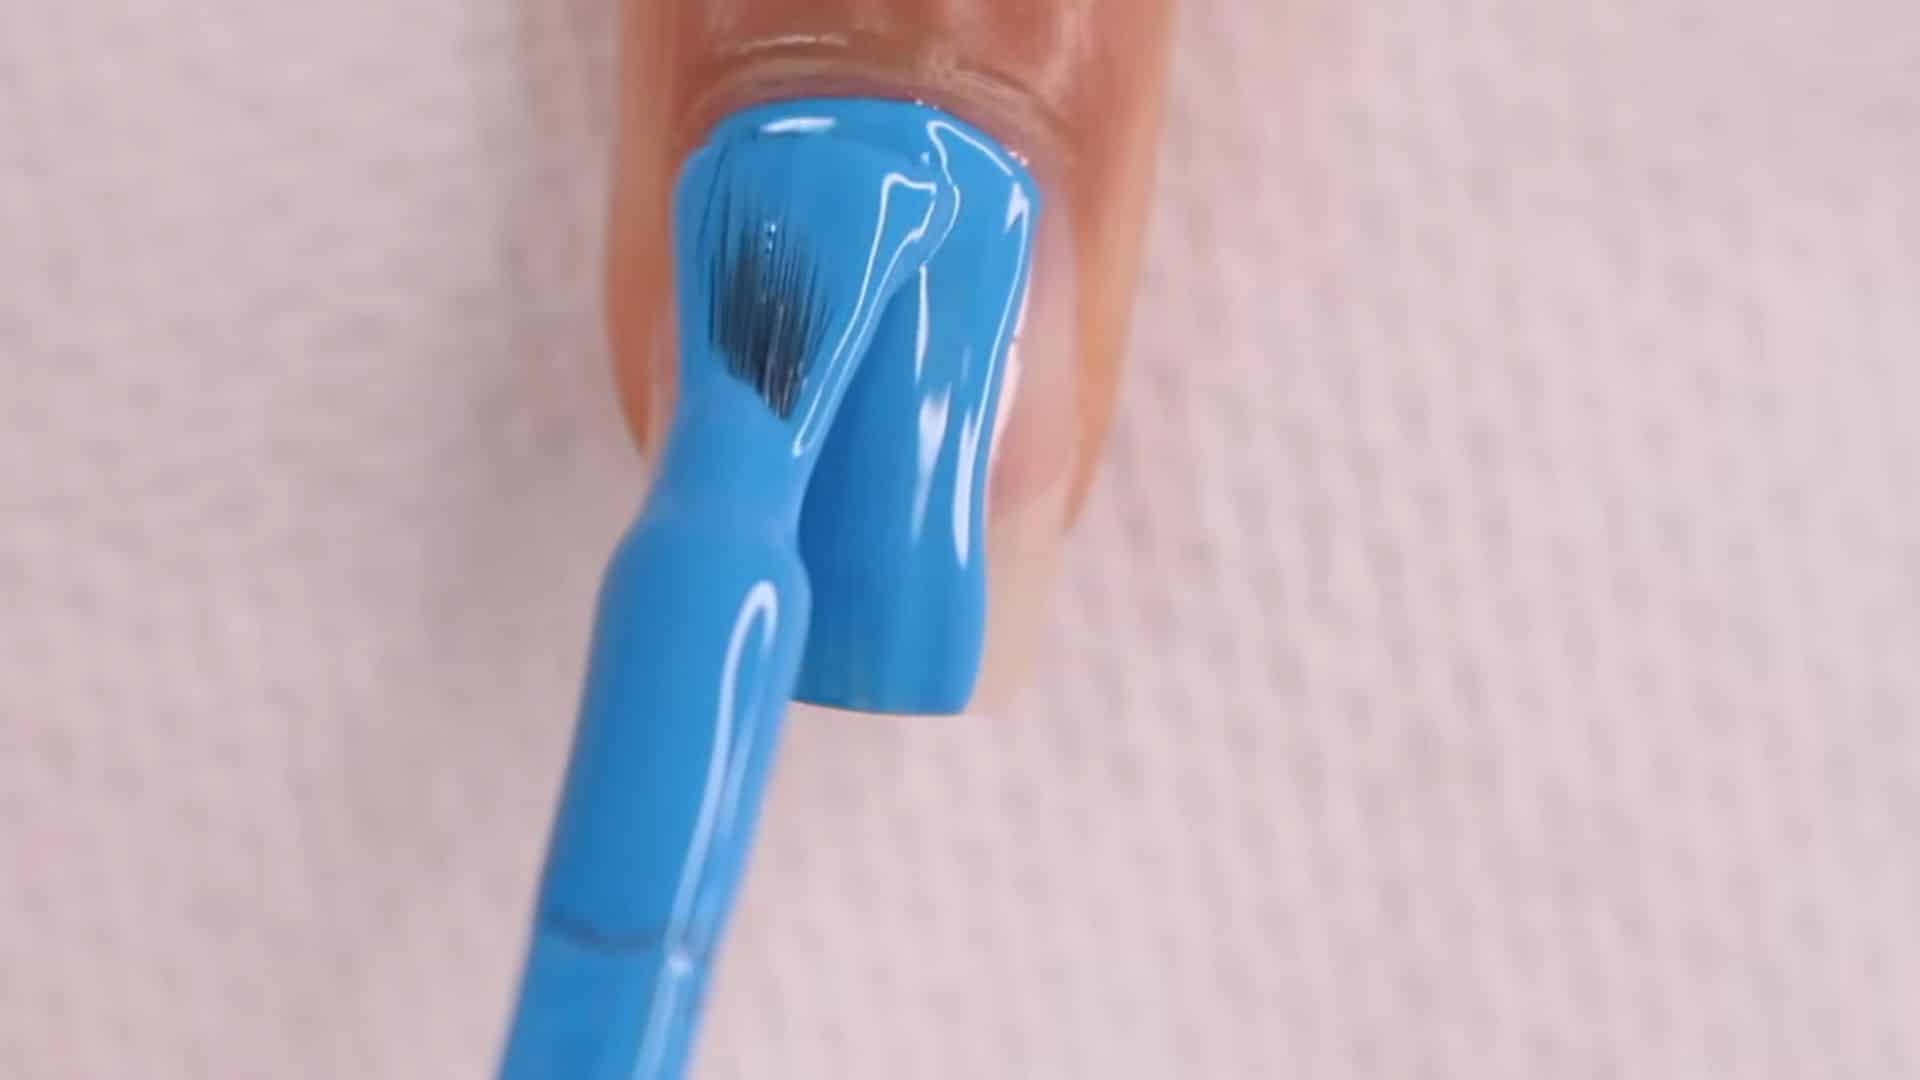
Begin the color application by placing a small dot of gel polish near the center of the nail and gently guiding it toward the cuticle before spreading it evenly.
This technique helps control product flow and avoids flooding the skin. Apply a thin, smooth layer across the nail for even coverage and a clean finish.
Tip: Load less product on the brush and build slowly; this prevents streaks, bubbling, and messy cuticle edges.
Step 7: Cure First Color Layer
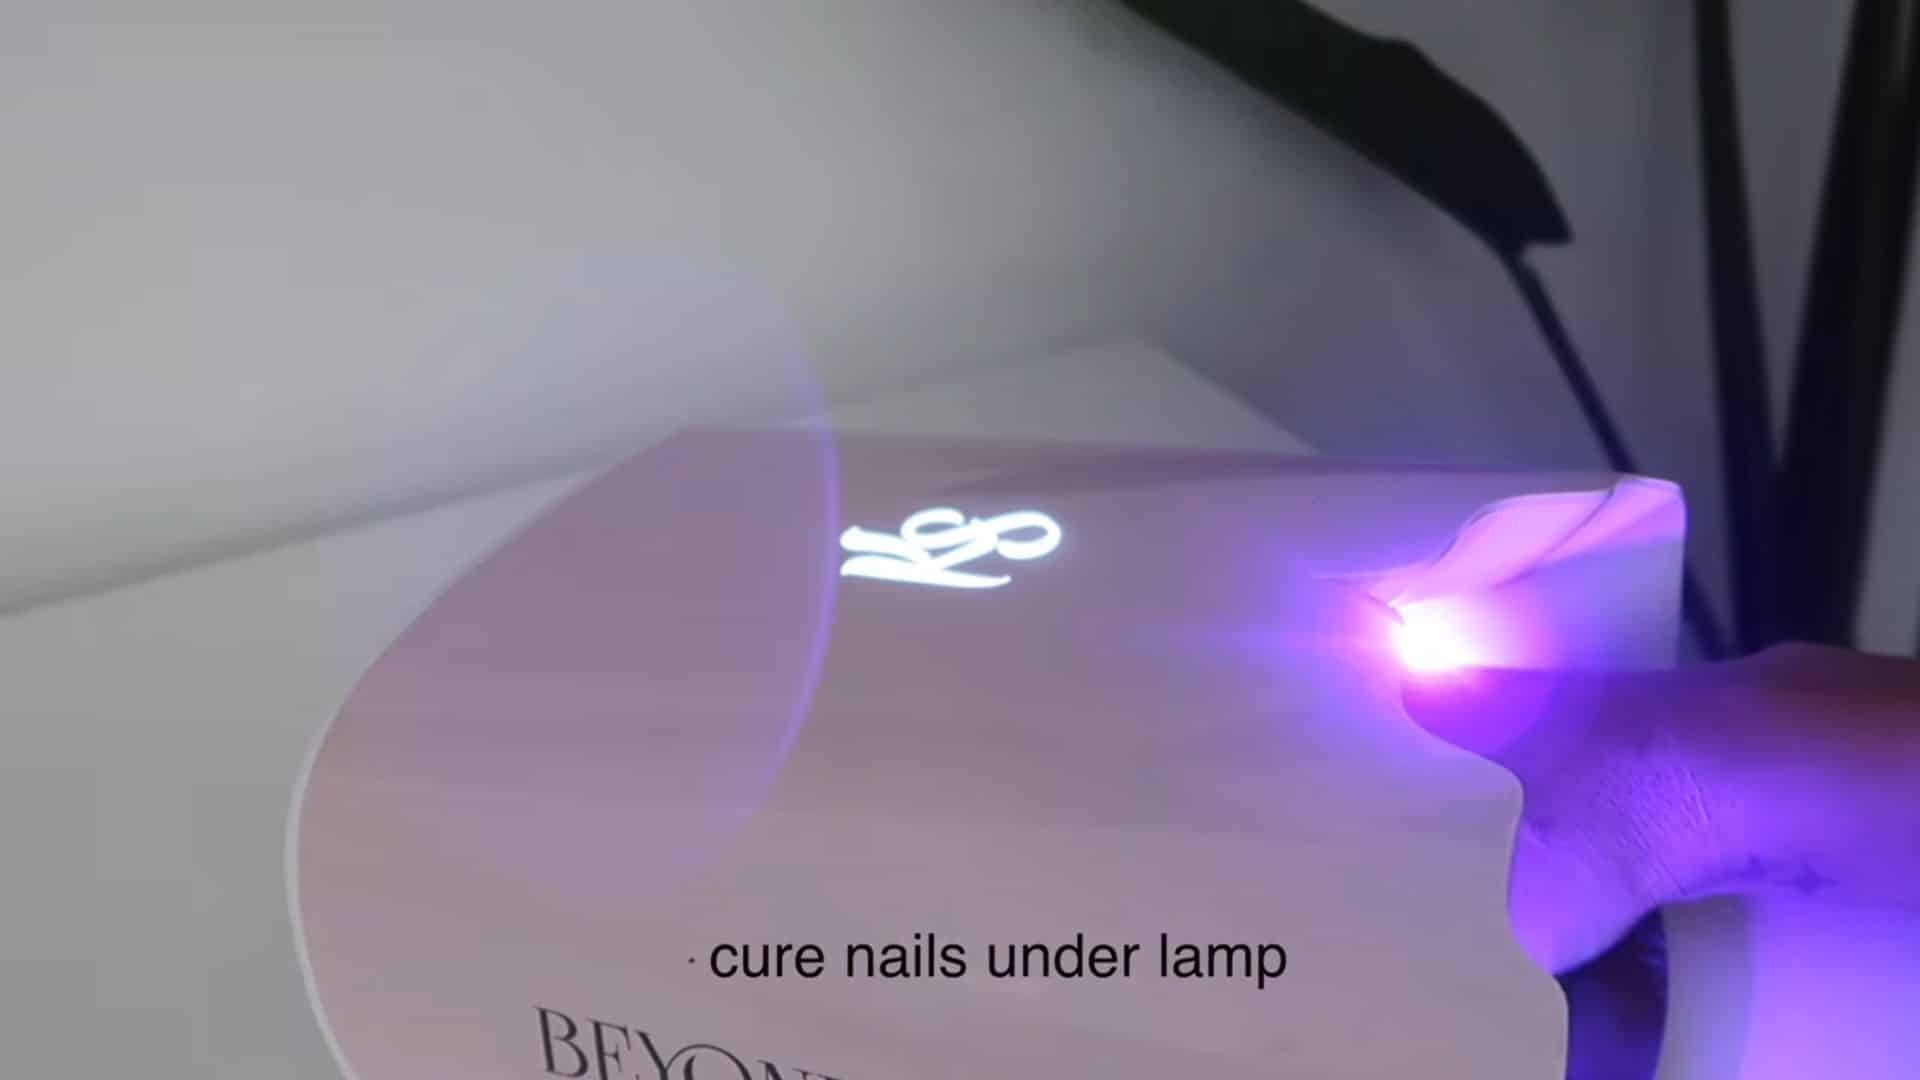
Once the first coat is applied, place your nails under the UV or LED lamp to cure fully. Gel polish does not air-dry, so proper curing is essential for durability and shine.
Keep your hands steady during the process to ensure even hardening. This step locks the color layer in place before adding more coats.
Tip: Keep fingers flat and unmoving under the lamp so light hits evenly, preventing soft spots or under-cured areas.
Step 8: Apply Second Color Coat (with Tip Sealing)
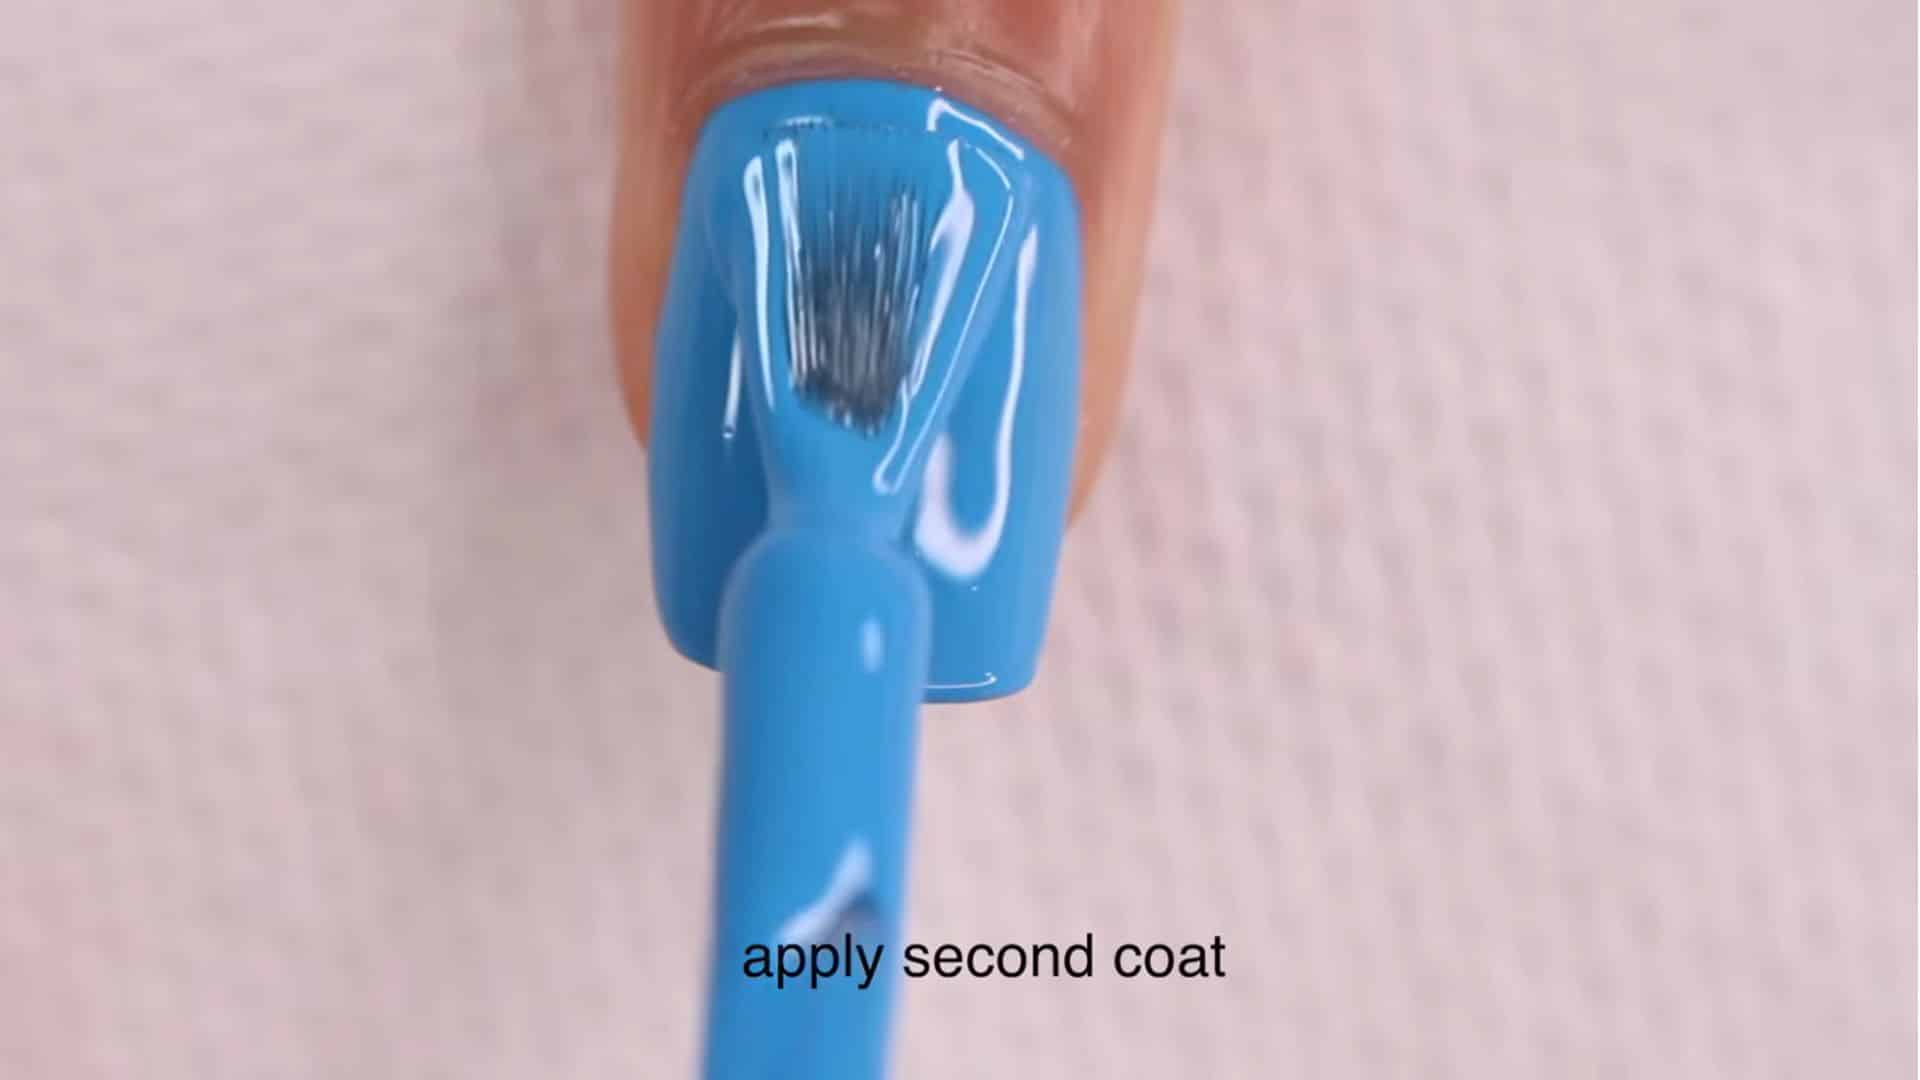
Apply a second thin coat of gel polish to build opacity and depth of color. During this step, seal the free edge by gently running the brush along the tip of the nail to prevent chipping.
Maintain smooth, even strokes and avoid thick layers to improve curing and achieve a polished finish.
Tip: Always cap the free edge carefully, as this prevents early chipping caused by daily hand movement and water exposure.
Step 9: Cure Second Coat
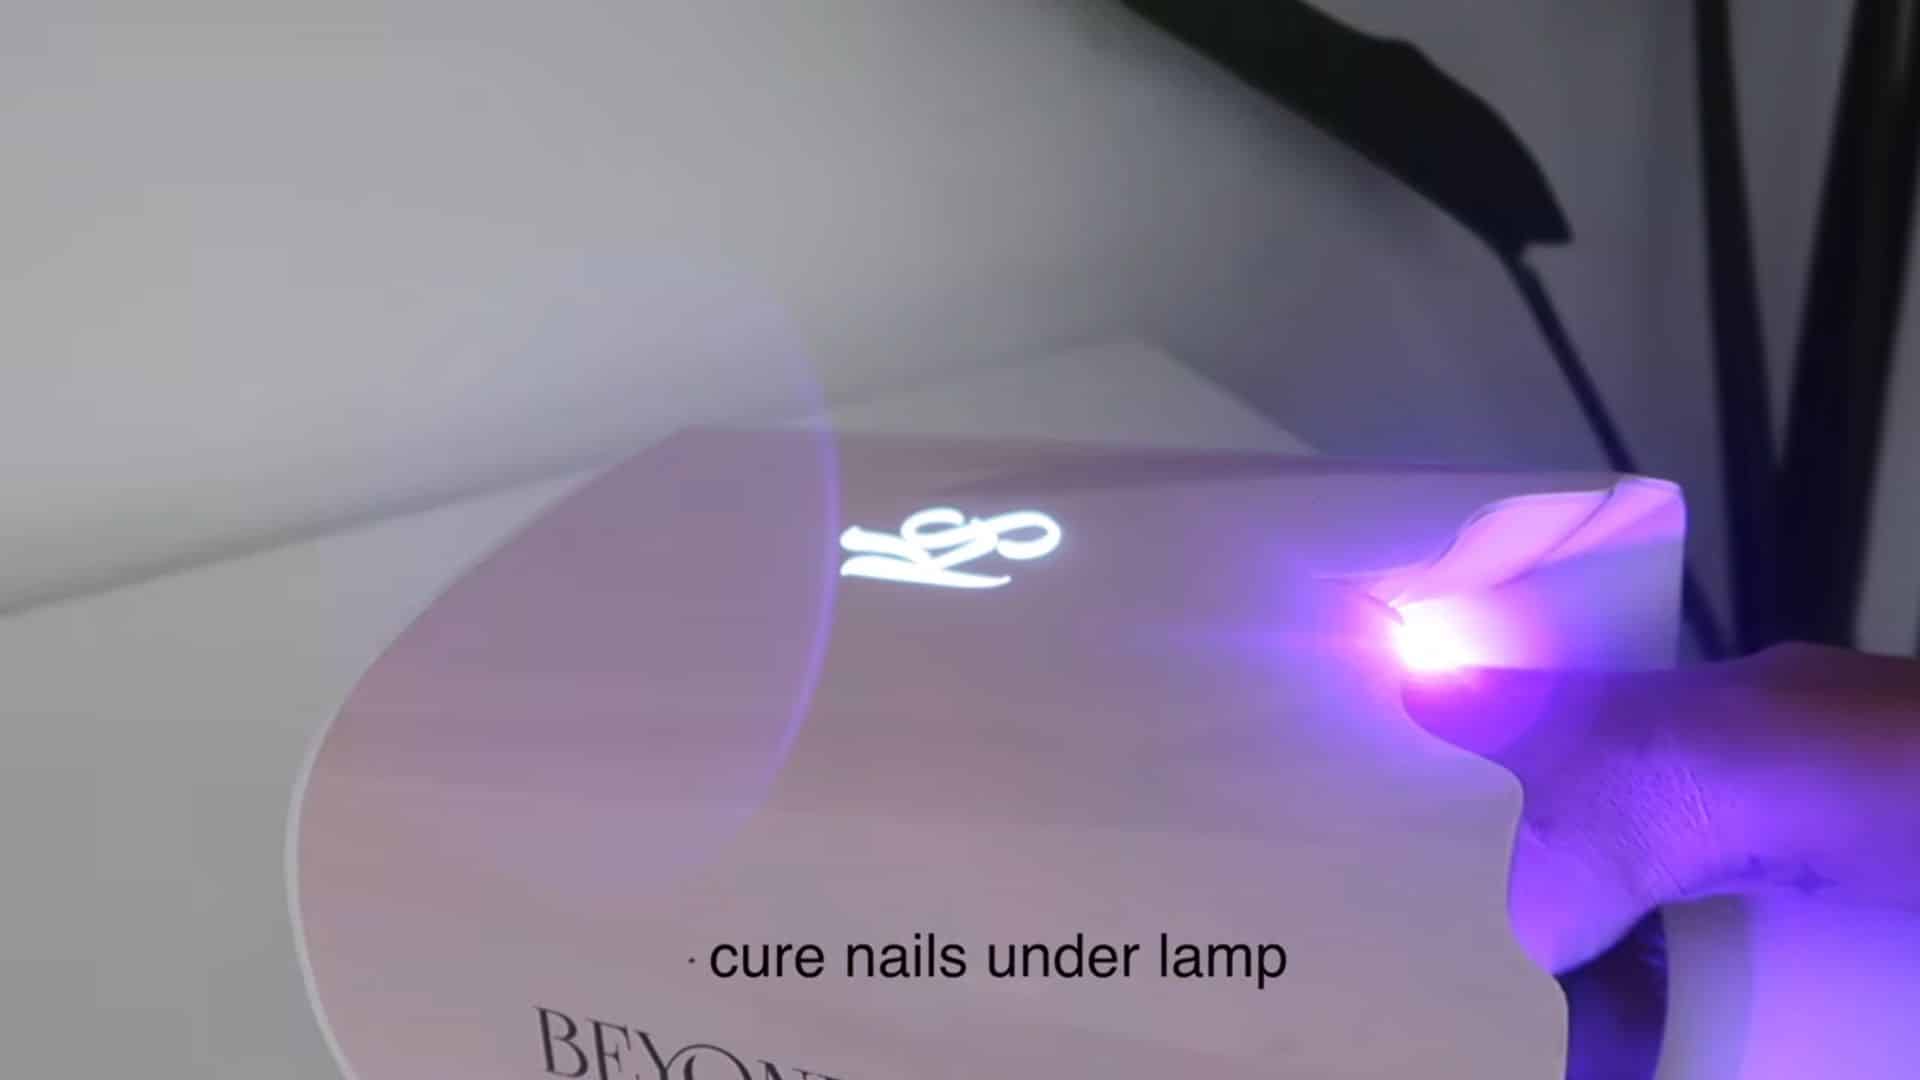
After applying the second coat, cure the nails again under the lamp for the full recommended time. Depending on the opacity of your polish, you may need an additional thin layer, but each layer must be cured separately.
Proper curing ensures a strong, long-lasting finish and prevents soft spots.
Tip: Never stack thick coats of multiple thin layers with full curing to create stronger adhesion and a smoother finish.
Step 10: Apply Gel Top Coat
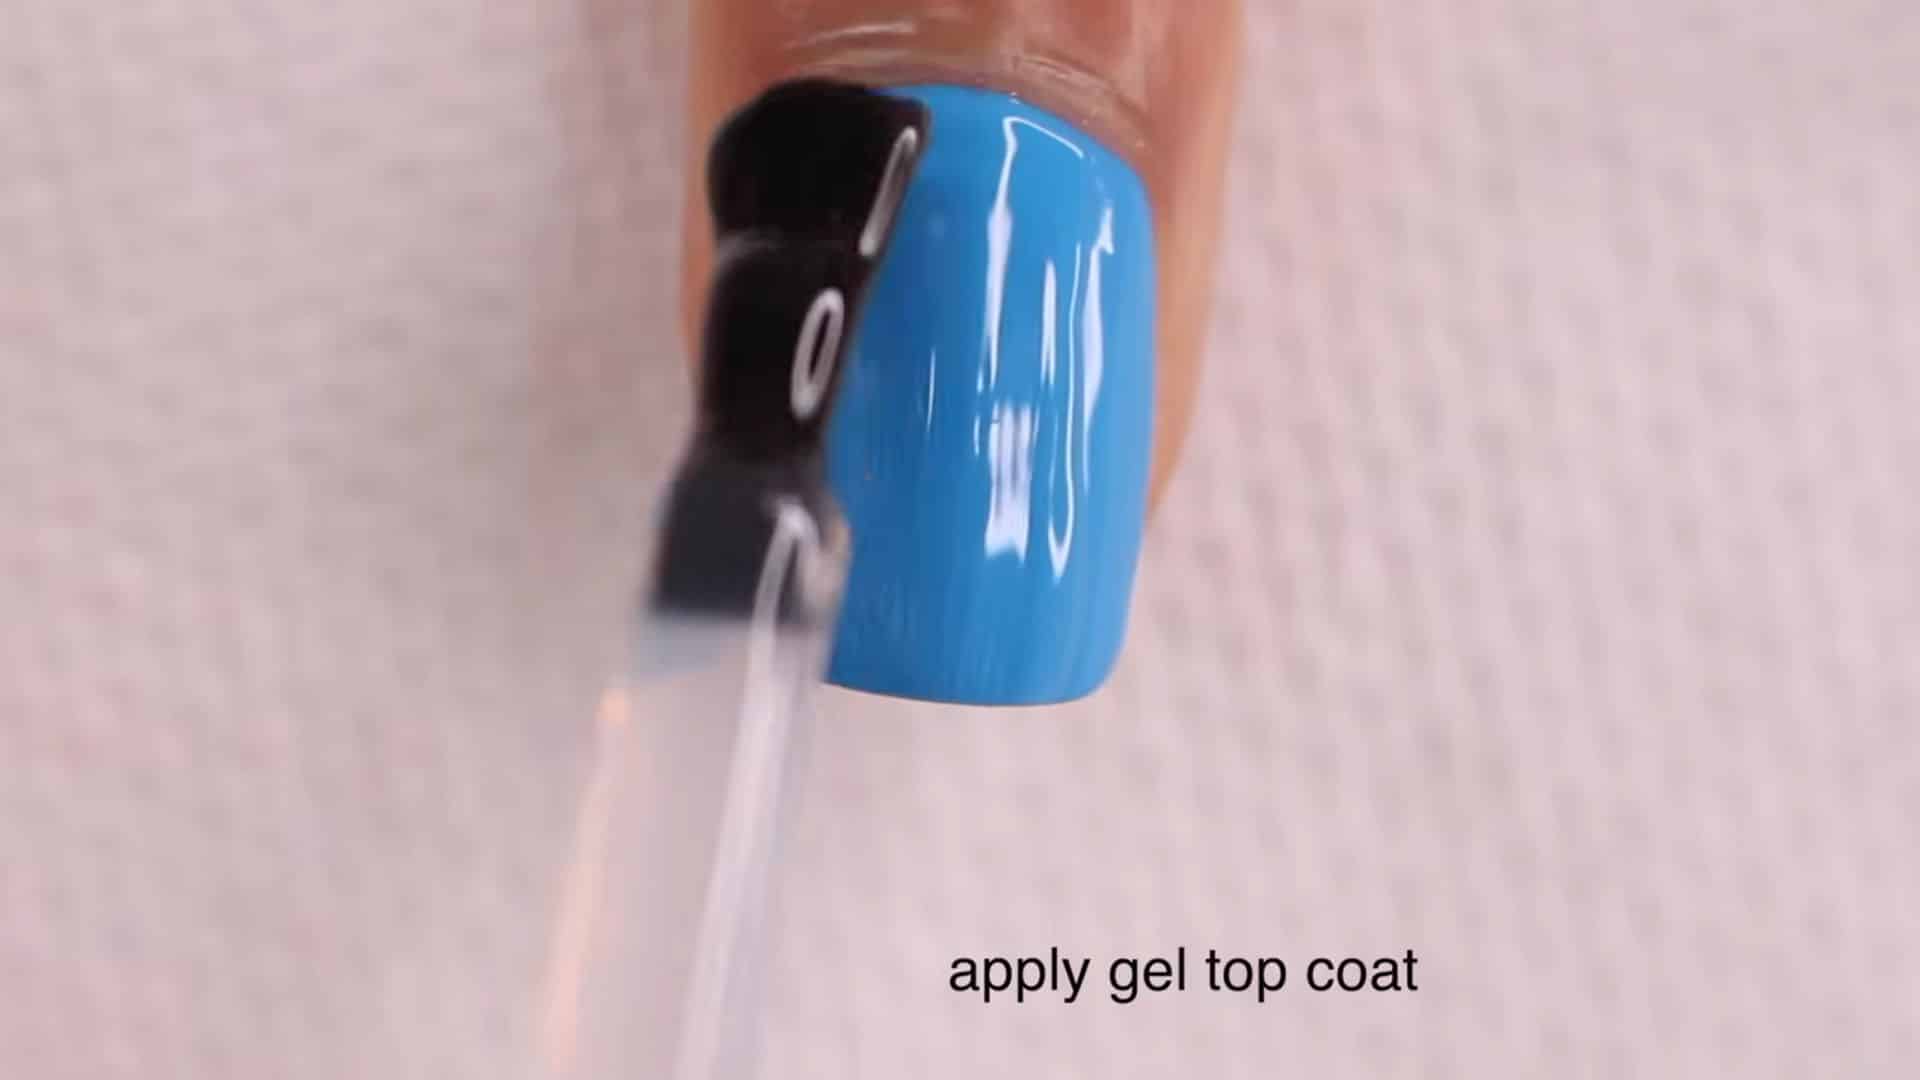
The top coat seals everything underneath and decides whether you end up glossy or matte. Apply it evenly and cap the edges one more time. This is also where a lot of design options open up. If you want more than a plain colour, blooming gel nail designs are worth trying once your base technique is solid.
Tip: Choose a high-quality top coat and apply it evenly; uneven application can reduce shine and shorten the manicure’s lifespan.
Step 11: Final Cure
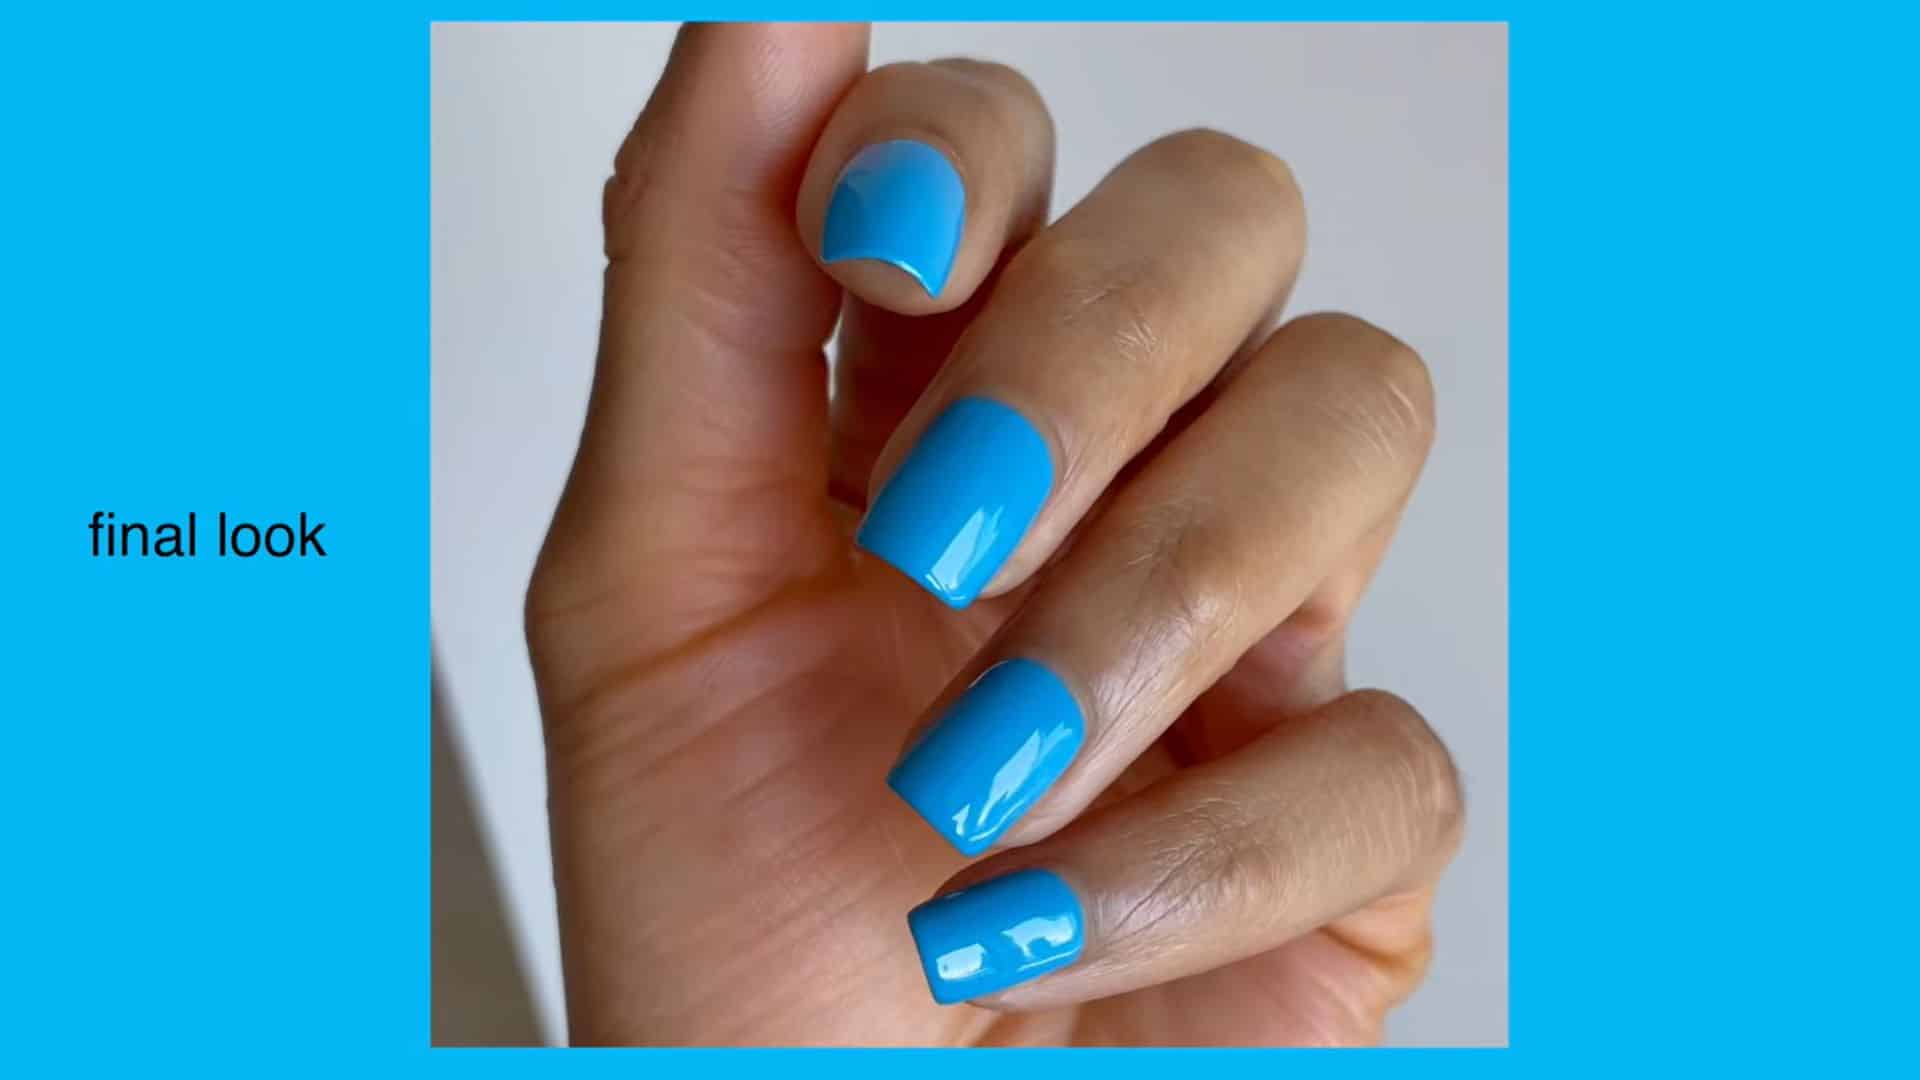
Cure the top coat under the lamp for the final time to fully seal the manicure. If using a non-wipe top coat, remove the sticky residue with rubbing alcohol and a lint-free wipe once cured.
This reveals a smooth, shiny surface with a professional finish.
Tip: Let nails cool for 30–60 seconds after curing before applying cuticle oil so heat doesn’t dull shine or trap moisture under the oil layer.
For more details, watch the video here:
Common Mistakes and How to Avoid Them
Common gel nail issues usually stem from small but avoidable mistakes, such as applying thick layers, skipping proper nail prep, or not curing each layer properly.
These errors affect adhesion, reduce shine, and lead to early lifting or peeling. Understanding what goes wrong helps improve application quality and ensures a smoother, longer-lasting salon-like finish at home.
Gel manicure results depend heavily on technique, and even small mistakes can impact the final look and durability. The table below highlights the most common errors in gel application and how to avoid them to achieve better, more professional results.
| Common Mistake | Why It Happens | How to Avoid It |
|---|---|---|
| Applying thick gel layers | Trying to speed up coverage in fewer coats | Always apply thin layers and build color gradually |
| Skipping nail prep | Rushing into application without cleaning or buffing | Properly clean, buff, and dehydrate nails before applying gel |
| Poor cuticle cleaning | Leaving skin or debris on the nail plate | Push back cuticles and remove residue before base coat |
| Under-curing gel | Not following the correct lamp timing | Cure each layer fully as per product instructions |
| Not sealing nail edges | Forgetting to cap the free edge during application | Always seal tips with base, color, and top coat |
Avoiding these mistakes significantly improves gel nail durability, shine, and finish quality. With consistent attention to prep, layering, and curing, at-home gel manicures can easily match salon-level results and last much longer without lifting or dulling.
Maintenance Tips for Longer-Lasting Gel Nails
How you treat the set afterward matters almost as much as how you applied it. Even a well-done manicure can lift early if daily habits work against it.
- Apply cuticle oil daily to keep the skin around the nail hydrated and flexible
- Avoid harsh detergents and cleaners that weaken the gel structure over time
- Wear gloves during household cleaning to protect your nails from water and friction
- Don’t use nails as tools to open or scrape things; it’s the fastest way to crack a set
- Reapply cuticle oil after handwashing to restore moisture around the edges
- Keep nails as dry as possible to protect adhesion and prevent early lifting
- File down minor chips instead of picking at the gel, which pulls off more than intended
If you’d rather keep the look understated between full sets, clean, minimal nail looks hold up well with less daily upkeep than bold colors do.
Frequently Asked Questions
How long do gel nails last when done at home?
Gel nails done at home usually last around 2 to 3 weeks if applied correctly with proper prep, thin layering, and full curing. Longevity also depends on aftercare habits such as avoiding harsh chemicals and regularly moisturizing nails.
Do I really need a UV or LED lamp for gel nails?
Yes, a UV or LED lamp is essential because gel polish does not air dry. It hardens only when cured under light, which gives it durability, shine, and chip resistance compared to regular nail polish.
Why do my gel nails keep lifting or peeling?
Lifting usually happens due to poor nail prep, applying thick layers, or getting gel on the skin. Skipping buffing or not sealing the nail edges can also reduce adhesion and cause early peeling.
Can beginners easily do gel nails at home?
Yes, beginners can achieve good results with practice. The key is following proper steps like cuticle prep, thin application, and correct curing rather than rushing the process or using too much product.
How do I make gel nails look more like a salon finish?
For a salon-like finish, focus on thin layers, clean cuticle work, proper shaping, and sealing the edges. A smooth top coat and careful curing also help create a glossy, professional appearance.
Final Thoughts
Mastering how to do gel nails at home comes down to understanding technique rather than rushing through steps. From proper preparation and buffing to thin layering, curing, and sealing, each stage plays a role in achieving a smooth, salon-like finish. When done correctly, gel nails at home can look polished, last longer, and feel just as professional as a salon set.
I’ve noticed that the biggest improvement happens when you slow down and focus on precision rather than on product quantity.
Small adjustments in application and curing often make the biggest difference in overall finish and durability. With practice, your results naturally become more consistent, refined, and salon-like over time.
If you try this process, I’d love to hear how it works for you, what step made the biggest difference in your results, or what helped you achieve a better finish at home.