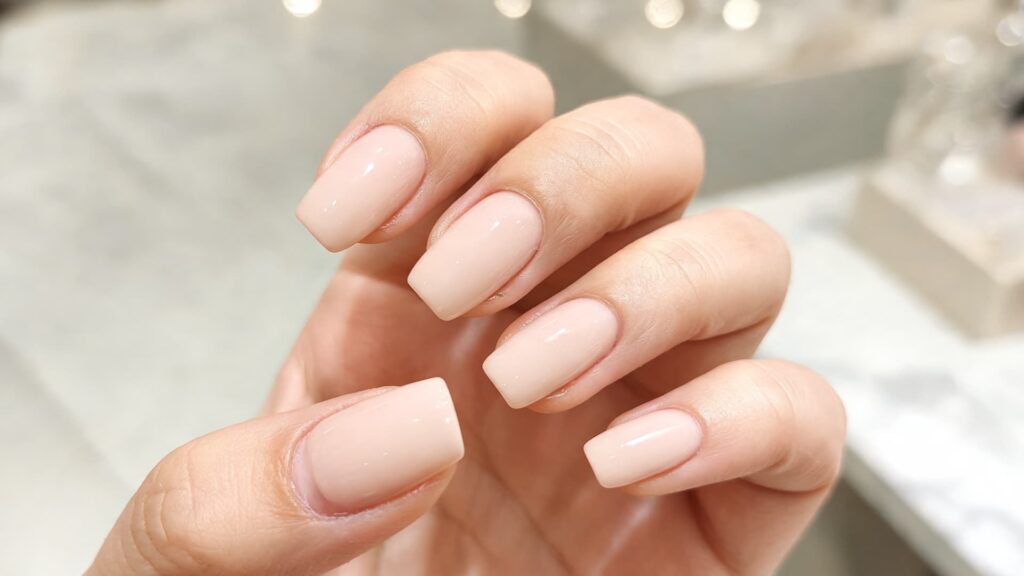

Those clean, glossy nails that look almost too perfect can be hard to ignore. I get why you are curious about what a russian manicure is, especially when every photo shows smooth cuticles, sharp polish lines, and barely any grow-out.
But the more you look into it, the more questions come up. Is the cuticle work safe? Does it hurt?
How is it different from a regular manicure? And is it really worth the higher price?
Below you will get an easy understanding of the technique, the main differences, real user opinions, safety concerns, and what to check before booking one.
What Is a Russian Manicure?
A Russian manicure is a dry manicure focusing on detailed nail and cuticle preparation before applying gel or polish.
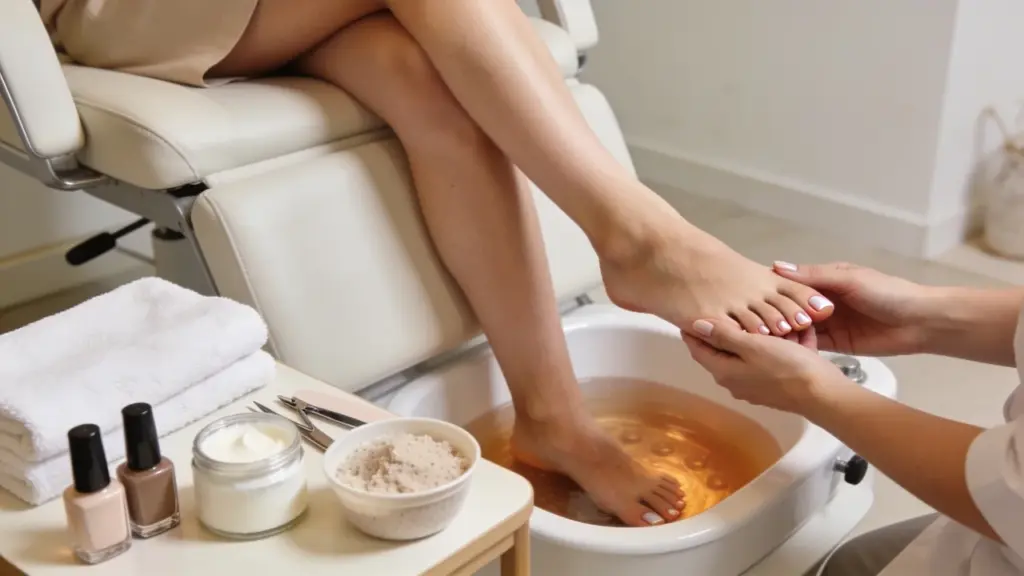
The technician uses an electric nail file to remove dead skin around the cuticle and sidewalls, without soaking in water, unlike a regular manicure.
The polish is applied near the cuticle, making grow-out less visible and the finish look neat and last longer. Skill is crucial; it should not hurt, bleed, or cause soreness.
Over-aggressive cuticle work can lead to cuts or irritation, so understanding the risks before booking is important.
Key Features of Russian Manicure Treatment
A Russian manicure is not only about applying gel polish. The main focus is on detailed nail preparation, clean cuticle work, and a smooth finish that stays neat as the nail grows.
- Dry Nail Prep: Russian manicures usually skip the water soak. The nail plate stays dry, which helps the technician prep the nail more precisely before applying gel or polish.
- Cuticle Detailing: The technician may use an electric file with fine drill bits to clean around the cuticle area and sidewalls.
- Close Polish Placement: Gel or polish is applied very close to the cuticle line. This helps reduce the visible gap as the nail grows, so the manicure looks fresh for longer.
- Builder Gel Support: Many Russian manicures include builder gel or hard gel. This adds structure, helps strengthen the nail, and creates a smoother, more balanced shape.
- Longer Wear Finish: Because the prep is more detailed, the gel often lasts longer than a basic manicure.
These features are why Russian manicures are popular for clean, glossy, photo-ready nails, and knowing the hard gel vs builder gel differences helps you ask for the right one at your next appointment.
Russian Manicure Process: Step-by-Step Application
A Russian manicure takes longer than a basic gel manicure because most of the work is done before the color is applied. A full service usually runs 1.5 to 3 hours depending on whether builder gel and nail art are involved, so budget your appointment time accordingly.
Step 1: Old Gel or Polish Removal

The technician carefully removes old gel, polish, or product from nails, avoiding aggressive scraping to prevent weakening the natural nail. If gel lifts, loose parts are gently removed.
An e-file may be used but should not generate heat, pain, or deep grooves, taking 10-15 minutes per full set. Rushing indicates cutting corners. Proper removal ensures smoother, safer nails for the next gel layer.
Step 2: Nail Shape and Surface Prep

After removal, nails are shaped to your preferred length and style, like square, almond, oval, or short round. The surface is lightly buffed to remove shine and improve gel adhesion.
Dust is brushed away to prevent particles from getting under the base coat. A wooden or metal cuticle pusher is used first to gently push back cuticles before any e-file work, helping the technician assess nail health.
If nails are thin, sore, or damaged, the service should be adjusted, possibly skipping the e-file or shortening the appointment.
Step 3: E-File Cuticle Cleaning

This detailed part of a Russian manicure often takes 20–30 minutes, during which the technician uses an electric file with fine bits to remove dead skin around the cuticle and sidewalls, aiming for a neat nail outline without cutting healthy skin.
It requires training to avoid burns, cuts, or irritation, and to ensure no sharp pain or bleeding. The e-file should run slowly and steadily, with the technician checking frequently. Clean tools and gentle control are essential.
Step 4: Base or Builder Gel Application

Once the nail is clean and dry, a base coat or builder gel is applied. The base ensures proper adhesion to the natural nail, while builder gel adds strength, shape, and a smoother finish.
A small apex may be built to support the nail and prevent breakage during normal activities like typing or opening cans.
Each layer is cured under a lamp as per product instructions, usually 30 to 60 seconds for LED and longer for UV. The gel should appear even, not bulky or flooded around the cuticle.
Step 5: Color, Top Coat, and Final Hydration

After setting the base or builder gel, the color coat is applied near the cuticle for a clean finish, with thin, even layers that are cured properly to prevent lifting.
A top coat seals the color, adds shine, and protects from chipping. Once done, cuticle oil or hand cream hydrates the skin, offering a final nourishing step that shouldn’t be skipped.
Watch a professional Russian manicure in action, showing safe cuticle care and precise nail shaping.
Is a Russian Manicure Safe?
A Russian manicure can be safe when a trained technician uses sterilized tools and carefully controls the e-file. Worth knowing upfront: this technique carries a higher risk of infection than a standard manicure, and that comes from the technique itself, not just an off day at the salon.
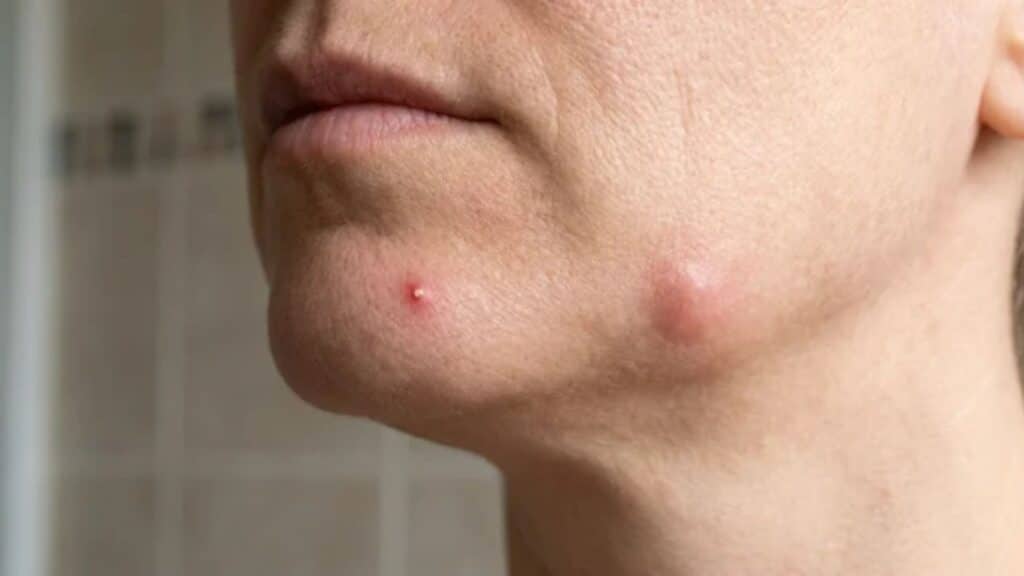
Dermatologist Dr. Mona Gohara of the Yale School of Medicine explains that drilling away the cuticle removes a barrier that keeps bacteria and fungus out, raising the risk of paronychia, a painful nail infection.
Her advice is direct: never let anyone manipulate the cuticle. Tools should look sterilized, you should feel no pain or burning, and there should be no bleeding after.
Skip it if you have infections, cuts, or thin nails, or if you’d simply rather skip the e-file altogether, since clean, minimal nail looks get you a similar polished effect with far less prep involved.
Russian Manicure vs Regular Manicure

A Russian manicure is dry and focuses heavily on detailed e-file cuticle work, while a regular manicure usually uses soaking, pushing, light trimming, shaping, and polish. Laid out side by side, the differences in time, tools, and longevity make it easier to see exactly what you’re paying extra for.
| Feature | Regular Manicure | Russian Manicure |
|---|---|---|
| Prep Method | Often includes soaking | Dry prep without soaking |
| Tools Used | File, buffer, pusher, nippers | E-file, drill bits, gel tools |
| Cuticle Work | Gentler and more basic | Detailed and intensive |
| Polish Placement | Usually leaves a small gap | Very close to the cuticle line |
| Time | Often 30 to 60 minutes | Often 1.5 to 3 hours |
| Cost | Usually lower | Usually higher |
| Longevity | Often 1 to 2 weeks for polish or gel | Often, 3 to 4 weeks |
| Finish | Clean but less detailed | Ultra-clean and precise |
The better choice depends on your nail health, comfort level, budget, and the level of precision you want in the final finish.
How to Remove Russian Manicure Safely?
Safe removal matters just as much as the manicure itself. Gel should not be forced off the nail because it bonds to the nail plate. If you peel, scrape, or rush the process, you can remove natural nail layers along with the product.
- Do Not Pick: Picking or peeling gel can lift layers from the natural nail. This may leave the nail plate thin, weak, rough, or sore.
- Avoid Rough Scraping: Hard scraping can damage the top layer of the nail. Removal should feel controlled, not painful or forceful.
- See a Trained Tech: A trained technician can file down the top layer carefully and remove the coating without over-thinning the nail.
- Watch Nail Condition: If your nails feel bendy, sore, thin, or sensitive after removal, take a break before booking another gel service.
- Moisturize Afterward: Use cuticle oil and hand cream after removal to help reduce dryness around the nail and surrounding skin.
A clean removal should leave your natural nails smooth, not painful or stripped. If the gel is lifting, cracking, or catching on hair, book removal instead of pulling it off at home.
What People Are Really Saying About Russian Manicures

Online chatter around Russian manicures splits pretty evenly into two camps, and both are worth hearing before you book. I’ve had friends swear by the longevity, and I’ve had a manicurist quietly admit she won’t offer the service to walk-ins because it’s too easy for an untrained hand to overdo it.
The people who love it talk about how the manicure lasts much longer than regular gel and keeps that clean, fresh cuticle line for weeks, holding up even through daily dishes and constant hand washing.
The people who are cautious bring up the same concern dermatologists raise: the infection risk that comes from working this close to the cuticle. If it hurts, bleeds, or leaves your skin sore, that is not a personality quirk of the technique. It is a sign the person doing your nails needs more training.
A skilled, careful technician can give you that neat, long-lasting look. A rushed or aggressive one can leave your nails irritated or damaged, and no amount of glossy top coat photos changes that math.
Aftercare Tips for Long-Lasting Nail Results
Good aftercare helps your Russian manicure stay clean, glossy, and secure for longer. You do not need a complicated routine, but small daily habits can prevent dryness, lifting, and early chipping.
- Use Cuticle Oil: Apply cuticle oil once or twice a day to keep the nail folds soft and hydrated. This helps reduce dryness around the cuticle area.
- Avoid Picking: Do not pick at lifted gel or loose edges. Pulling gel off can remove layers from your natural nail and leave it weak.
- Wear Gloves: Use gloves while washing dishes, cleaning, gardening, or handling harsh products. Water and chemicals can weaken the gel bond over time.
- Book Timely Fills: Schedule maintenance before heavy grow-out or lifting becomes noticeable. Waiting too long can make the manicure more likely to catch, crack, or peel.
- Moisturize Hands: Apply hand cream daily to keep the skin around your nails smooth. Hydrated hands make the manicure look fresher and more polished.
A Russian manicure can last well, but it still needs care between appointments, the same way a good coat needs the occasional steam instead of being left to fend for itself in the closet. If you notice lifting, pain, redness, or swelling, do not ignore it or cover it with more polish.
Frequently Asked Questions
Can you wear nail art with a Russian manicure?
Yes, nail art can be added after the Russian manicure prep is finished. The clean cuticle line often makes simple designs, French tips, chrome, and minimal art look sharper. Just remember that extra art can increase the appointment time and final price.
How much does a Russian manicure typically cost?
Most Russian manicures run 60 to 120 US dollars, roughly double a standard gel manicure, depending on your city and whether builder gel or nail art is added on top.
Is a Russian manicure the same thing as BIAB?
No. BIAB, short for builder in a bottle, is the gel product itself. Russian manicure describes the dry prep and cuticle technique. The two are often paired, but they are not interchangeable terms.
Can you get a Russian manicure if you’re allergic to gel polish?
Having a gel allergy before doesn’t disappear just because the cuticle work is more precise. Ask your technician about a different base gel and patch test first.
Is a Russian manicure only for long nails?
No, a Russian manicure can work on short nails, too. The technique focuses on clean prep, neat cuticles, and smooth polish placement, not just length. Short nails may actually look more refined because the cuticle line appears cleaner and the shape looks more intentional.
Final Takeaway
A Russian manicure earns its reputation when it’s actually done right, with closer polish placement, a longer-wearing finish, and a cuticle line that looks intentional instead of neglected. It doesn’t earn a pass on safety just because the results photograph well.
Clean tools, gentle pressure, and zero pain or bleeding matter more than a viral result or a lower price tag, and the infection risk dermatologists point to is a real trade-off, not a scare tactic.
If your cuticles are sensitive, ask for a softer approach, or lean on a natural nail look instead. Before you book, compare your options, ask about training, and save this checklist for your next nail appointment. Drop a comment below and tell me if you have ever gotten a russian manicure.