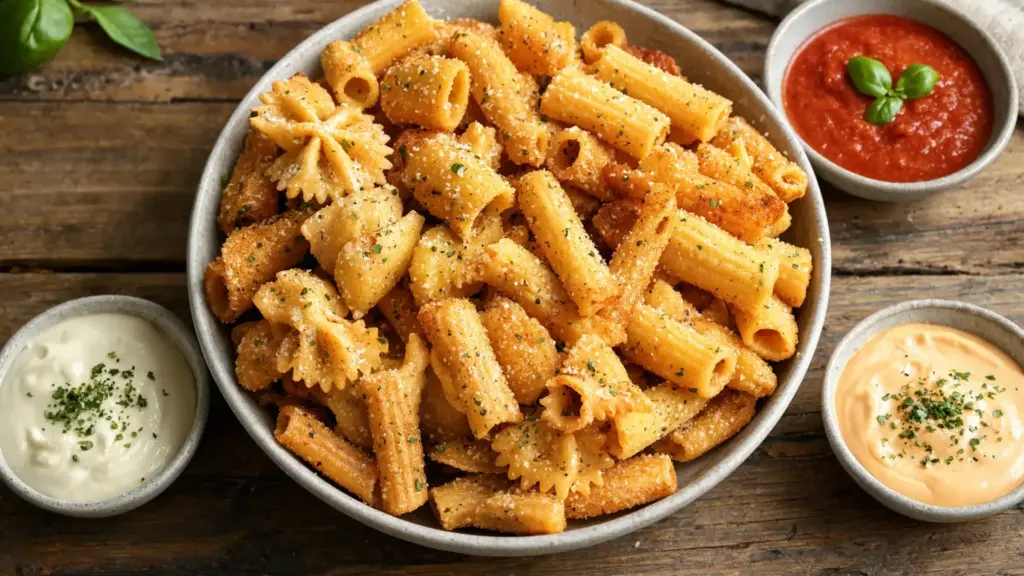

Have you ever turned simple pasta into a crunchy, addictive snack? It may sound unusual, but it works surprisingly well. This pasta chips recipe has become a favorite quick, crispy treat for those seeking an easy, mess-free snack.
Common issues like soggy or uneven results often stem from overlooked details such as pasta texture, oil quantity, or cooking method.
I’ve broken down everything you need to achieve consistent crunch, whether using an air fryer or oven. You’ll learn how to properly prepare and season the pasta, select the right cooking time, and avoid pitfalls that can ruin texture.
By the end, you’ll confidently create crispy pasta chips tailored to your taste.
Air Fryer vs Oven: Which Pasta Chips Method Wins?
Both methods are popular for making crispy pasta snacks, but they differ in speed, texture, and batch size. I’ve made this recipe enough times in my own kitchen to know the air fryer wins on crunch, while the oven wins when you’re feeding a crowd.
| Factor | Air Fryer | Oven |
|---|---|---|
| Cooking Time | Faster results in small batches | Slower but suitable for larger batches |
| Texture | Extra crispy and evenly browned | Slightly less crisp but still crunchy |
| Batch Size | Limited per round | Large tray capacity |
If I’m making a quick batch for myself, the air fryer is my go-to. For parties or game nights, I switch to the oven so everyone gets a full tray at once.
How to Make Crispy Pasta Chips (Ingredients + Step-by-Step Method)
The method is simple: boil pasta, season it, then crisp it using heat. What matters most is controlling moisture, seasoning balance, and cooking time. I’ve tested this with different pasta shapes over the years, and small changes at each stage genuinely change the final crunch.
Ingredients You’ll Need
The ingredients are simple and flexible, which is part of why this snack has stayed trendy on social platforms for so long. Short pasta shapes like rigatoni, penne, farfalle, or rotini work best because they hold seasoning well and crisp evenly.
- Short Pasta: Rigatoni, penne, farfalle, or rotini for best structure and crunch.
- Oil: Olive oil or neutral oil to coat pasta and help form a crisp texture.
- Cheese: Parmesan or similar hard cheese for flavor and browning.
- Seasoning: Garlic powder, Italian herbs, salt, and pepper for base flavor.
- Optional Add-ons: chili flakes, paprika, ranch seasoning, or lemon pepper for variety, similar to the toppings used on tamari-glazed roasted seeds.
This combination works as the base for both air fryer and oven versions, so you only need to learn it once, and it slots easily into an office-friendly snack rotation when you want something to pack ahead.
Step 1: Cook the Pasta
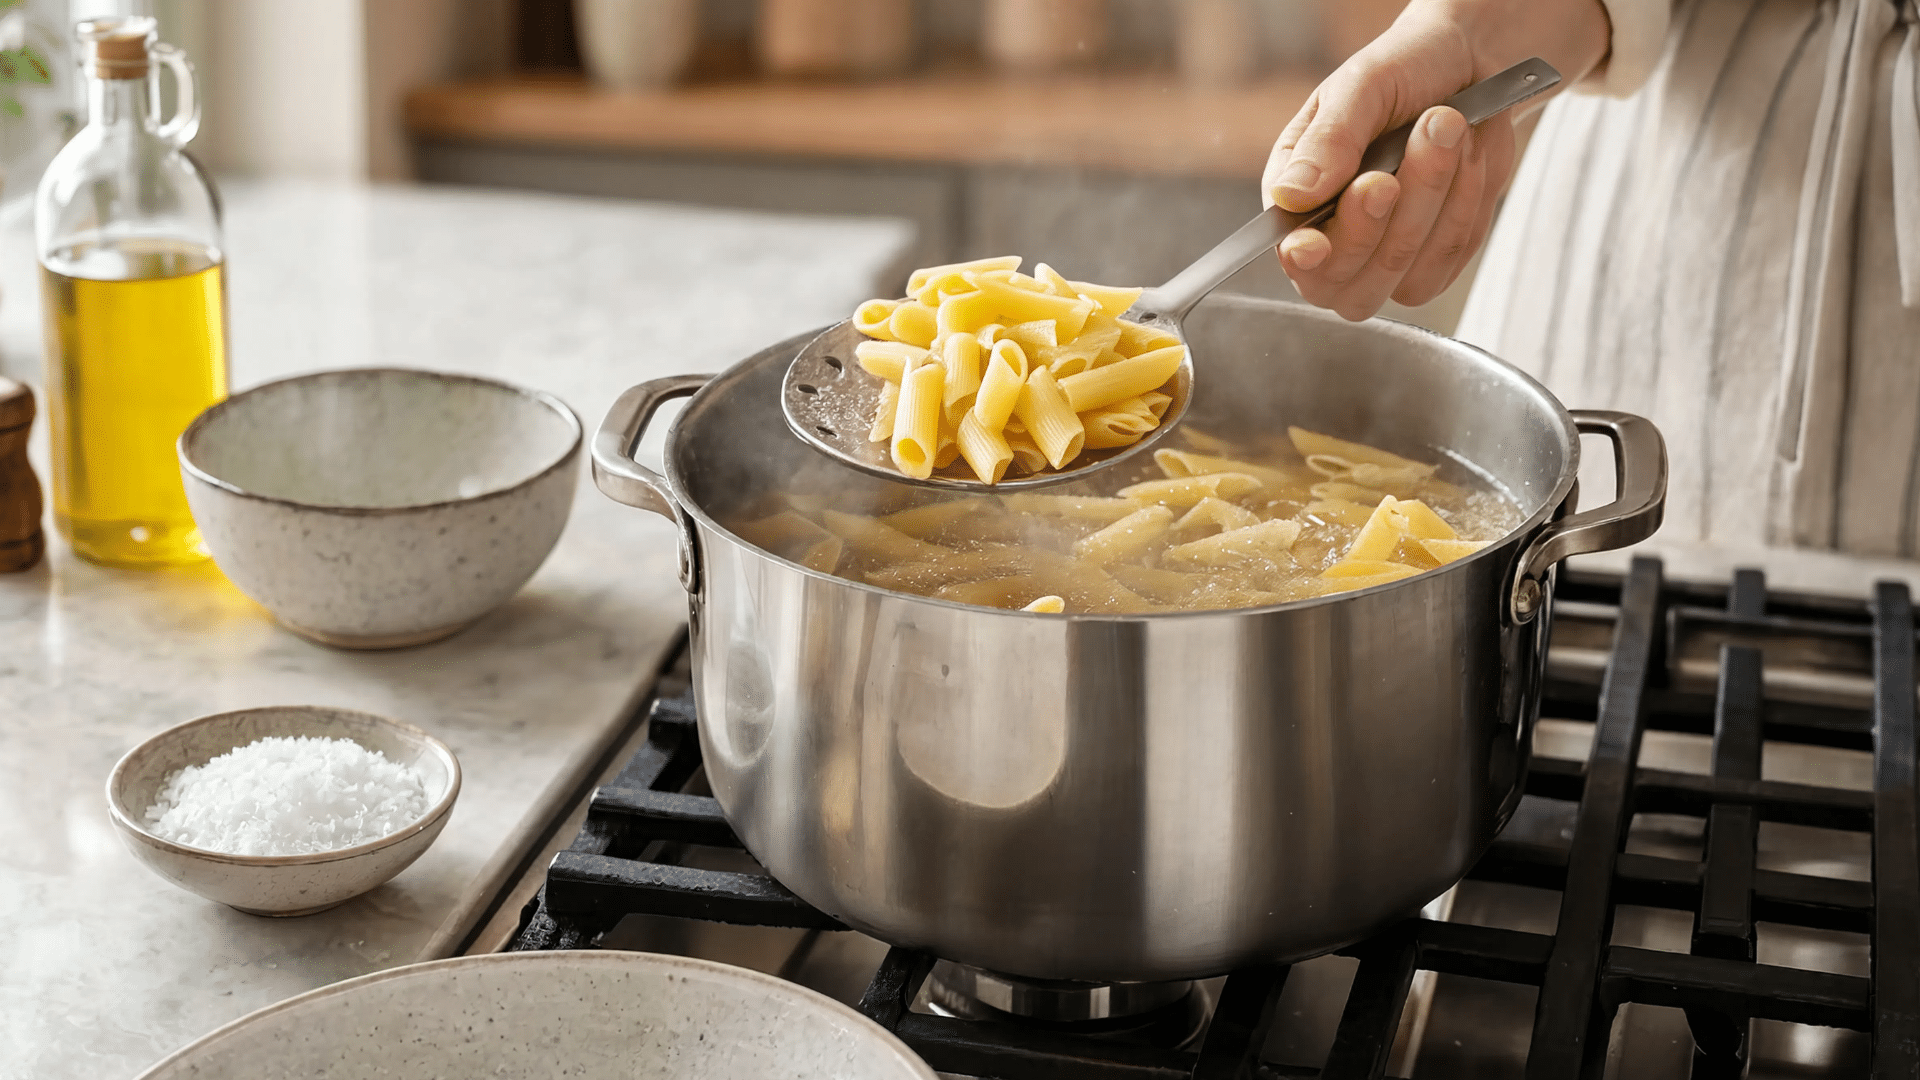
Boil the pasta in well-salted water until it reaches an al dente texture. This matters because overcooked pasta turns soft and won’t crisp up properly later, no matter how long you cook it after.
Drain the pasta immediately and skip rinsing it. Rinsing washes away the starch that helps seasoning stick and texture form. That thin layer of surface starch is doing more work than it looks like.
Step 2: Season While Warm
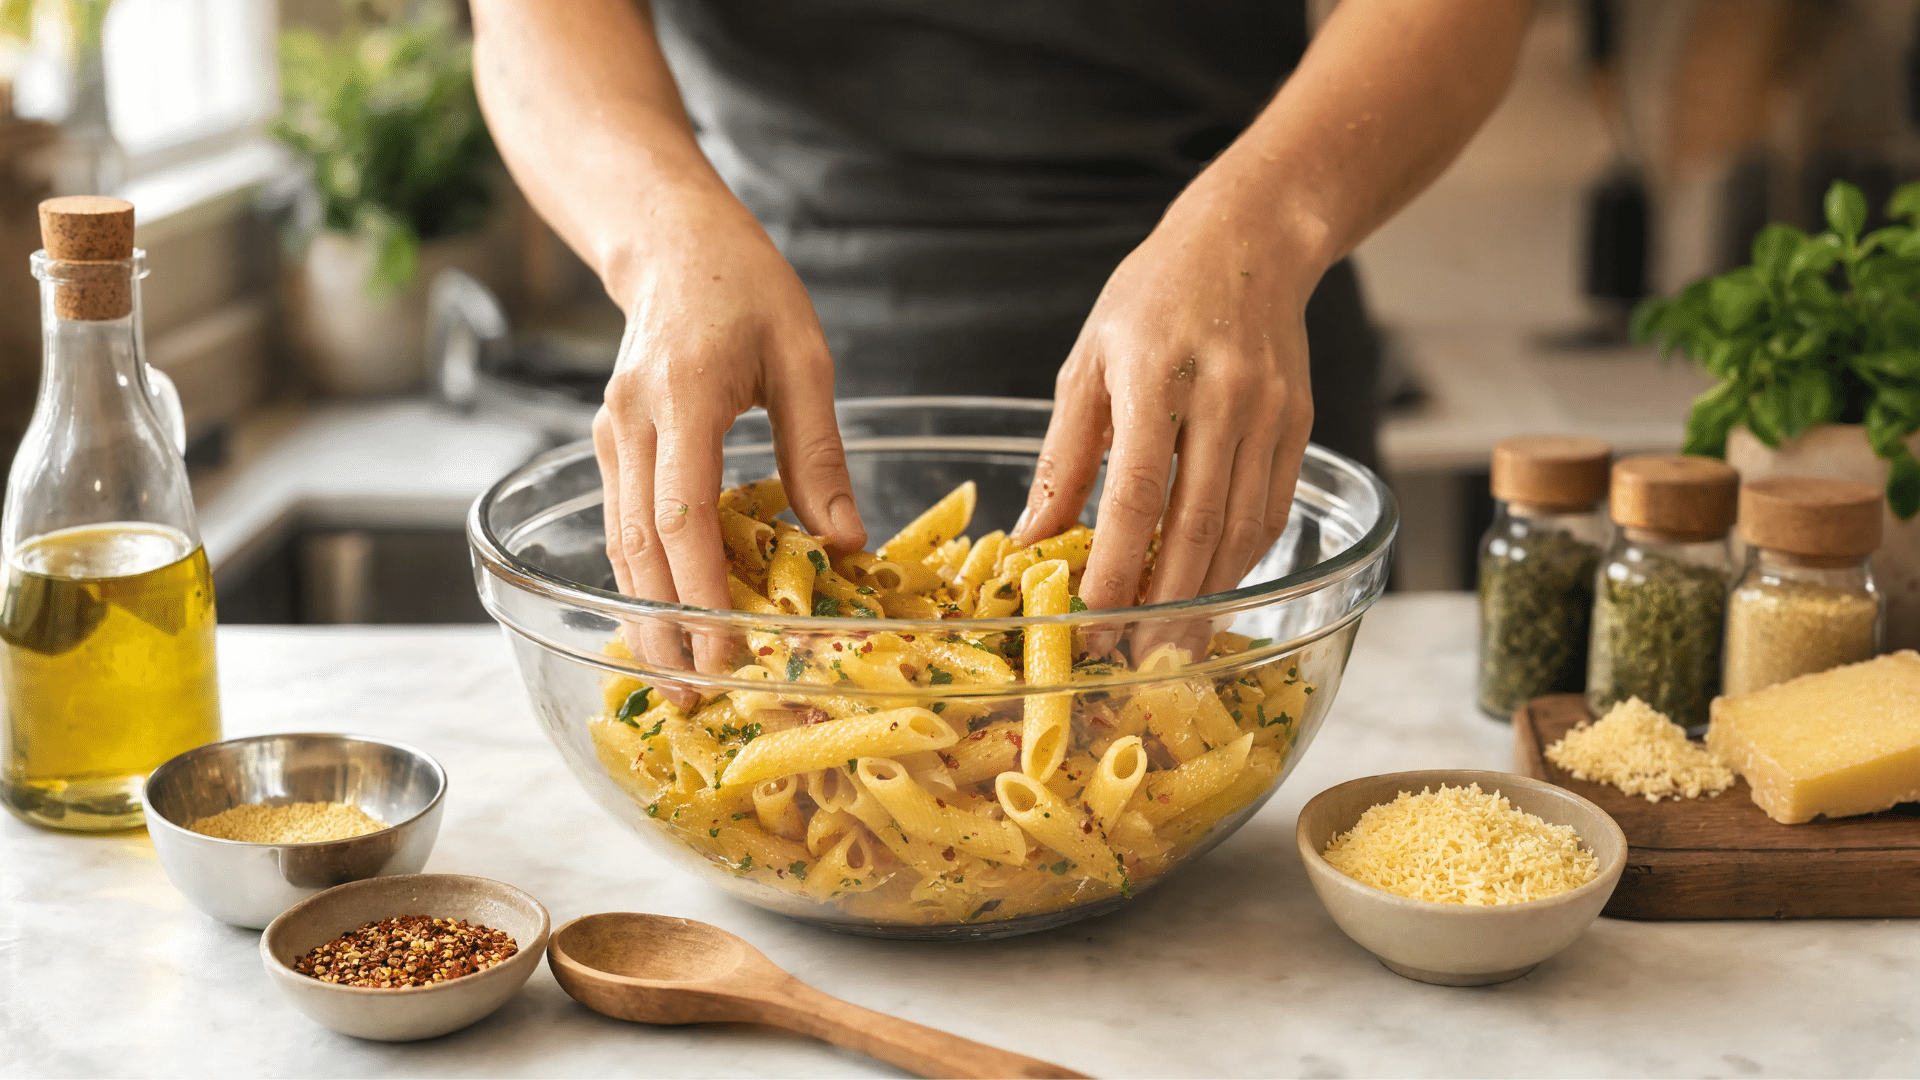
This is where the flavor of your pasta snack actually builds. Place the warm, drained pasta in a bowl and coat it with oil, cheese, and spices while it’s still hot, since warmth helps seasoning spread and stick better than it would on cooled pasta, the same trick that works for parmesan-crusted vegetable chips.
Uneven coating is one of the most common reasons people end up with bland or patchy-tasting chips, so take the extra minute to mix thoroughly.
Step 3: Air Fryer Method
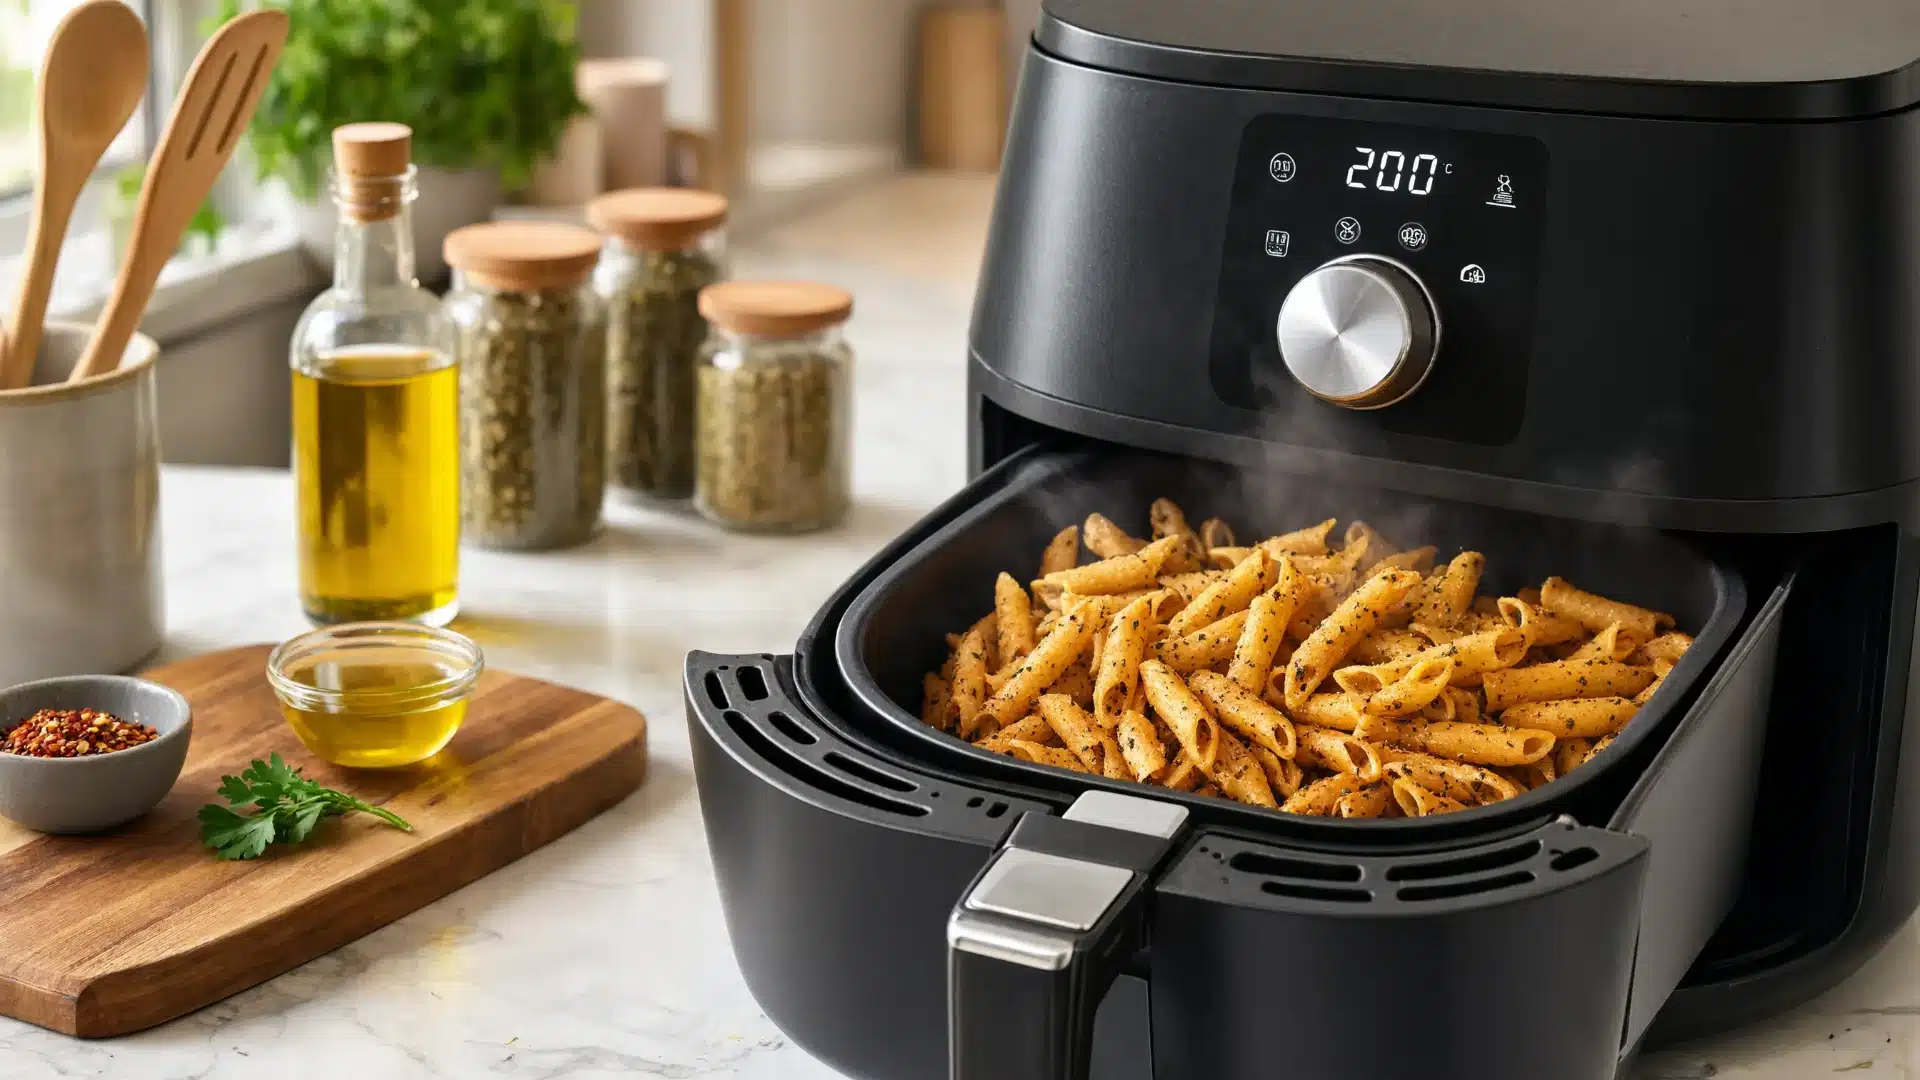
This is the quicker route and, in my experience, delivers the strongest crunch. Preheat the air fryer to 180–200°C (350–400°F), then spread the seasoned pasta in a single layer so air can circulate around each piece.
Cook for 8–15 minutes depending on shape and quantity, shaking the basket once or twice. Once golden, let the chips cool completely before serving. This last part matters more than people expect, since the crunch actually finishes setting as it cools.
Step 4: Oven-Baked Method
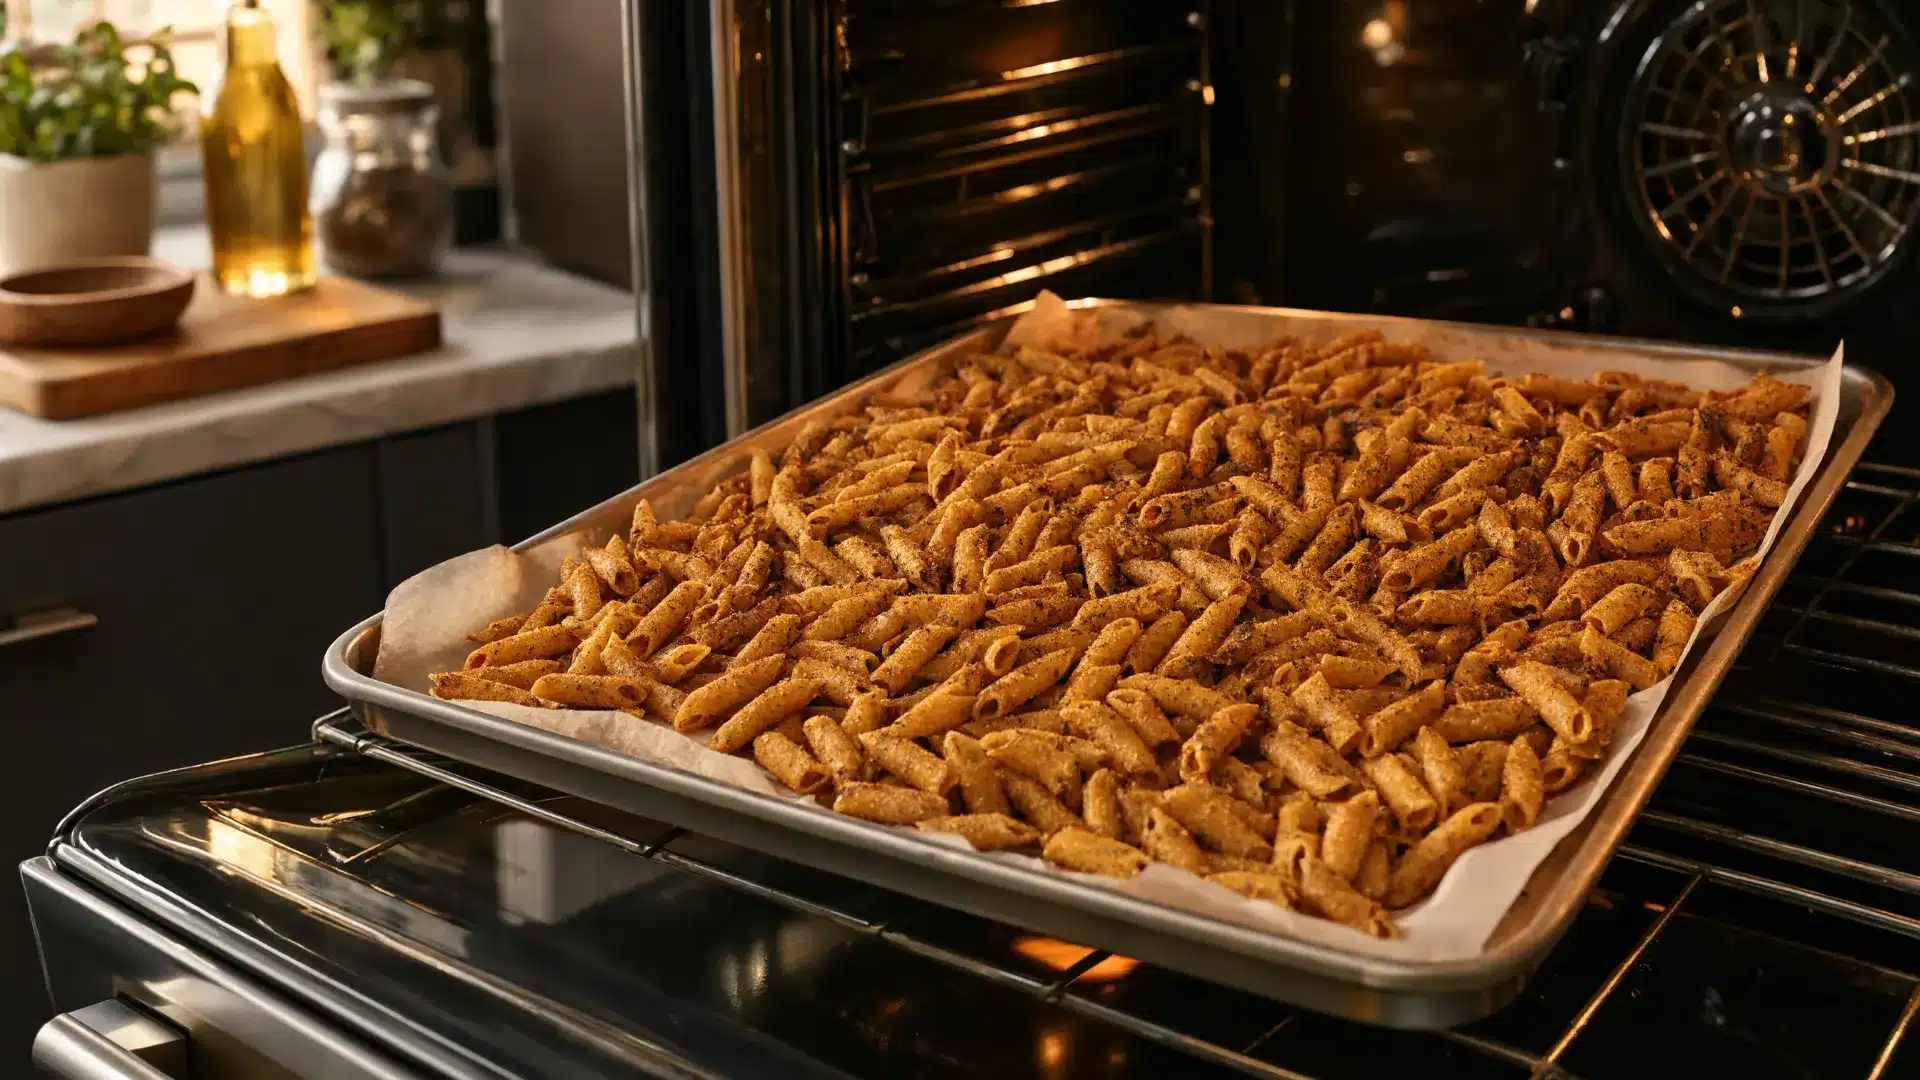
This version works best for bigger batches. Preheat the oven to 190–200°C (375–400°F) and spread the pasta on a lined tray without overlapping, so the heat reaches every piece evenly.
Bake for 17–25 minutes, flipping halfway through. It takes longer than the air fryer and won’t get quite as crisp, but it’s the better call when you’re serving a group rather than snacking solo.
Best Dips and Flavor Variations for Pasta Chips
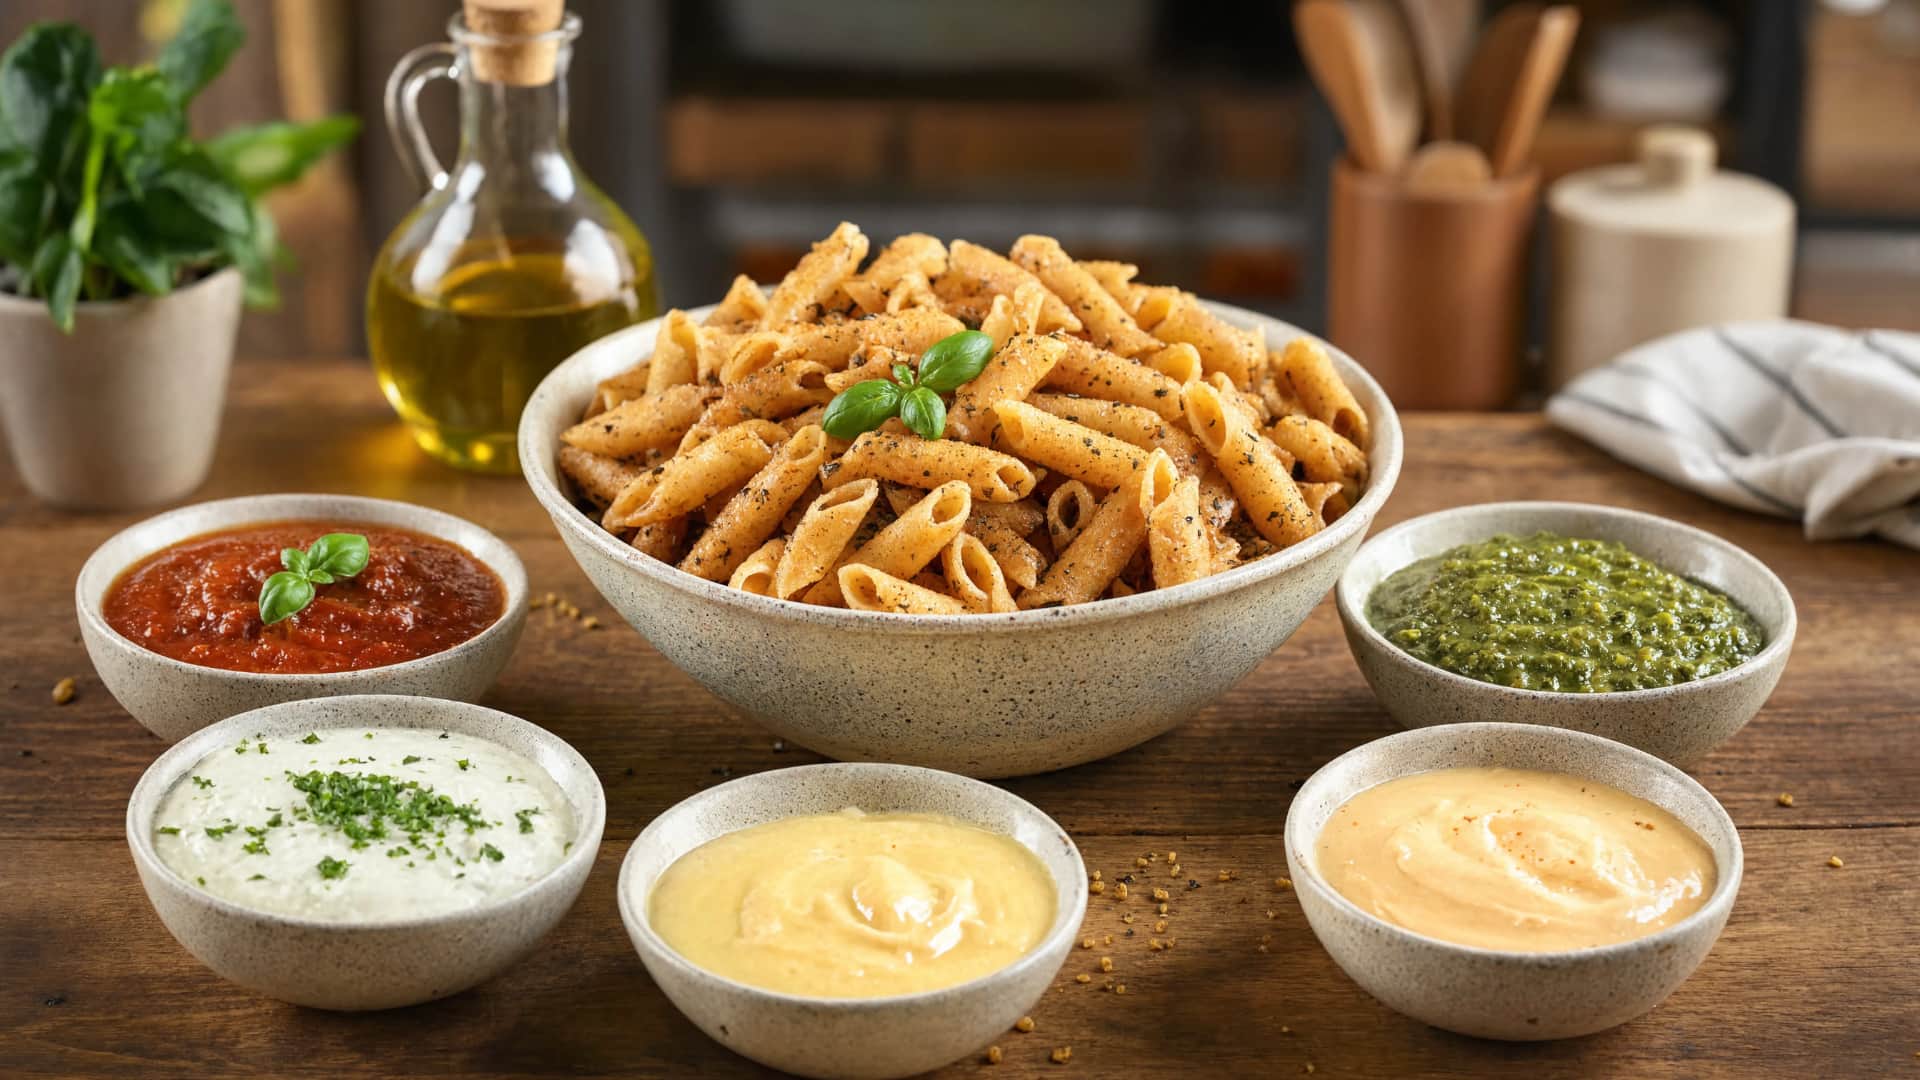
Part of what’s kept this snack trending is how easy it is to remix. A simple seasoning swap or a different dip can completely change the experience without altering the base method.
- Marinara Sauce: A classic tomato dip with herbs that pairs perfectly with garlic and Italian-seasoned chips. The slight acidity balances the crunch.
- Whipped Feta Dip: Creamy and tangy blend of feta, yogurt, and olive oil. Works well with lightly seasoned chips.
- Garlic Aioli: Smooth, rich, and garlicky, adding a restaurant-style feel to the snack.
- Pesto: Fresh basil-based dip with olive oil and parmesan for a herby, slightly nutty flavor.
- Spicy Mayo: A creamy, spicy mix that works well with bolder seasoning styles.
On the flavor side, here are a few combinations I keep coming back to:
| Flavor Variation | Taste Profile | Best Use |
|---|---|---|
| Garlic Parmesan | Savory, rich, and slightly cheesy with a warm garlic base | Classic flavor that pairs well with marinara or aioli |
| Italian Herbs | Balanced, aromatic, and lightly earthy with oregano and basil notes | Everyday snack version with broad dip compatibility |
| Spicy Chili | Bold heat with paprika, chili flakes, and light smokiness | Best for those who prefer a stronger, spicy snack profile |
| Ranch Seasoning | Creamy, tangy, and slightly herby flavor mix | Works well for casual snacking or party servings |
| Everything Bagel | Salty, crunchy seasoning blend with garlic, sesame, and onion notes | Great for bold flavor lovers who enjoy extra crunch seasoning |
The base pasta snack stays the same each time; only the seasoning shifts, which is exactly what makes this trend so easy to keep up with at home, much like cumin-spiced roasted snacks built around one ingredient.
Tips and Common Mistakes for Perfect Texture
Most texture problems come down to a handful of small habits. I’ve made nearly every mistake on this list at some point, so here’s what actually moves the needle:
- Cook pasta to al dente, not soft, so it holds structure during crisping
- Don’t overcrowd the air fryer basket or tray; air needs room to circulate
- Shake or flip during cooking for even crisping
- Let chips cool fully before serving so the crunch sets
- Use freshly grated cheese for better browning
- Pat pasta dry before seasoning to remove excess surface moisture
- Always preheat your air fryer or oven first
- Go easy on the oil; too much leads to greasy, soggy chips
- Cook in smaller batches for better control
- Test a small batch first to dial in timing for your specific equipment
Skipping the cooling step is the one I see trip people up most often. It feels unnecessary, but the chips are still crunching even after they come out of the heat.
Frequently Asked Questions
Does the pasta shape actually matter, or is it just for looks?
It matters more than people expect. Tube and ridged shapes like rigatoni or rotini have more surface area and grooves to hold oil and seasoning, which gives a more even crisp. Smooth, flat shapes can crisp unevenly or turn chewy in spots.
Why did my pasta chips turn out chewy instead of crunchy?
This usually means the pasta was undercooked before it was crisped, the batch was too crowded, or it wasn’t cooked long enough. If a piece still bends rather than snaps after cooling, it needs another minute or two of heat.
Can I make this recipe gluten-free or use a different type of pasta?
Yes. Gluten-free and whole wheat pasta both work, though gluten-free shapes can be more delicate and may crisp slightly differently, so check a few minutes early the first time you try it.
What’s the best way to reheat pasta chips if they’ve gone soft?
A quick 3-4 minutes back in the air fryer at a lower temperature usually restores most of the crunch. The microwave won’t work for this; it tends to make them rubbery instead.
Is this actually healthier than regular potato chips?
It can be, depending on how it’s made. Air frying with a light coat of oil uses far less fat than deep-fried potato chips, and pasta itself isn’t inherently unhealthy in moderate portions. That said, this is still a fried-style snack, not a health food, so treat it as an occasional treat rather than a daily staple.
Final Thoughts
The pasta chips recipe comes down to three things: cooking the pasta to the right doneness, seasoning it while warm, and choosing the crisping method that fits how many people you’re feeding.
Once those basics click, you can run through endless dip and flavor combinations without ever touching the core method again.
I’ve made enough batches of this to know it’s one of those snacks worth keeping in regular rotation, especially with an air fryer already on the counter. Give it a try this week, and drop a comment with whichever flavor variation you land on.