
What is a gel manicure, and why does it outlast the polish in your bathroom drawer? I get this question from readers who message me right after a chip ruins a manicure just days after a salon visit.
My cosmetic science training taught me to look past salon marketing and focus on how these formulas actually behave on the nail plate.
I bring that same detail-first approach to every skincare piece on this site, including my recent breakdown of building stronger, more resilient skin.
Once you understand what are gel nails, planning your nail routine gets easier.
A Beginner’s Look at What a Gel Manicure Is
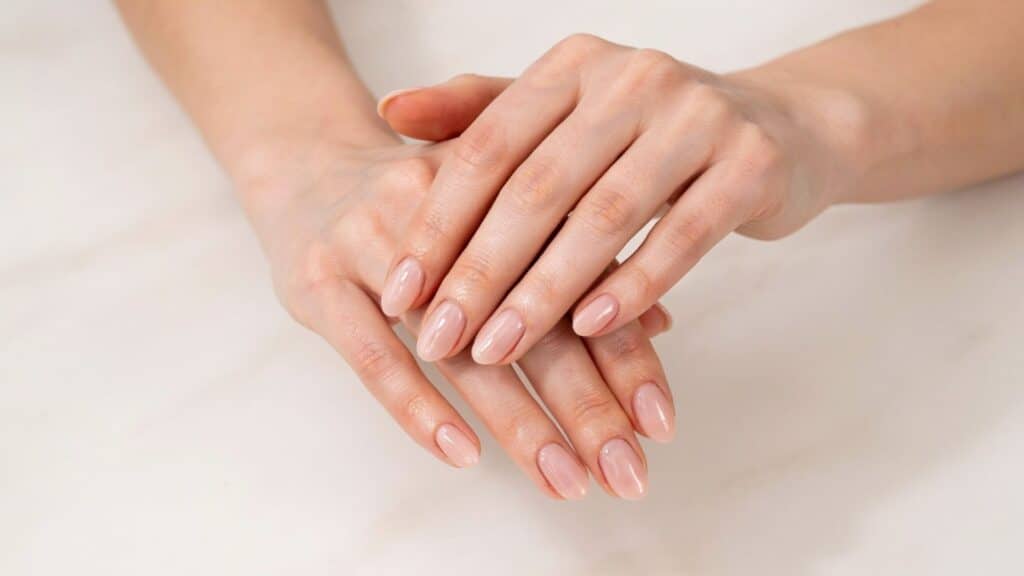
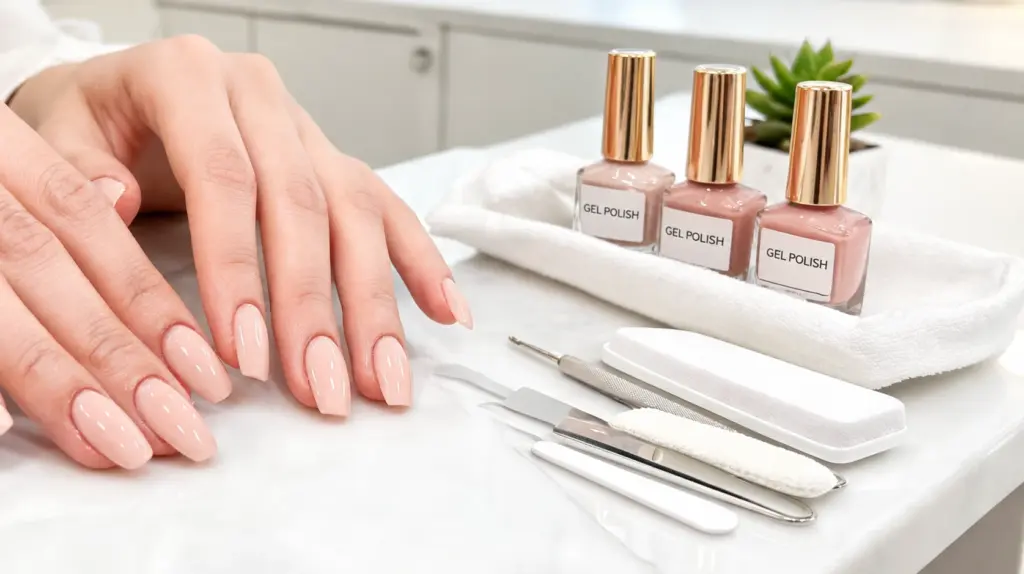
A gel manicure uses a gel-based polish that hardens under a UV or LED lamp instead of air-drying. I find this curing process is what creates that glossy, durable finish that resists chipping for weeks.
Gel nails and gel manicures are terms I use interchangeably, since they both refer to the same nail enhancement system, where gel polish is applied and cured under UV or LED light.
The confusion usually comes from salon marketing and everyday language, but both terms describe the same long-lasting, glossy nail coating that typically lasts up to three weeks.
Key Features of Gel Nails Treatment
When I’m explaining a gel manicure to someone deciding whether it’s worth it, I always come back to the same balance: beauty, durability, and comfort. Here’s what I think actually matters about how it looks, feels, and holds up over time.
- Glossy, Long-Lasting Shine: Keeps a smooth, high-shine finish that stays fresh for weeks without fading or losing brightness.
- Extended Wear Time: Typically lasts around 2 to 3 weeks, depending on nail growth, lifestyle, and aftercare routine.
- Strong Chip Resistance: The bonding process I see in a proper application helps prevent cracks, peeling, and early wear from daily activities.
- Natural Lightweight Feel: Applies in thin layers that feel comfortable and natural without adding heaviness to the nail surface.
- Instant Light Curing: Each layer hardens quickly under UV or LED light, which reduces smudges and improves overall durability.
- Flexible Finish: Moves slightly with your natural nails, which lowers the risk of breakage compared to more rigid coatings.
These qualities make this nail treatment a preferred option for people who want long-lasting results with a clean, natural, and professional appearance. It offers both visual appeal and practical durability for everyday wear.
Gel Manicure Process: Step-by-Step Application
Here’s exactly how I break the process down when I’m explaining it to someone getting their first gel manicure. Each step matters for proper adhesion and even application.
1. Nail Preparation & Cleansing

Nail prep starts with removing old polish using a gentle cleanser. Nails are then trimmed and shaped, such as square, round, oval, or almond, for a clean, uniform look across all fingers.
The nail surface is lightly buffed to remove shine, creating texture that helps gel stick and prevents lifting. Dust is wiped away with a soft brush or lint-free wipe.
Cuticles are pushed back and excess skin removed to expose the nail plate. In my experience, salons often add a dehydrator or primer at this stage to clear oil and strengthen bonding, which is the step DIY gel kits tend to skip.
2. Base Coat Application

The base coat acts as the foundation of the gel manicure. It’s applied in a thin, even layer across the nail to protect the natural nail and create a sticky surface for gel color to bond to properly.
This layer matters more than people think. It improves durability, prevents staining from highly pigmented gel colors, and reduces early lifting around the cuticle.
Once applied, the nails go under a UV or LED lamp for curing. The base coat hardens within seconds, forming a strong bond between the natural nail and the gel system.
3. First Layer of Gel Color Application

The first coat of gel color goes on using smooth, controlled strokes for even coverage. I always tell people to avoid thick layers, since a thin application is what cures properly and gives a clean finish.
The color is applied without touching the skin or cuticle area, which keeps things neat and prevents lifting later. Once applied, each nail is cured under a UV or LED lamp.
That curing step hardens the gel layer instantly, locking in the color and forming a stable base for additional layers.
4. Second Layer & Color Building

A second layer of gel polish builds color intensity and smooths out any unevenness from the first coat. Depending on the shade, I’ll sometimes add a third layer for full opacity.
Each layer is cured separately under a UV or LED lamp. That step-by-step layering is what gives you a flawless, salon-quality finish rather than a patchy one.
Curing between layers is what prevents bubbling, streaking, or uneven color and keeps the shine consistent.
5. Top Coat Sealing

The top coat is the protective sealing layer that locks in all previous layers. It’s what gives gel nails their shine, smoothness, and resistance to scratches and daily wear.
After application, the nails cure one final time under the UV or LED lamp. That’s what creates the glass-like glossy finish gel nails are known for.
Some top coats also include UV protection, which helps prevent color fading and keeps the shine going longer.
For a more practical understanding, watch the visual guide below to see how professionals apply gel nails.
Types of Nail Enhancements You Should Know
Not every gel system is the same, and I get asked constantly about the difference between them. Here’s how the main types break down:
| Type | Description | Best For | Removal Method |
|---|---|---|---|
| Soft Gel | Flexible polish that creates a natural-looking finish and soaks off easily. | Everyday wear and natural nails | Acetone soak-off |
| Hard Gel | A stronger gel used to build structure and support weak nails or extensions. | Weak or brittle nails that need strength | Filed off by a professional |
| Builder Gel | A thicker gel used to add strength, shape, and durability to natural nails. | Nail strengthening and shaping | Soak-off or file-off, depending on the system |
| Gel Extensions | Uses tips or forms to create longer nails with a gel base. | Long nails and dramatic styles | Professional removal required |
Hard gel and builder gel get confused constantly, since both add strength, but they aren’t interchangeable, and I’ve broken down exactly how hard gel and builder gel differ for anyone weighing those two specifically. Gel extensions are the ones I recommend if you want noticeable length and bold styling.
How Long Does a Nail Coating Last?
A nail coating typically lasts between two and three weeks, depending on how fast your nails grow, your daily activities, and how well you take care of them after the appointment. The finish is built for durability, but certain habits either extend or shorten it.
Nail growth is the biggest factor I watch for. As your natural nails grow out, a visible gap starts forming near the cuticle, which is usually the first sign a refill or removal is needed. For most people, that happens around the two-week mark.
Daily lifestyle plays a role too. Frequent exposure to water, cleaning chemicals, or using your nails as tools causes lifting or early chipping. Wearing gloves during chores and keeping nails moisturized helps extend the life of the manicure.
Proper aftercare makes a real difference here. Applying cuticle oil regularly, avoiding picking or peeling, and scheduling timely salon visits keep the finish looking clean and glossy for longer. With good care, I’ve seen manicures stay fresh-looking for nearly three weeks.
Comparison of Nail Enhancement Options

Choosing the right nail enhancement comes down to your personal style, nail health, and how much maintenance you’re willing to keep up with. Here’s how gel, acrylic, and regular polish actually compare side by side:
| Feature | Gel Nails | Acrylic Nails | Regular Nail Polish |
|---|---|---|---|
| Look | Natural glossy finish | Thicker and bolder appearance | Standard color coat, no added thickness |
| Feel | Lightweight and flexible | Rigid and firm | Lightweight, no added structure |
| Drying/Curing Method | Cured under UV/LED light | Air dries with a liquid-powder set | Air dries naturally |
| Durability | 2 to 3 weeks | 3 to 4 weeks | 3 to 7 days |
| Maintenance | Low maintenance | Requires regular fills | Requires frequent touch-ups |
| Removal | Soak-off with acetone | Filing plus soaking process | Easy remover |
| Nail Impact | Generally gentler when done properly | Can be more damaging if overused or removed incorrectly | Minimal impact with normal use |
I’d pick between these based on how much upkeep you actually want.
Gel suits people who want a natural look with less maintenance, acrylic suits people chasing length who don’t mind more frequent salon visits, and regular polish suits anyone who wants to change color often without any commitment.
If you want a softer, everyday take on gel, I’ve pulled together some clean, minimal nail looks that pair especially well with soft gel.
How to Remove Gel Nail Coating Safely
Safe removal is a bigger deal than people give it credit for. Proper removal protects the natural nail surface and keeps it strong for future applications.
The most common method involves soaking the nails in acetone. Cotton pads soaked in acetone are placed on each nail and wrapped in foil to break down the coating. This usually takes around 10 to 15 minutes.
Once the coating has softened, it’s gently pushed off using a cuticle pusher or orangewood stick. It should come off easily without pressure. If you feel any resistance, soak for a few more minutes rather than forcing it off.
Applying cuticle oil and hand cream afterward restores moisture and keeps the nails healthy, smooth, and ready for the next manicure.
Aftercare Tips for Long-Lasting Nail Results
Aftercare plays a bigger role than most people expect in how long your manicure stays fresh, glossy, and chip-free. The coating is built for durability, but your daily habits still affect how it holds up.
- Use cuticle oil daily: Apply it every day to keep the skin around your nails hydrated and prevent dryness or cracking that can affect the manicure’s appearance.
- Avoid peeling or picking: Never peel or lift the coating. It can damage the natural nail layers underneath and lead to weakening or uneven surfaces.
- Wear gloves during cleaning: Protect your nails from harsh chemicals and hot water by wearing cotton-lined rubber gloves while washing dishes or cleaning.
- Keep nails hydrated: Use hand cream regularly to maintain moisture in both your nails and the surrounding skin, which helps the manicure last longer and look smoother.
These are small habits, but I’ve noticed they make a real difference in keeping nails strong and polished between salon visits.
Frequently Asked Questions
Can gel manicures damage nails permanently?
No, gel manicures don’t cause permanent damage when applied and removed correctly. Proper salon application and gentle soak-off removal help maintain natural nail strength and lower the risk of long-term weakening or surface thinning.
How often should you take breaks from gel nails?
I recommend treating gel like an occasional treat rather than a back-to-back routine, which lines up with what dermatologists actually recommend for keeping nails healthy. Short recovery periods between applications help your natural nails stay strong.
What happens if gel polish is left on too long?
If gel polish sits on too long, it can start lifting, cracking, or separating from the nail surface. That opens the door for moisture and dirt to collect underneath, which can weaken the nail over time.
Can gel nails be filled instead of removed?
In some cases, yes, depending on the type and condition of the existing application. Most standard gel polish systems, though, need full removal and reapplication for the best results.
Final Coat
So, what is a gel manicure worth to you? If you want a glossy, natural finish that holds for two to three weeks with barely any upkeep, I’d point you toward gel over acrylic or regular polish every time.
If length and drama matter more, acrylic still earns its place, though I’d start with soft gel first to protect your natural nail underneath.
I bring the same wait-and-verify mindset into skincare decisions.
It’s why I always tell people to understand a treatment fully before booking. Ask your technician which gel system they’re using before your next appointment.
Drop a comment below and tell me which do you prefer; gel nails, acrylic nails or nail polish?