
Blinds do their job, but they were never meant to do it alone.
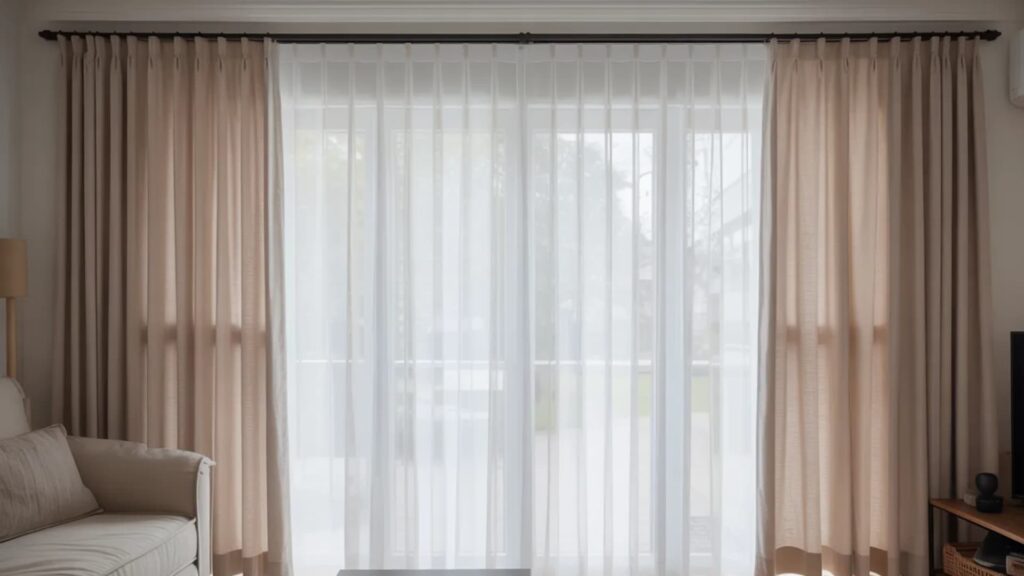
There is a reason layering curtains over blinds is one of those quiet design decisions that genuinely changes a room; it adds depth, warmth, and a level of light and privacy control that blinds alone simply cannot deliver.
If you have been staring at your windows, thinking what is missing, I would bet this is it. This covers installation methods that actually work for renters and homeowners alike, along with the curtain styles that pair best.
The small styling details that separate a polished result from one that looks purely coincidental. The process is more straightforward than most people expect.
Why Put Curtains Over Blinds
Blinds handle the basics, light filtering, a degree of privacy, and a clean look against the window. But they have real limits, and those limits become clear quickly in everyday life.
A well-fitted blind still lets light bleed around the edges, loses heat through the glass in winter, and leaves visible gaps at night when the lights are on inside.
Layering curtains over blinds solves four specific problems that blinds alone never fully address: complete light blockage, thermal insulation, genuine nighttime privacy, and a room that looks intentionally designed rather than simply furnished.
Each one has a direct, practical impact on how a space looks and feels day to day, not just aesthetically, but functionally. Here’s why each of them matters.
Things to Consider Before Installing Curtains Over Blinds
Getting the installation right starts well before buying a rod or a set of panels. A few quick checks at the window save a lot of frustration later.
- Wall space above the window: at least 4–6 inches needed for bracket mounting
- Rod height and width: should extend beyond the blind on both sides
- Blind type: roller and cellular blinds need less clearance than Venetian or vertical blinds
- Curtain fabric weight: determines which mounting method is strong enough
- Curtain length: floor-length, sill-length, or below-sill, depending on the room
- Curtain fullness: panels should be 1.5 to 2.5 times the rod width
None of these requires expert knowledge, just a tape measure and ten minutes before purchasing anything.
How to Install Curtains Over Blinds Without Drilling
No drill, no damage, no permanent commitment. These steps work for renters and anyone who wants a clean, reversible setup that leaves no marks on the walls beyond a light pencil mark.
Tools and Materials Required
Before starting, make sure you have everything on this list ready. The no-drill method keeps costs significantly lower than traditional installation.
| Tool | Estimated Cost |
|---|---|
| 3M Command Strips + Picture Hanging Strips | $12 – $22 |
| Curtain rod under 1 inch in diameter | $10 – $25 |
| Lightweight curtains | $15 – $50 |
| Tape measure + Pencil + Eraser | $6 – $18 |
Estimated total: $43-$115, depending on the chosen curtains. The Command strips and picture hanging strips together cost under $25 and are available at Target, Walmart, or Amazon.
Step 1: Attach the Picture Hanging Strips to the Command Hooks

Press the picture hanging strip firmly onto the back of the Command hook. Interlock both velcro sides so they align and grip properly.
Peel off only one side of the adhesive backing; leave the other side on until you are completely ready to mount on the wall.
Step 2: Mark Your Placement on the Wall
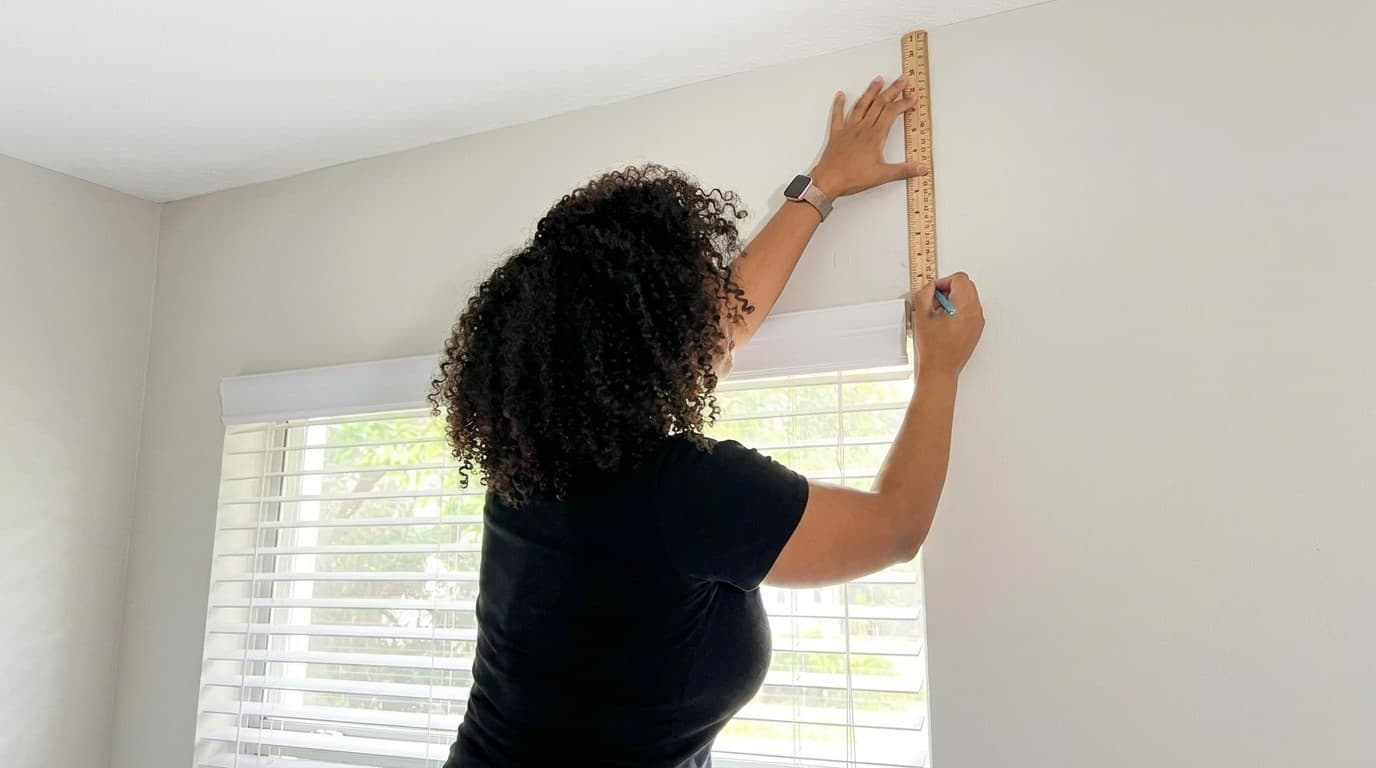
Position hooks above the window frame; this instantly makes the ceiling feel taller, and the room feel significantly larger. Mark the exact spot lightly with a pencil.
Pencil marks erase cleanly afterward, leaving absolutely no visible trace on the wall.
Step 3: Mount the Command Hooks
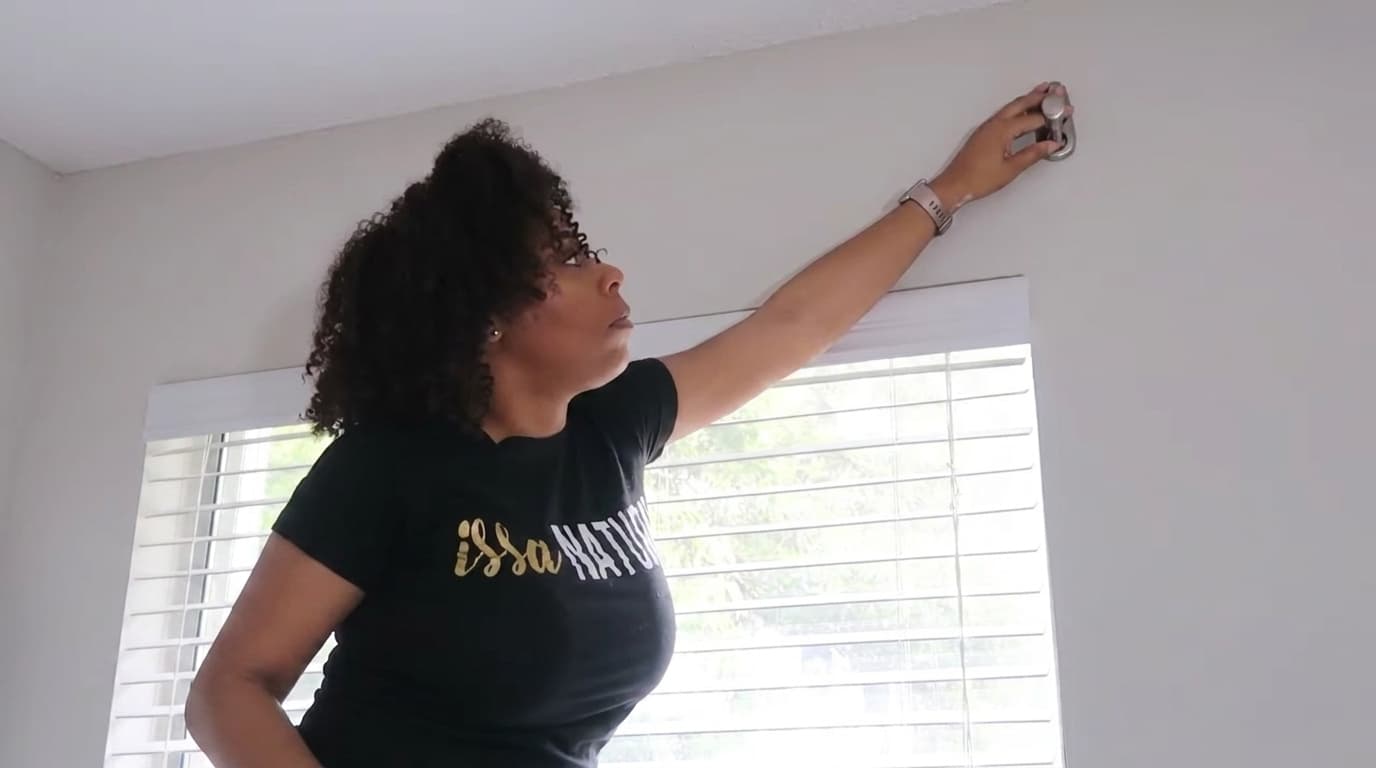
Peel the remaining adhesive backing and press the hook firmly against your pencil mark. Hold pressure for 30 seconds, then press the strip portion again for another 30 seconds to fully secure it.
Repeat on the opposite side and check both hooks are perfectly level before letting them set.
Step 4: Hang the Rod and Curtains
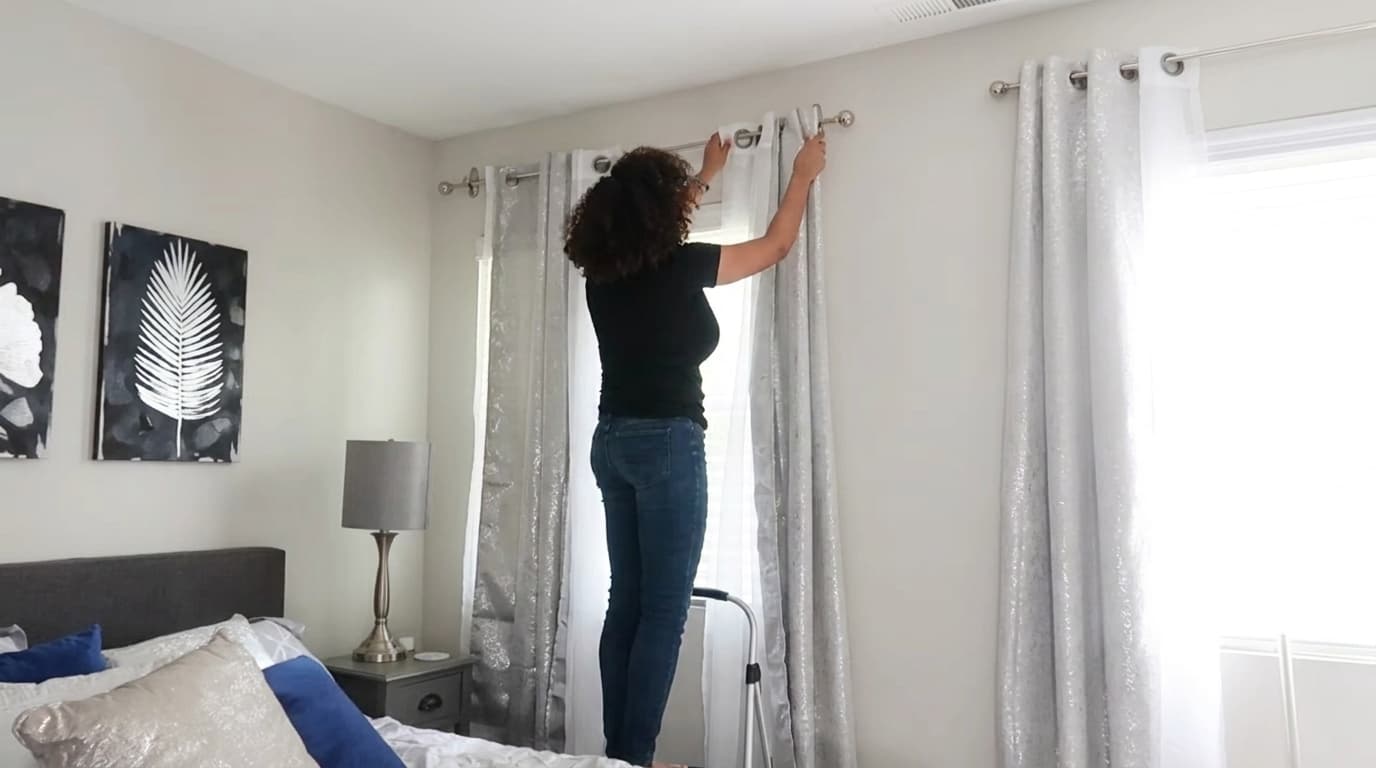
Thread your lightweight curtains onto the rod before hanging. Let the hooks set for at least 30 minutes, then simply rest the rod across both hooks.
Step back and check that both sides are even, with no drilling, nails, damage, or risk to your deposit.
The right no-drill setup, matched to the curtain weight from the start, holds up reliably without ever permanently touching the wall.
Key Reminders:
- Rod must be under one inch in diameter
- Always use picture hanging strips, not just the standard Command strips
- Keep curtains lightweight, avoid heavy drapes or tapestries
- Let hooks set before hanging the rod
If you’d like to see this done step by step, Lia Lavon has a great tutorial covering exactly this:
How to Install Curtains Over Blinds With Drilling
Wall-mounted brackets are the most reliable long-term solution, built for heavier curtains, larger windows, and setups that need to hold without compromising stability.
Tools and Materials Required
Before starting, make sure you have everything on this list ready. Missing even one item mid-installation means stopping to make a hardware run.
| Tool | Purpose | Estimated Cost |
|---|---|---|
| Drill + Appropriate Drill Bit | Creating holes in brick (masonry bit) or wood (HSS bit) | $45 – $135 |
| Wall plugs + Screws | Anchoring and fixing brackets firmly into brick walls | $6 – $15 |
| Tape measure + Spirit level | Measuring blind width and ensuring brackets are perfectly level | $13 – $35 |
| Pencil | Marking drill points and bracket positions on the wall | $1 – $2 |
Estimated total: $65-$187, depending on tools already owned. Most homeowners only need to purchase the drill bits, wall plugs, and screws, keeping the cost well under $30 if a drill is already available.
Step 1: Mark Your Bracket Positions

Traditional wall brackets sit 3 inches on either side of the window frame and 4 inches above it. Use a pencil to mark both positions clearly on the wall.
Hold each bracket against its marked position and check for level, then mark the exact screw hole locations through the bracket onto the wall before drilling anything.
Step 2: Drill the Guide Holes and Insert Wall Anchors

Drill guide holes at each marked screw location. Insert wall anchors into each hole for extra support, this is especially important if you’re not drilling directly into a stud.
Wall anchors prevent the bracket from pulling away from the wall under the weight of the rod and curtains over time.
Step 3: Fasten the Brackets and Test the Rod
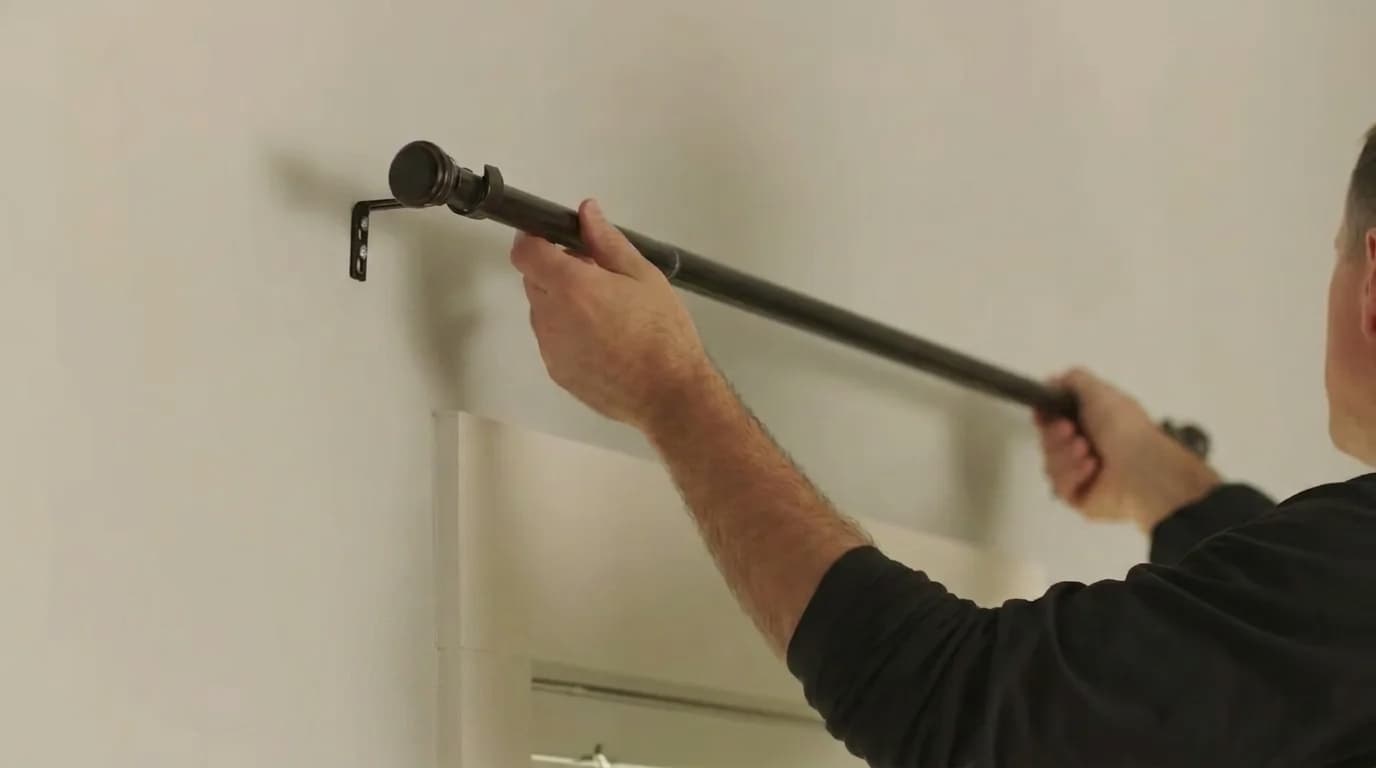
Secure each bracket firmly to the wall using a drill or screwdriver. Once both brackets are mounted, place the curtain rod across them and test that it sits securely and functions correctly before hanging any curtains.
Catching a loose bracket at this stage is far easier than fixing it after the curtains are up.
Step 4: Hang the Curtains and Final Check
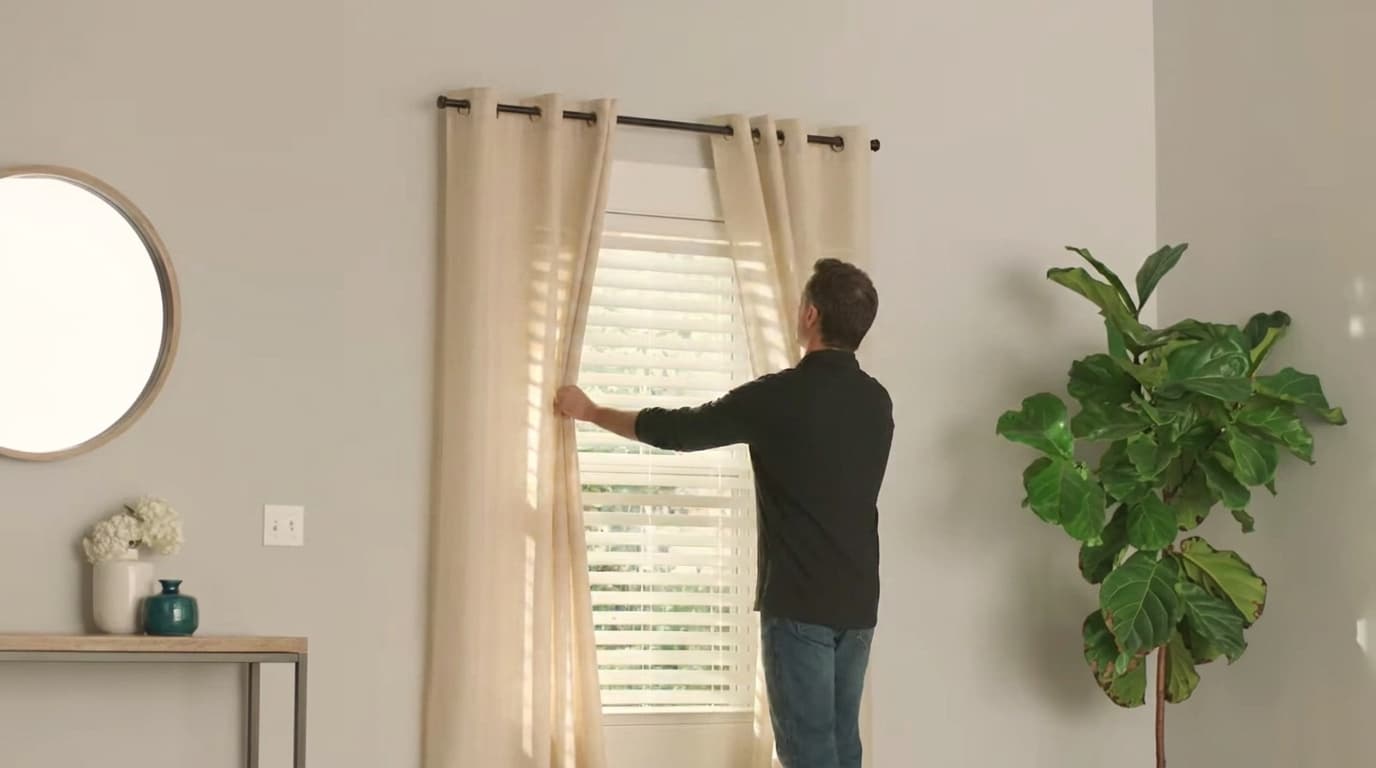
Slide your curtains or curtain rings onto the rod and hang it back across both brackets. Step back and check that everything is even and level from a distance.
Give each bracket one final tug to confirm they are fully secure, and the installation is complete.
Key Reminders:
- Brackets go 3 inches either side and 4 inches above the window frame
- Always use wall anchors for extra support
- Test the rod before hanging curtains
- Check for level at every stage before drilling
If you’d like to see this done step by step, The Home Depot has a great tutorial covering exactly this:
Done right, a drilled setup holds indefinitely, no shifting, no sagging, no revisiting. The twenty minutes spent on precision here is a one-time investment. for More Detailed
How to Style Curtains Over Blinds
Installation handles the function, styling handles everything the eye actually notices. These are the details that set a finished window apart from one with just curtains.
- Coordinate colors, don’t match them exactly: warm white blinds pair with cream or soft grey, not identical white
- Always go floor-length where possible: elongates the room and lifts the ceiling visually
- Hang wide, not just high: extending the rod beyond the frame makes the window appear larger
- Match curtain hardware to existing metal finishes: visible hardware should look deliberate
- Let curtains break slightly at the floor: one to two centimeters reads as intentional, not accidental
Small decisions, but collectively they determine whether the result looks designed or just assembled.
Common Mistakes to Avoid
Even a well-planned installation can fall flat over details that are easy to miss. Here are the most common ones, and exactly what to do instead.
| Mistake | The Fix |
|---|---|
| Rod hung too low | Mount 4–6 inches above the blind housing |
| Curtains too narrow | Panels should be 1.5–2.5 times the rod width |
| Curtains hovering above the floor | Floor-length or precise sill-length, nothing in between |
| Mismatched hardware finishes | Match the rod finish to other visible metals in the room |
| Overloading adhesive hooks | Check weight ratings; use wall brackets for heavier curtains |
| Ignoring blind projection depth | Use deep-projection brackets so the curtains clear the blind |
Avoiding these doesn’t require experience; it just requires checking before committing. Most are far easier to prevent than fix after the fact.
Maintenance Tips for Curtains and Blinds
Both layers need consistent attention to keep working and looking their best; neither demands much time when done regularly.
- Dust blinds weekly: prevents build-up that’s harder to remove later
- Vacuum curtains monthly: upholstery attachment, top to bottom
- Wash curtains seasonally: gentle machine wash for cotton and polyester; dry clean for velvet and lined panels
- Spot-clean stains immediately: blot, never rub
- Adjust for seasonal sun: close outer curtains in peak summer heat; open fully in winter for passive warmth
- Check hardware every six months: tighten brackets and inspect adhesive hooks
A consistent routine across both layers means neither ever reaches the point of needing significant repair, deep cleaning, or full replacement ahead of its time.
Frequently Asked Questions
Can curtains hang in front of blinds without touching them?
Yes, use deep-projection brackets that hold the rod 5 to 8cm away from the wall, giving curtains full clearance to hang and move freely.
Will layering curtains over blinds make the room look cluttered?
Not with a cohesive color palette and correct curtain fullness. Harmony between the two layers reads as intentional rather than overcrowded.
How high should curtains be hung above blinds?
4 to 6 inches above the blind housing minimum, higher if the ceiling allows, as this makes the window feel larger.
Can sheer and blackout curtains be combined over blinds?
Yes, a double rod handles both. Sheers on the inner track, blackout panels on the outer. Each layer operates independently.
Conclusion
A bare window with just blinds is functional, but it rarely feels finished. Layering curtains over blinds changes that without requiring professional help or a large budget. The installation steps, styling logic, and mistakes covered here are everything needed to get it right the first time.
You don’t need to overhaul the entire room; one window is enough to see the difference. Small, considered decisions like this one are often what separate a room that looks decorated from one that looks genuinely designed.
Start with the window that bothers you most, apply what you’ve learned here, and build from there. Found this useful? Share it with someone mid-renovation or leave your experience in the comments.