


When my afternoon energy drops, and I want something light but genuinely filling, white bean toast is usually what I reach for. It takes almost no time, uses ingredients that are easy to keep on hand, and delivers more satisfaction than most quick snacks.
The lemon zest cuts through the richness of the beans, the garlic adds depth, and the fresh thyme pulls everything into something that feels considered rather than thrown together. Among the simple snacks in my regular rotation, this one earns its place every time.
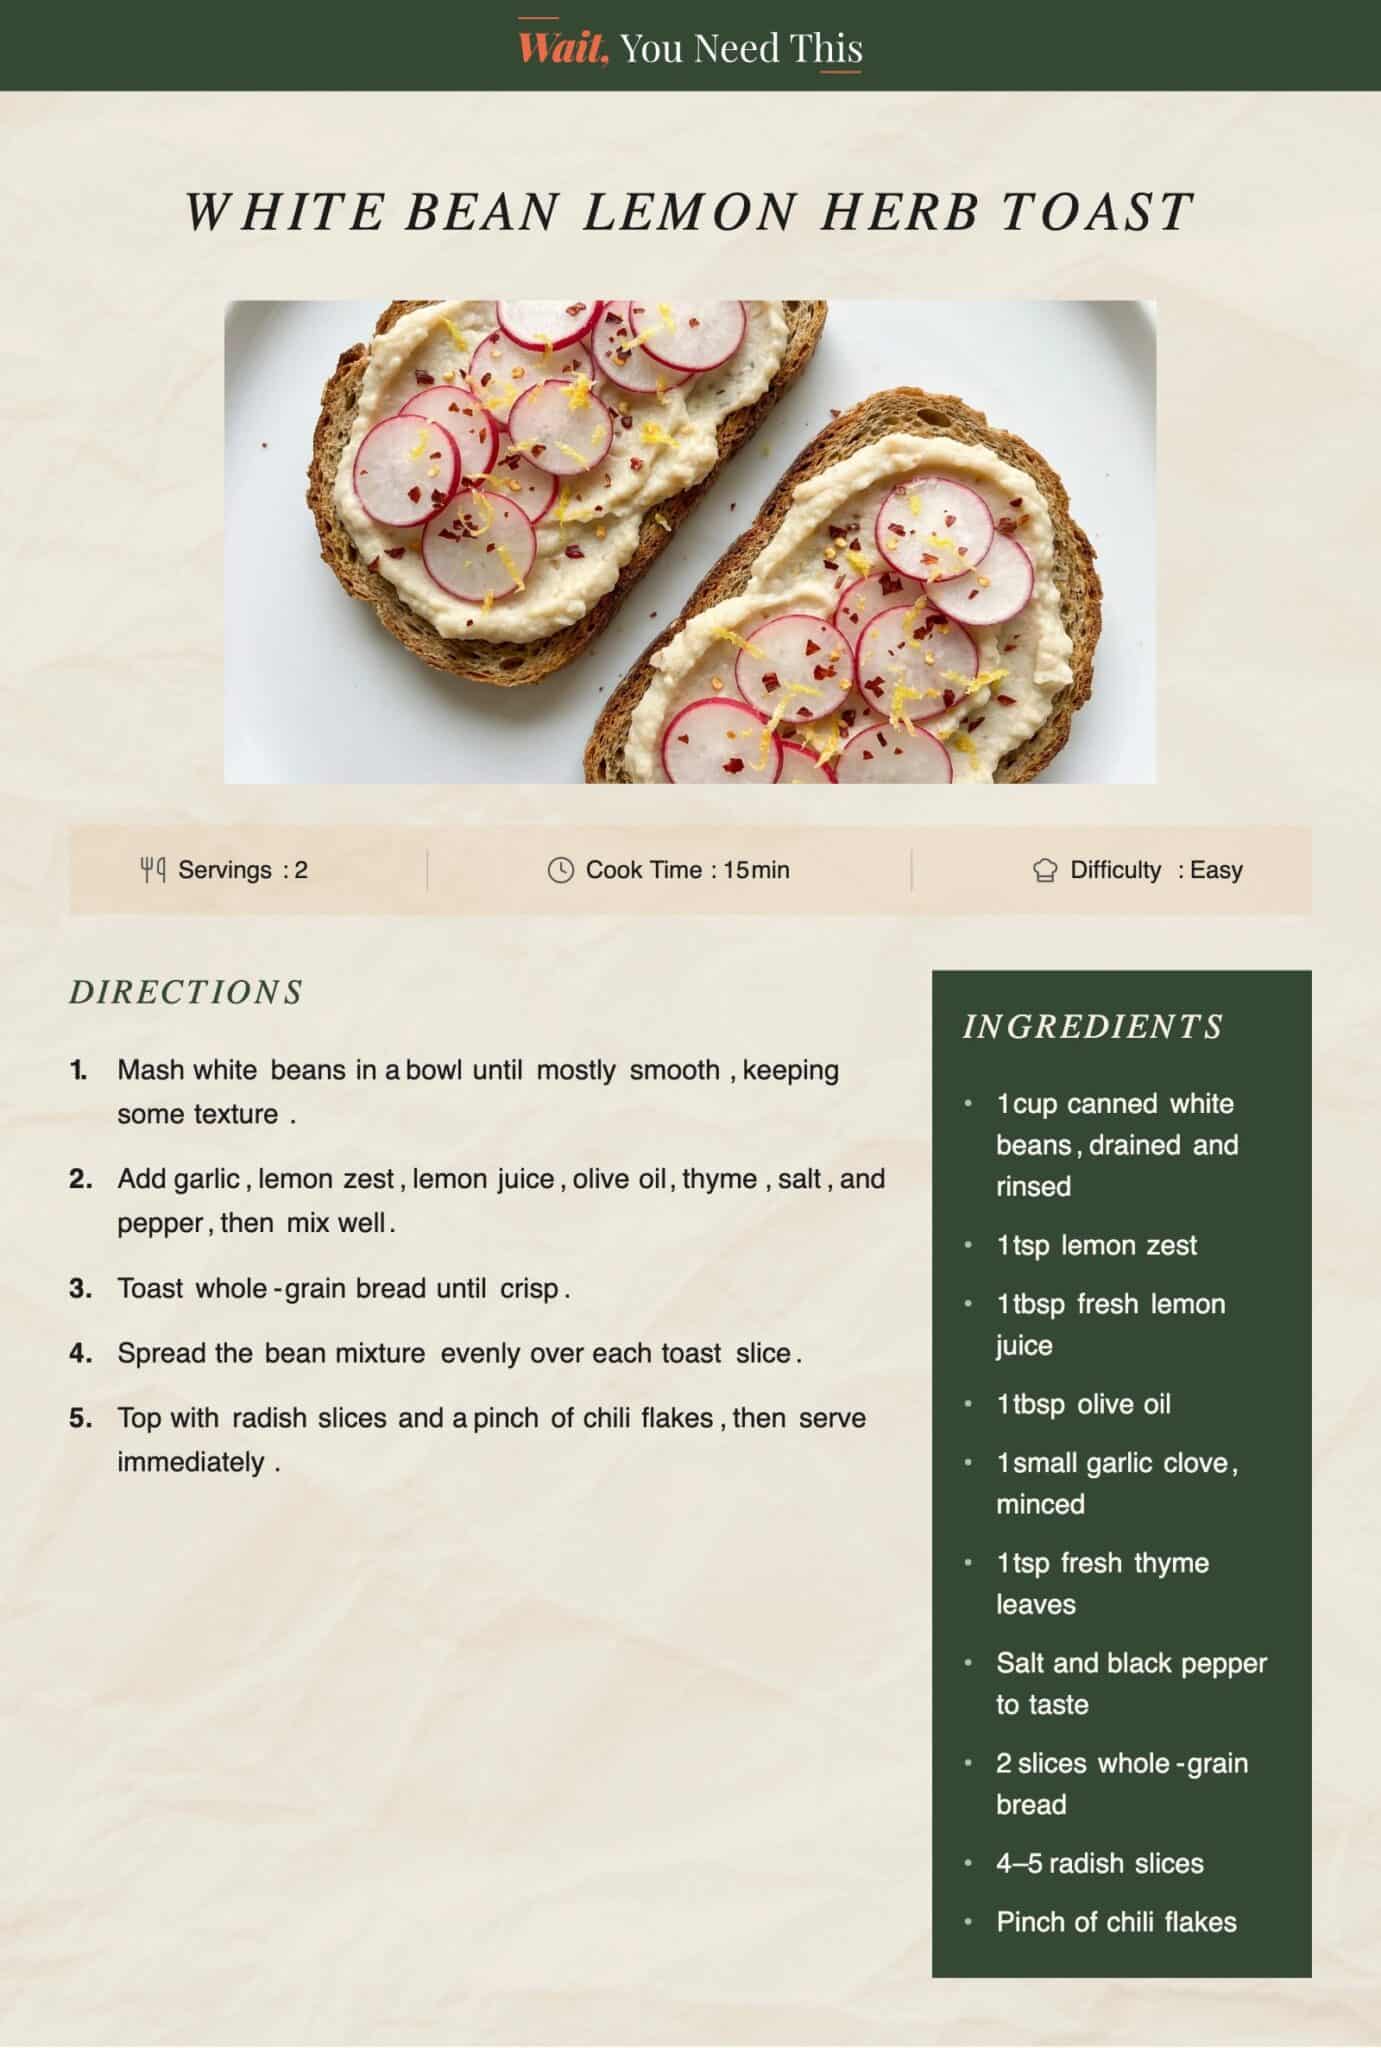
Creamy white beans mashed with lemon zest, olive oil, garlic, and fresh thyme, spread thickly over toasted whole grain bread and topped with sliced radish and a pinch of chili flakes. Simple, fresh, and ready in minutes.
Ingredients
Servings: 2 toast slices | Total Time: 15 minutes
Nutritional Values: ~220 kcal | Protein: 9g | Carbohydrate: 30g | Fat: 7g | Vitamins: B6, C
- 1 cup canned white beans, drained and rinsed
- 1 tsp lemon zest
- 1 tbsp fresh lemon juice
- 1 tbsp olive oil
- 1 small garlic clove, minced
- 1 tsp fresh thyme leaves
- Salt and black pepper to taste
- 2 slices whole-grain bread
- 4–5 radish slices
- Pinch of chili flakes
White Bean Lemon Herb Toast: Steps to Make
White bean lemon herb toast is an open-faced snack made with mashed seasoned white beans spread over toasted whole-grain bread. It is high in plant protein, quick to prepare, and substantial enough to carry you through a busy afternoon without feeling heavy.
Step 1: Prepare the Bean Spread
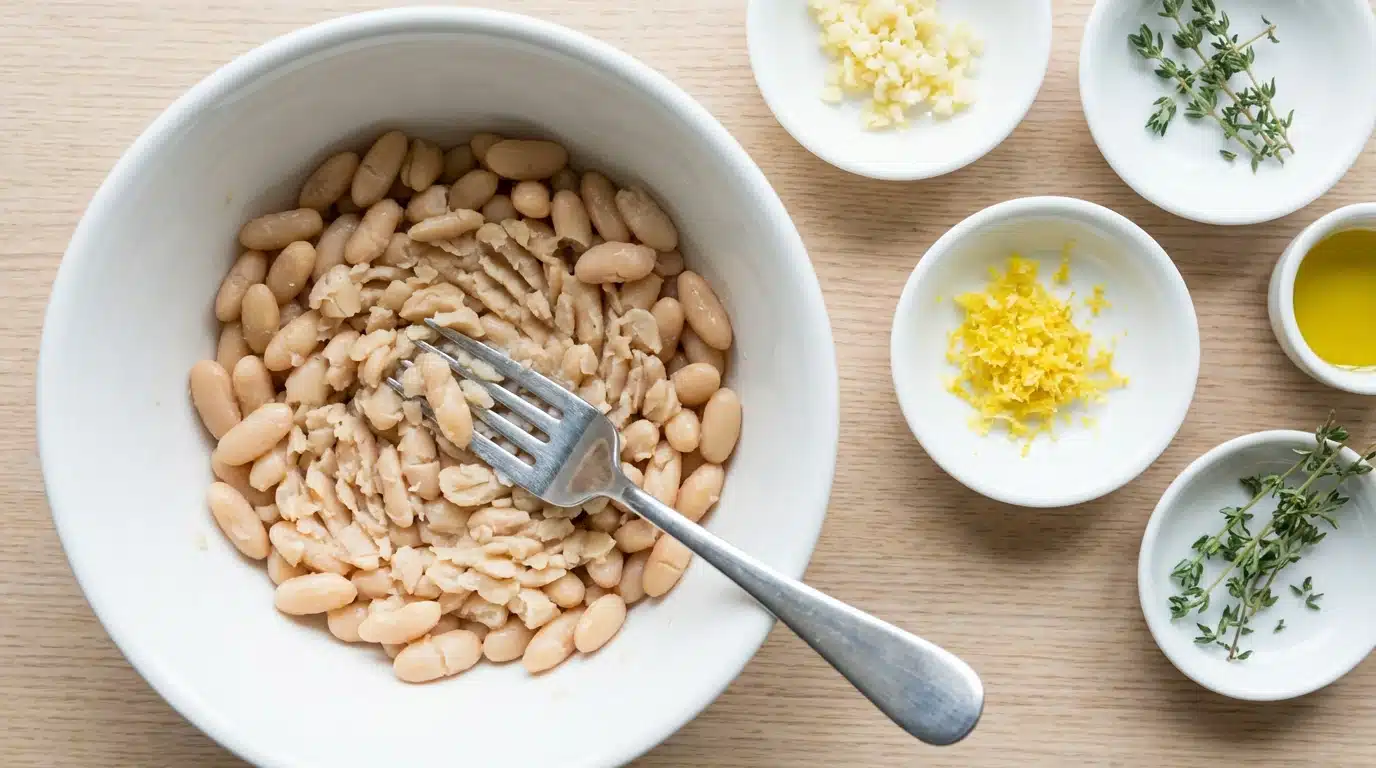
Place the drained white beans in a bowl and mash with a fork until mostly smooth. Leave some texture; a fully smooth paste loses the body that makes this spread satisfying.
Add the minced garlic, lemon zest, lemon juice, olive oil, and fresh thyme. Season with salt and black pepper, then stir until everything is evenly combined.
Step 2: Toast the Bread

Toast your whole-grain bread slices to your preferred level of crispness. A firmer toast holds the spread better and gives each bite a clean crunch against the creamy bean base. Avoid under-toasting; soft bread makes the whole thing feel soggy quickly.
Step 3: Spread and Top
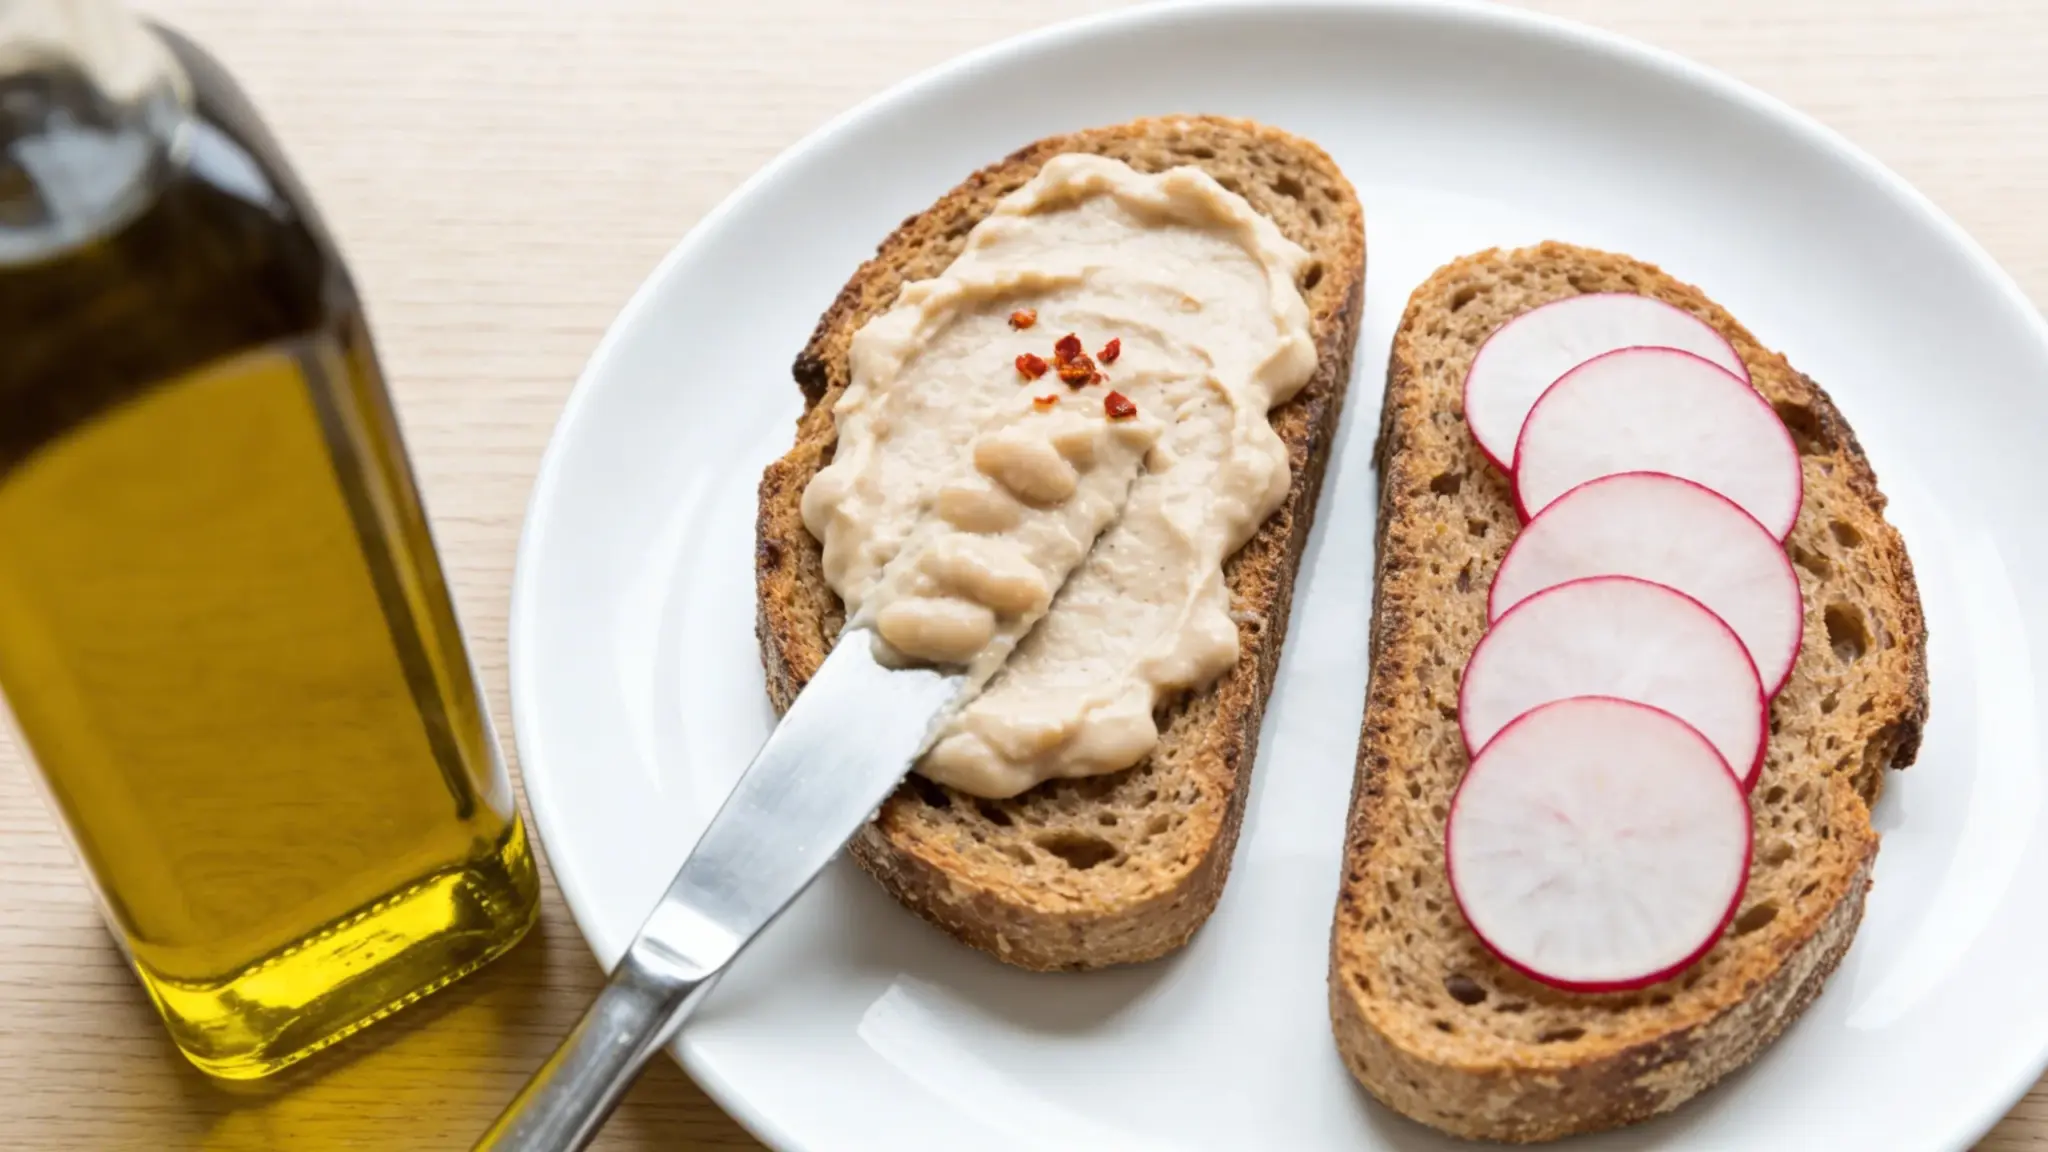
Spoon the bean mixture generously onto each toast slice and spread it to the edges. Layer the radish slices evenly across the top, then finish with a pinch of chili flakes. Add an extra drizzle of olive oil for a slightly richer finish.
Step 4: Serve Immediately

This toast is best eaten straight after assembly. The contrast between the warm, crisp bread and the cool, creamy spread is part of what makes it work. If prepping ahead, keep the bean spread refrigerated separately and toast fresh when ready to eat.
Note: Bean spread keeps refrigerated for up to 4 days; toast fresh.
Final Thoughts
This recipe has become one of the more consistent things in my weekly snack rotation, and for good reason. The bean spread takes minutes to make, keeps well in the fridge for up to 4 days, and works just as well on a Tuesday afternoon as on a slow weekend morning.
What makes it worth repeating is how little effort it asks for and how much it delivers in return. If you are looking for a snack that feels fresh without requiring much preparation, this is a solid place to start.
Make the spread once, keep it in the fridge, and you will find yourself reaching for it more often than expected. Drop a comment below and let me know how yours turned out.


