If you have ever stood in the hair dye aisle wondering which box to trust, I get it.
One product says permanent color, another says gloss, and another promises a quick root fix. It can feel like too many choices for one simple goal: coloring your hair at home without messing it up.
The besthair coloring techniques depend on what you want to change. You may want gray coverage, richer color, softer tone, brighter ends, or a short-term color test. Each goal needs a different product and method.
Here, I’ll help you understand the main color products, the easiest at-home methods, and the common mistakes to avoid before you open the box.
Start With Your Hair Goal Before You Choose a Method
Before you pick a dye or technique, think about what you want your hair to do. Do you want to cover gray roots, refresh dull color, add shine, try a fun shade, or make your ends lighter?
Each goal needs a different product and method. Root touch-up works well for regrowth. Gloss helps faded color look fresh again. Semi-permanent and temporary colors are better for testing a shade. All-over color works when you want one even shade.
More detailed hair coloring techniques, like balayage, highlights, color melt, and major lightening, need more control. Start with the result you want, then choose the method that matches your hair, skill level, and comfort at home.
Quick Reference: Best At-Home Hair Coloring Techniques
This quick table helps you compare the main hair coloring techniques without going through every step again. Use it when you want to match your hair goal with the easiest at-home option.
| Technique Group | What It Helps You Do | How Often You May Need to Refresh It | Best For |
| Full Coverage & Quick Refresh | Covers roots, refreshes faded color, or adds shine | Every 3–6 weeks | Gray coverage, dull hair, faded color |
| Low-Commitment Color | Lets you test a shade without a long-term change | After 1 wash to a few weeks | Events, fashion shades, first-time color tests |
| Precision Section Color | Adds lighter or darker pieces without coloring the full head | Every 6–10 weeks | Highlights, soft gray blending, flat-looking color |
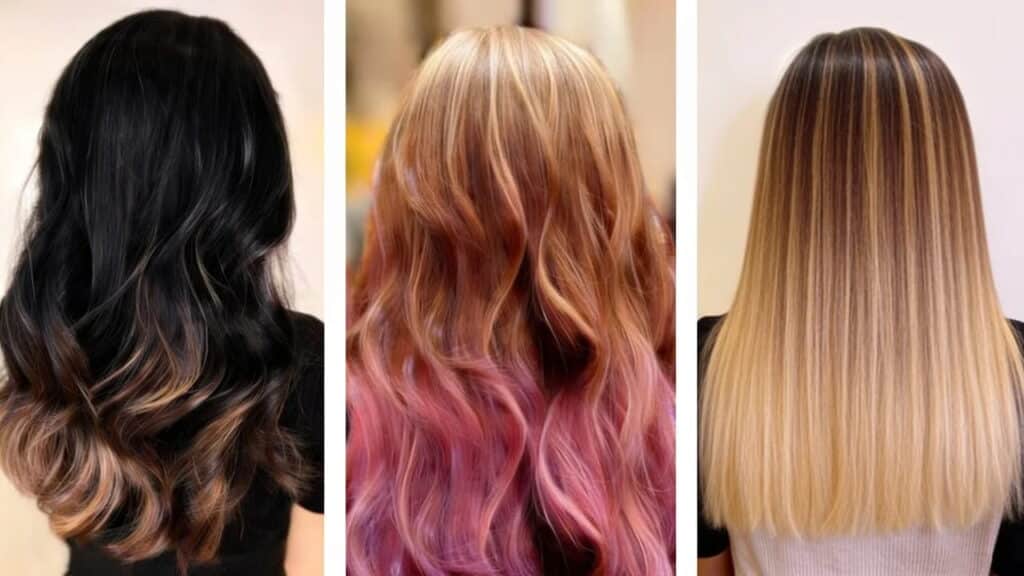
| Painted Color Effects | Creates softer brightness, lighter ends, or deeper pieces | Every 8–12 weeks or longer | Balayage, ombré, sombré, low-maintenance color |
| Blended & Creative Placement | Adds bold ends, soft shade shifts, or brown-blonde depth | Every 4–10 weeks | Dip-dye, color melt, bronde, visible color changes |
This table keeps the choice simple. Start with the goal first, then choose the group that fits your hair, time, and comfort level at home.
Full Coverage & Quick At-Home Color Techniques
These methods are the easiest place to start if you want a simple change. They work best for gray coverage, faded color, shine, short-term color, or a small update close to your current shade.
1. All-Over Hair Color
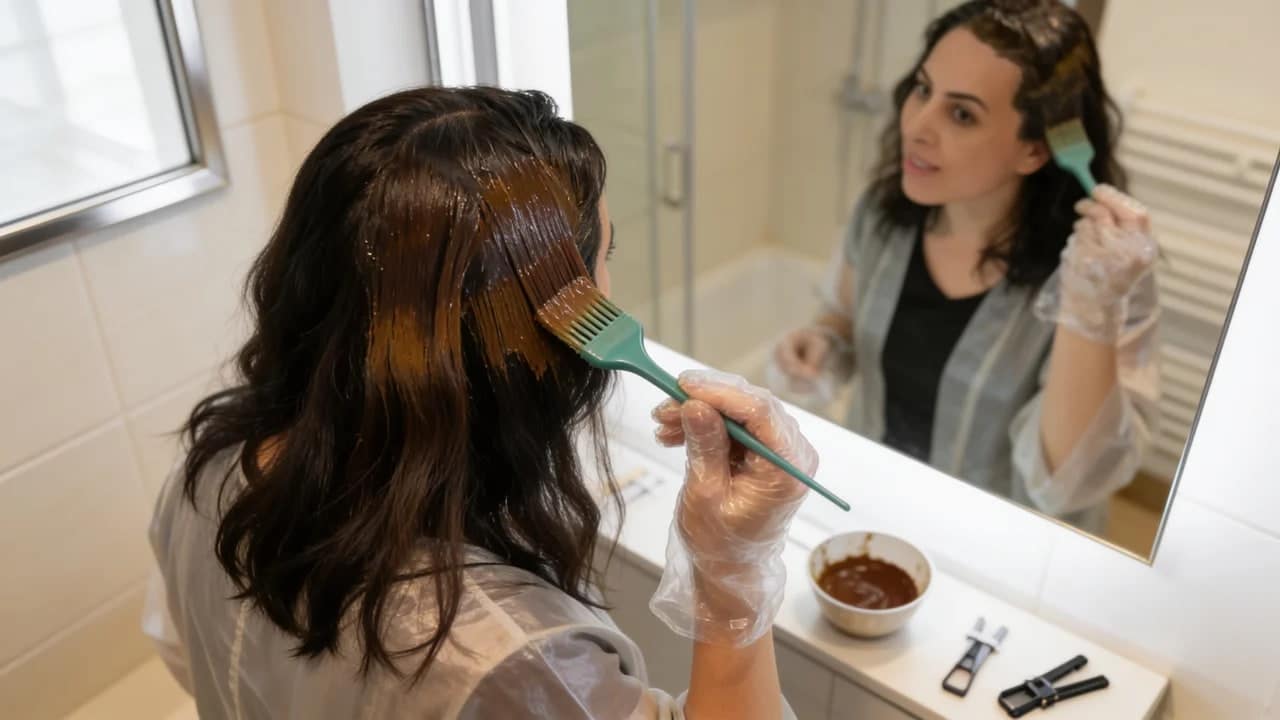
All-over hair color means applying a single shade across the entire head. It works best when you want gray coverage, a darker shade, or a simple color refresh close to your current hair color.
Tools & Materials: hair color kit, developer if included, gloves, tint brush, clips, old towel, petroleum jelly, timer, and conditioner
Basic steps:
- Prepare your hair and skin: Brush your hair well and divide it into four sections. Apply petroleum jelly around the hairline to reduce skin staining.
- Mix the color: Mix the dye and developer exactly as the box says. Wear gloves before touching the color.
- Apply from roots to ends: Start at the roots when covering gray hair. Then pull the color through the mid-lengths and ends for even coverage.
- Let it process: Set a timer and follow the product timing. Do not leave the color on longer than directed.
- Rinse and condition: Rinse with lukewarm water until the water runs mostly clear. Use the conditioner from the kit or a color-safe conditioner.
Best for: All-over hair color is best for full gray coverage, refreshing faded hair, going darker, or switching to a single shade close to your natural hair color.
2. Root Touch-Up
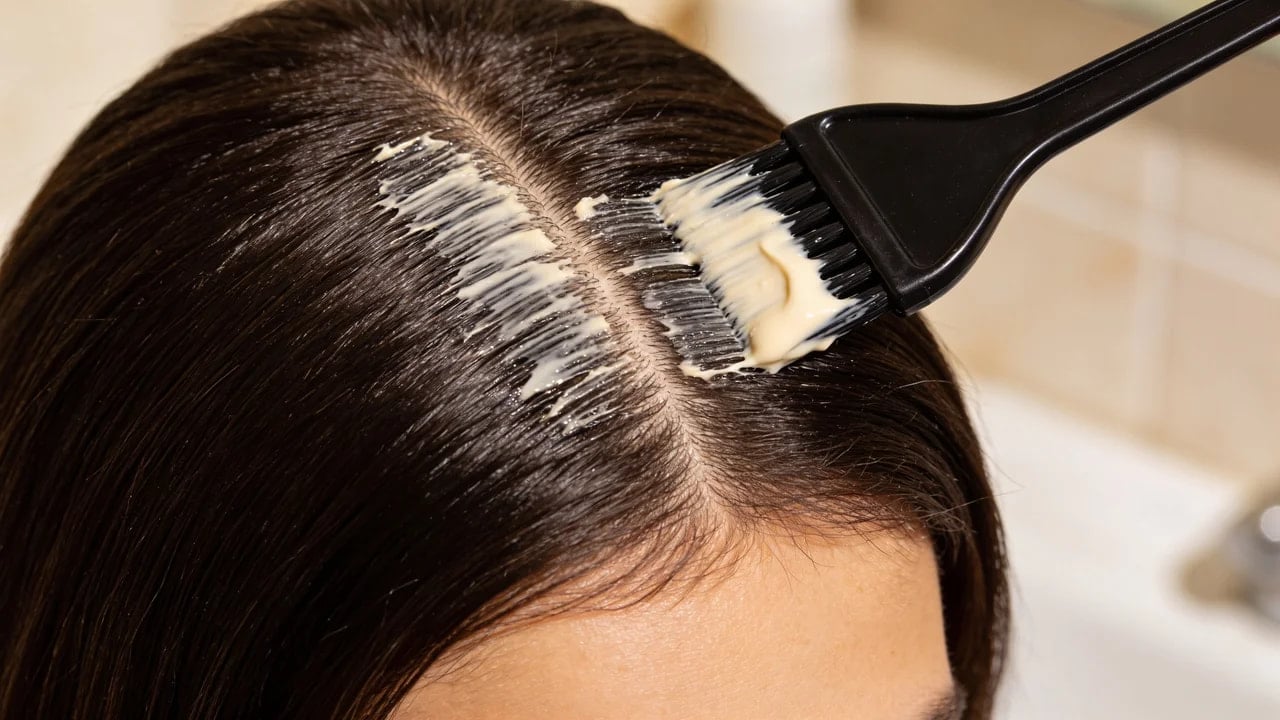
Root touch-up targets new growth instead of coloring the whole head again. It is one of the most useful hair-coloring techniques when your roots show, but the rest of your color still looks fine.
Tools & Materials: root touch-up kit, spray, powder, stick, or cream color, gloves, small brush, clips, comb, old towel, and timer
Basic steps:
- Part your hair: Focus on the hairline, temples, and main part first. These areas usually show the fastest regrowth.
- Clip away extra hair: Keep your sections clean so the product goes only on the new growth.
- Apply to roots only: Cover the visible roots evenly. Avoid pulling too much color through already-colored hair.
- Let it sit or dry: Permanent root color needs processing time. Sprays, sticks, and powders usually need drying time.
- Rinse if needed: Dye kits need rinsing and conditioning. Sprays, powders, and sticks stay in until your next wash.
Best for: Root touch-up is best for gray roots, visible regrowth, and small color gaps around the hairline or part line.
3. Hair Gloss
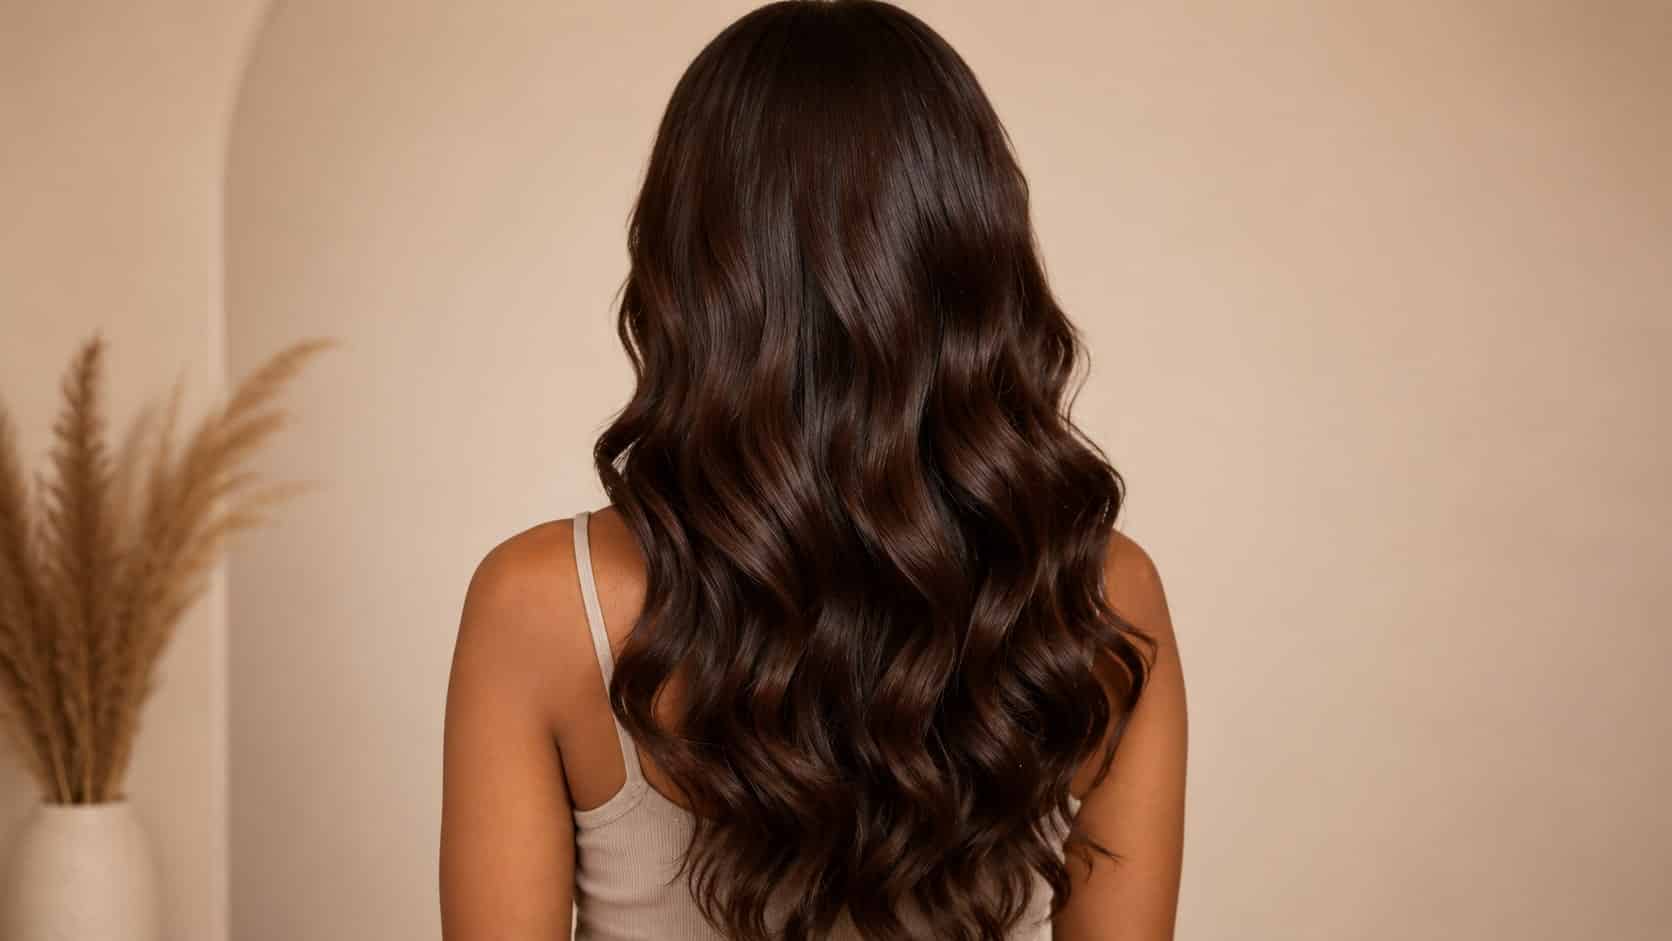
Hair gloss refreshes your current color without making a major change. It can add shine, soften dullness, and help faded color look smoother between full dye sessions.
Tools & Materials: at-home hair gloss, gloves, wide-tooth comb, sectioning clips, old towel, and timer
Basic steps:
- Prepare your hair: Some glosses work on clean, damp hair, while others work on dry hair. Read the instructions first.
- Divide your hair: Clip it into even sections so the gloss spreads evenly.
- Apply the gloss: Work it through the areas that need shine, tone, or refresh.
- Wait for the right time: Follow the timing on the box. Leaving it longer may not improve the result.
- Rinse and style: Rinse with cool or lukewarm water until the product is fully removed.
Best for: Hair gloss is best for faded color, dull hair, mild brassiness, or adding shine without changing your shade too much.
4. Semi-Permanent Hair Color
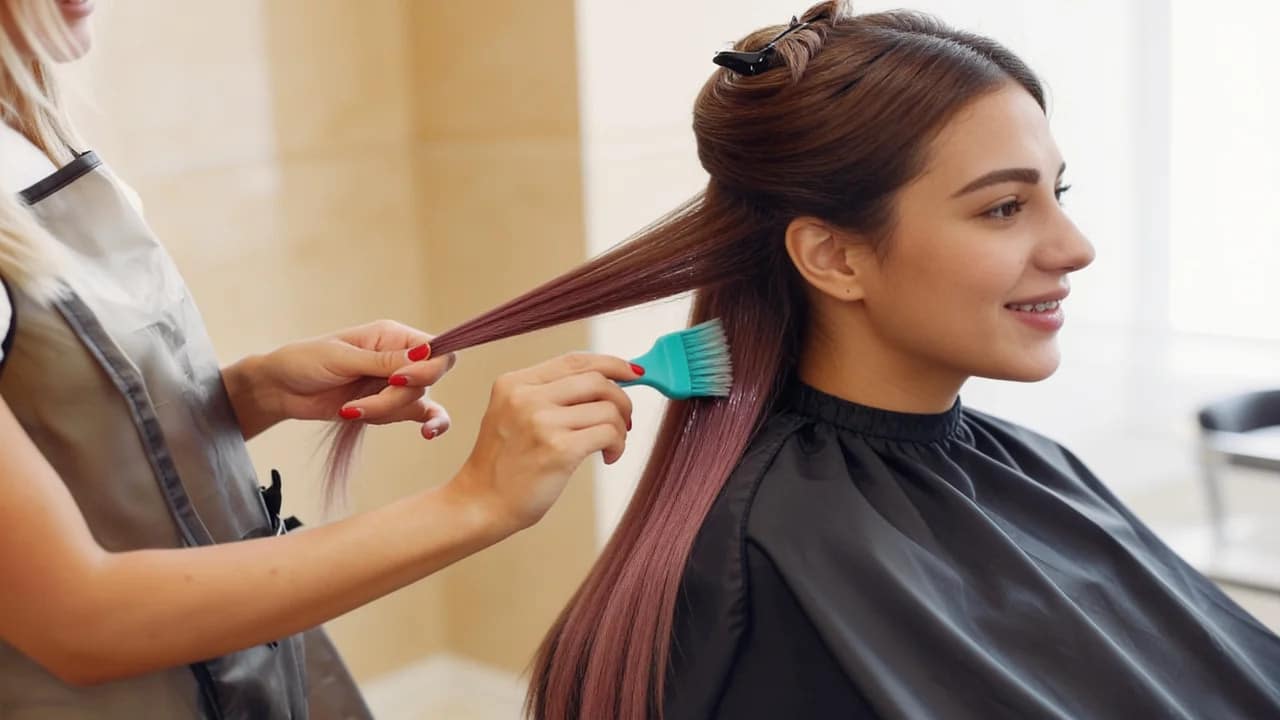
Semi-permanent hair color adds tone without making a big, lasting change to the hair. Since it fades with washing, it works well you testing a shade before using a stronger color.
Tools & Materials: semi-permanent hair color, gloves, tint brush, mixing bowl if needed, sectioning clips, wide-tooth comb, old towel, and timer
Basic steps:
- Prepare your hair: Start with clean, damp, or dry hair based on the product directions.
- Section your hair: Divide it into smaller sections so the color spreads evenly.
- Apply the color: Coat each section thoroughly and comb through gently, if the instructions allow.
- Let it process: Cover your hair if directed and wait for the full time listed on the product.
- Rinse with cool water: Skip shampoo right away unless the product says otherwise.
Best for: Semi-permanent hair color is best for trying fashion shades, refreshing faded color, adding tone, or making a short-term change with less commitment.
5. Temporary Hair Color
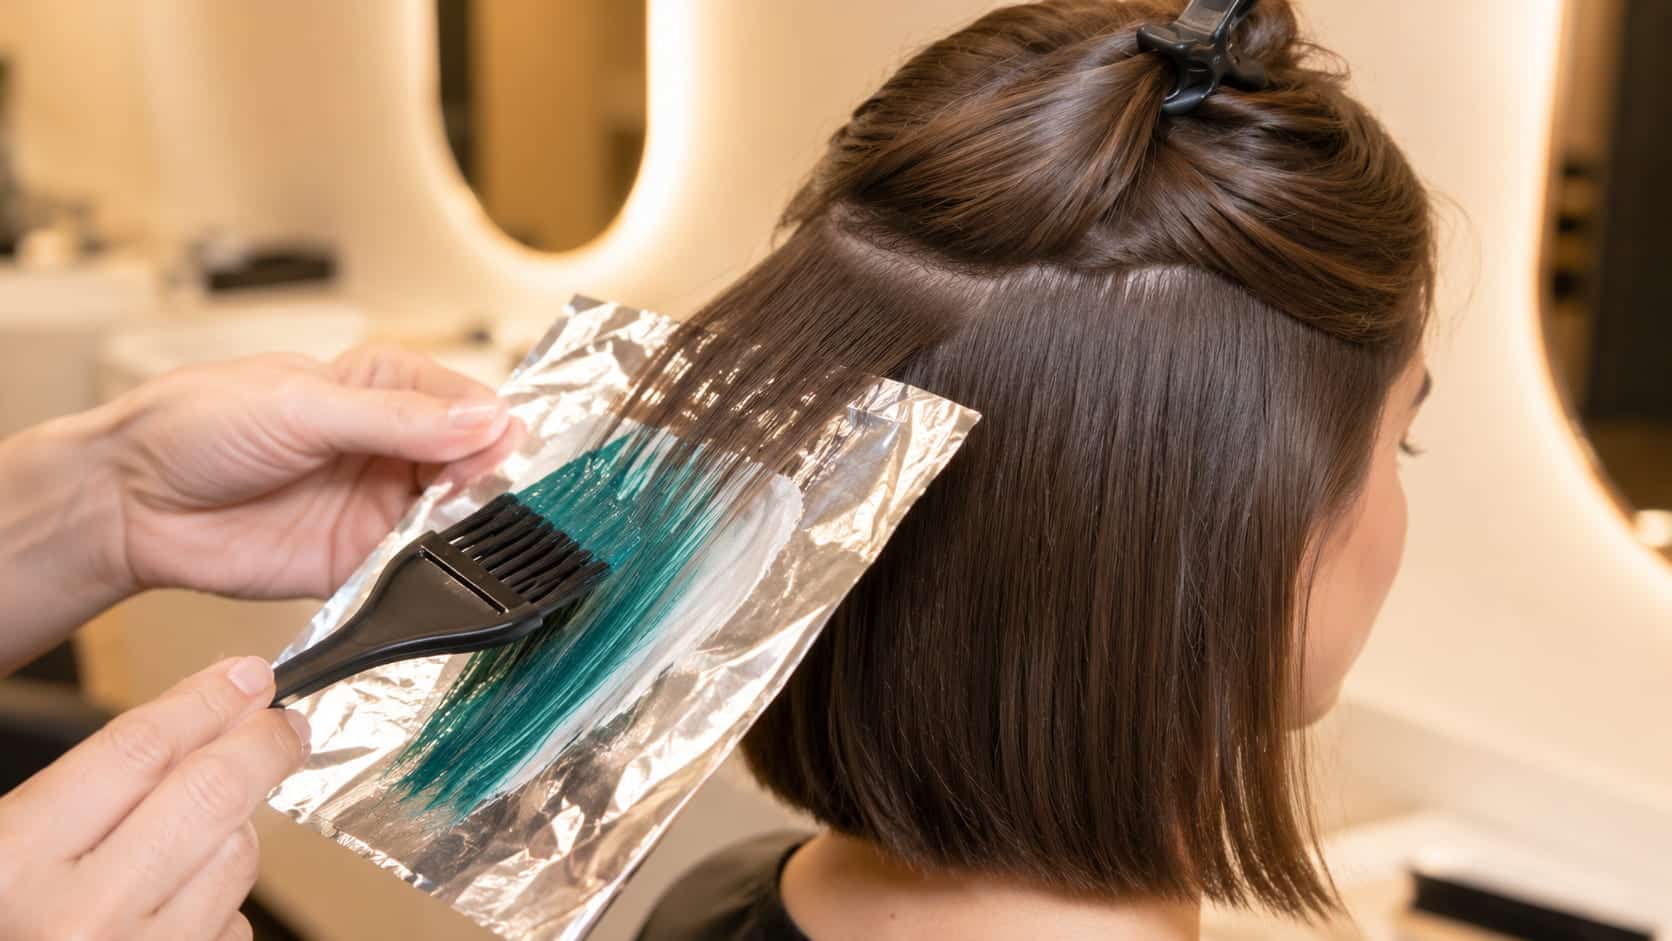
Temporary hair color sits on the surface of the hair rather than changing the natural pigment. It washes out quickly, so it is a good option when you want color for a day, event, or test run.
Tools & Materials: temporary color spray, wax, chalk, color mask, or conditioner, gloves if needed, comb, old towel, and clips
Basic steps:
- Prepare your hair: Brush out tangles and place a towel over your shoulders.
- Apply light layers: Build the color up slowly rather than using too much at once.
- Let it dry: Drying helps reduce transfer onto clothes, hands, and pillowcases.
- Style gently: Avoid too much brushing if the product needs to sit on the hair.
- Wash it out: Rinse well until the water runs clear, then condition if your hair feels dry.
Best for: Temporary hair color is best for special events, colorful streaks, quick root fixes, or testing a shade before using longer-lasting dye.
These five methods are the safest starting points for most beginners. For best results, stay close to your current shade and choose the gentlest product that fits your goal.
Precision & Foil Techniques
These methods use smaller sections of hair to create brightness, depth, or contrast. They can be done at home with consumer highlighting kits, but you need patience, neat sectioning, and a strand test first.
6. Traditional Highlights
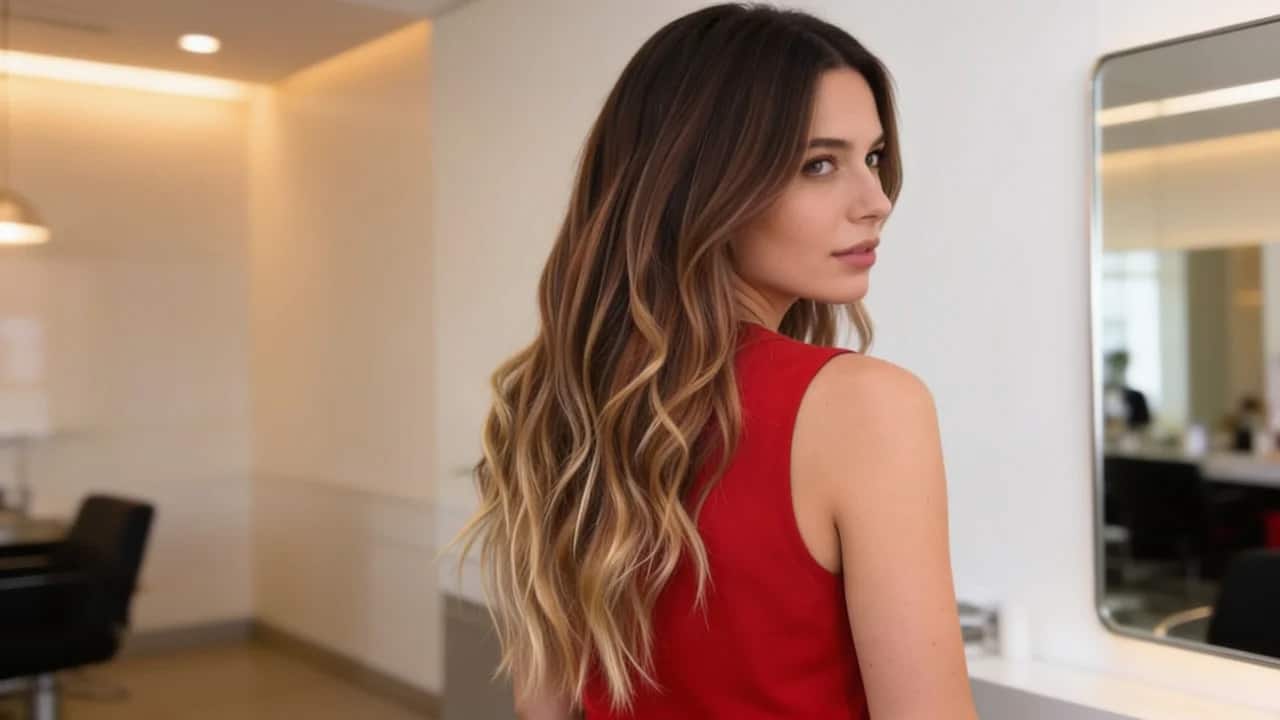
Traditional highlights lighten selected strands throughout the hair. At home, this is usually done with a highlighting kit, cap kit, or foil kit that helps separate the pieces you want to lighten.
Tools & Materials: at-home highlighting kit, lightener, developer, foils or highlighting cap, tail comb, tint brush, gloves, clips, toner if included, timer, and conditioner
Basic steps:
- Choose your placement: Decide if you want face-framing pieces, top-layer brightness, or lightness throughout.
- Separate small strands: Use a cap or tail comb to pick thin sections.
- Apply the lightener: Coat the selected strands evenly, keeping them separate from the rest of your hair.
- Watch the timing: Check the color often, and do not exceed the product limit.
- Rinse and tone: Rinse fully, use toner if included, then condition well.
Best for: Traditional highlights are best for adding brightness, creating contrast, blending some gray hair, or making the hair look fuller without changing the full base color.
7. Babylights
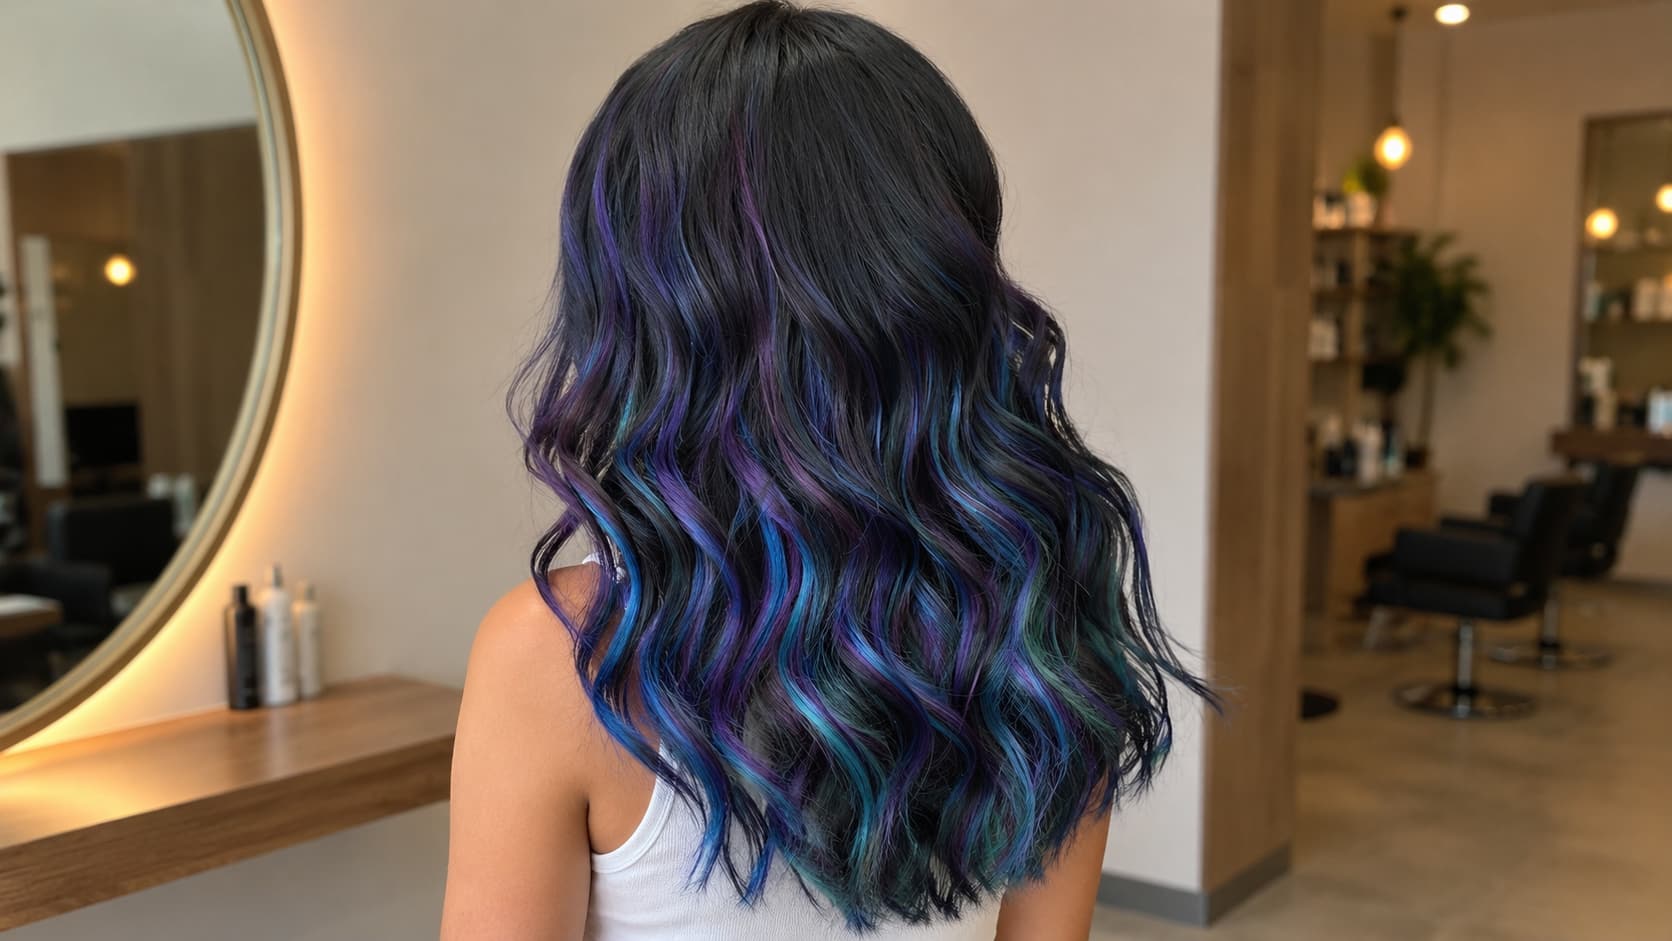
Babylights are very fine highlights that create soft brightness. At home, they are harder than regular highlights because the sections need to be tiny, even, and carefully spaced.
Tools & Materials: at-home lightening kit, fine foils, tail comb, tint brush, gloves, clips, toner if included, timer, and conditioner
Basic steps:
- Start with small areas: Work near the face or the top layer first, rather than trying the whole head.
- Pick very thin strands: Use a tail comb to separate fine pieces of hair.
- Apply lightener carefully: Coat only the selected strands and keep the sections neat.
- Check often: Fine strands lighten quickly, so watch the timing closely.
- Rinse and condition: Rinse once the shade looks right, then tone if needed and condition well.
Best for: Babylights are best for soft brightness, gentle dimension, early gray blending, or a natural-looking color update.
8. Lowlights
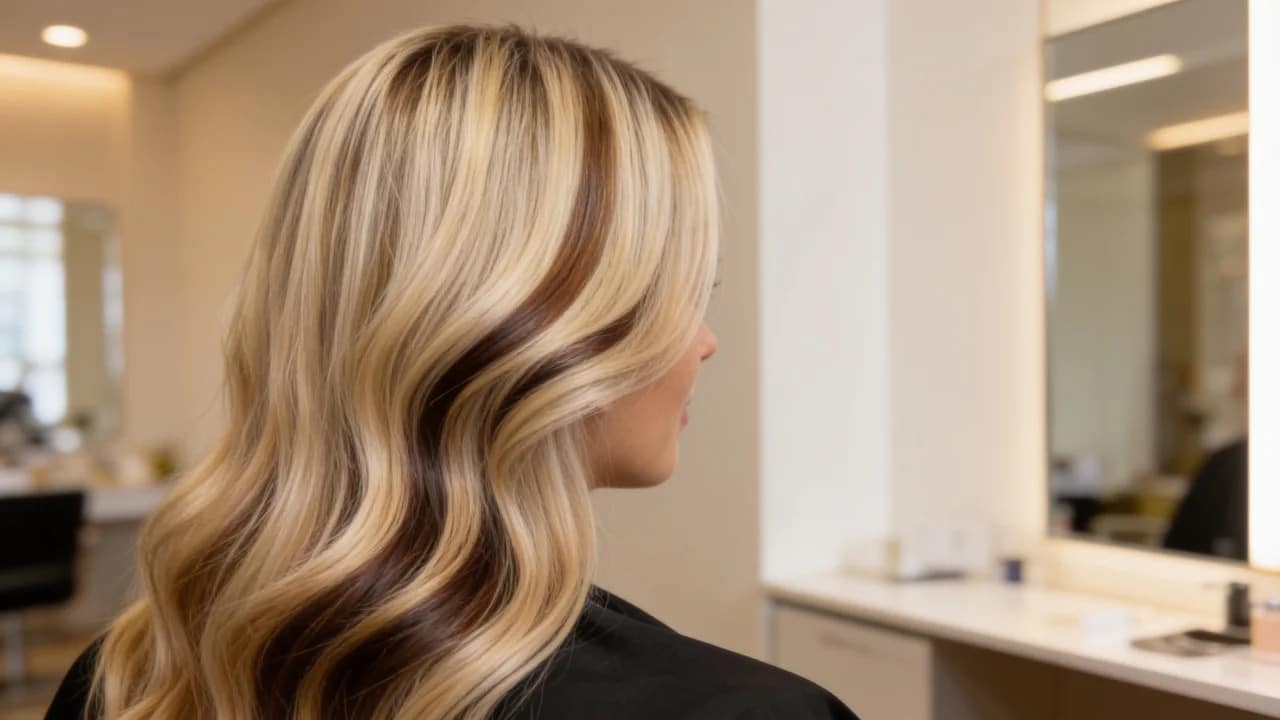
Lowlights add darker pieces through the hair instead of making it lighter. They are useful when blonde or highlighted hair looks too flat, too bright, or too solid.
Tools & Materials: demi-permanent or permanent hair color, developer if needed, tint brush, mixing bowl, foils, tail comb, gloves, clips, timer, and conditioner
Basic steps:
- Pick the darker shade: Choose a color only one or two levels deeper than your current hair.
- Section the hair: Separate the pieces where you want more depth.
- Apply the color: Coat each selected strand from root to end.
- Wrap the strands: Use foil to keep the darker pieces away from the rest of the hair.
- Rinse and condition: Rinse after the recommended time, then apply conditioner.
Best for: Lowlights are best for adding depth, softening overly bright hair, making fine hair look fuller, or adding richness to blonde or highlighted hair.
Precision work takes more time than full-head color. If your hair is damaged, very dark, or already uneven, keep the change small or ask a stylist before using lightener.
Freehand & Painting Techniques
Freehand methods place color or lightener in selected areas without coloring every strand. These hair coloring techniques can look soft and modern, but at home, you should keep the change simple and avoid strong bleach work unless your hair can handle it.
9. Balayage
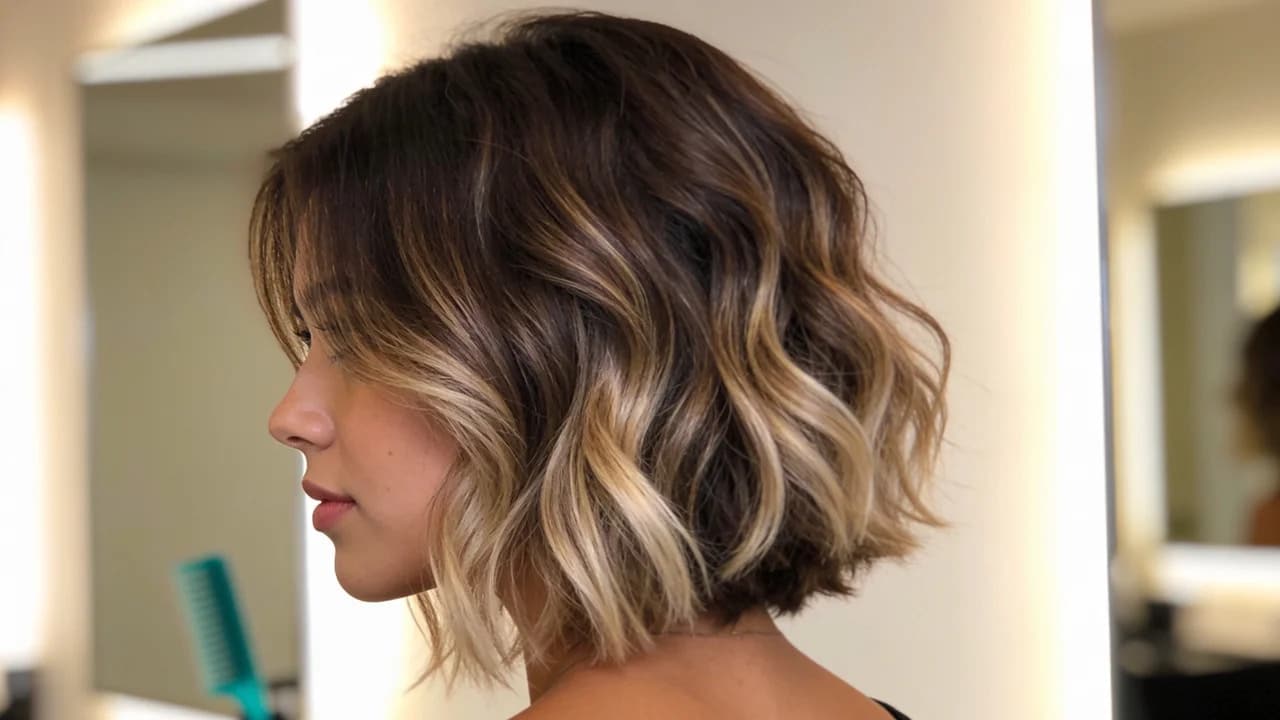
Balayage means painting a lighter color onto selected mid-lengths and ends. At home, it works best when you use a balayage kit and aim for soft brightness rather than a major blonde change.
Tools & Materials: at-home balayage kit, lightener or color, developer, gloves, tint brush, paddle or board if included, clips, toner if included, timer, and conditioner
Basic steps:
- Section the hair: Divide your hair into clean sections so you can work slowly.
- Choose the light areas: Pick pieces around the face and top layer for a natural effect.
- Paint the color on: Apply the product to the hair surface, focusing on mid-lengths and ends.
- Soften the starting point: Use light pressure near the top so the color does not form a hard line.
- Rinse and condition: Rinse when the desired lift is reached, then tone if needed and condition well.
Best for: Balayage is best for soft brightness, low-maintenance color, and lighter ends that grow out without a harsh root line.
10. Ombré
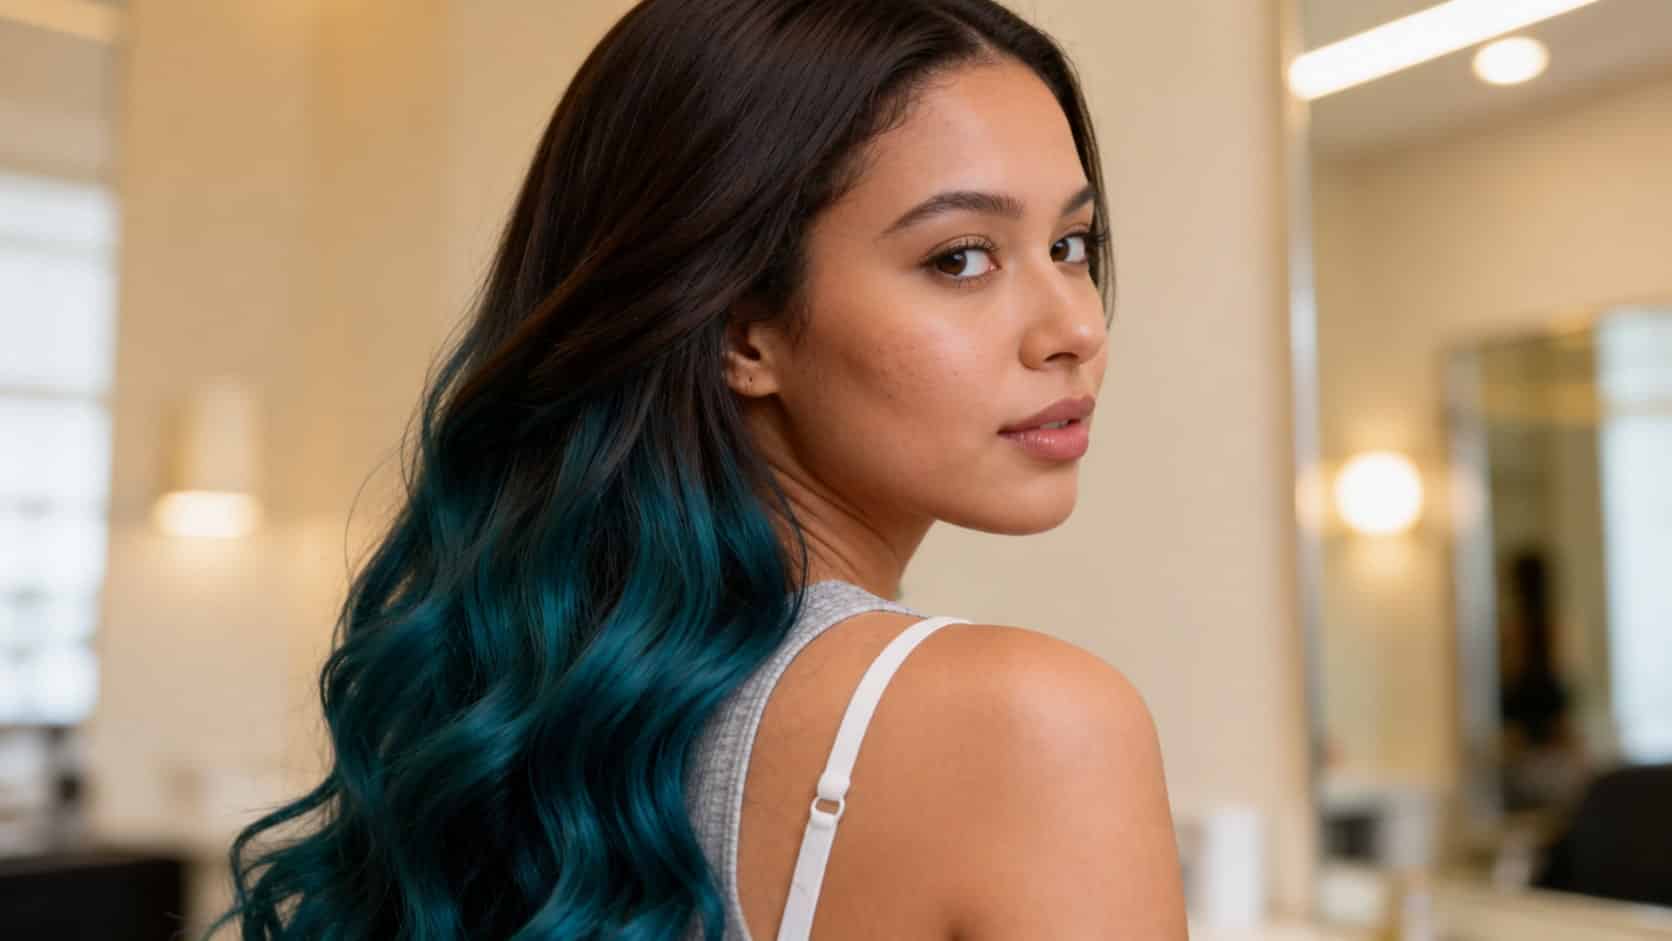
Ombré creates darker roots with lighter mid-lengths and ends. The change is more noticeable than balayage, but the roots stay untouched, which makes it easier to maintain.
Tools & Materials: ombré kit, lightener, developer, gloves, tint brush, mixing bowl, clips, toner if included, timer, and conditioner
Basic steps:
- Choose the starting point: Decide where the lighter color should begin on both sides.
- Apply to the ends first: Saturate the ends well because they should be the lightest part.
- Move upward lightly: Use less product as you move toward the middle to soften the change.
- Check the color: Watch the lift and avoid leaving lightener on too long.
- Rinse and tone: Rinse fully, apply toner if needed, then condition well.
Best for: Ombré is best for lighter ends, a noticeable two-tone effect, and color that does not need frequent root touch-ups.
11. Sombré
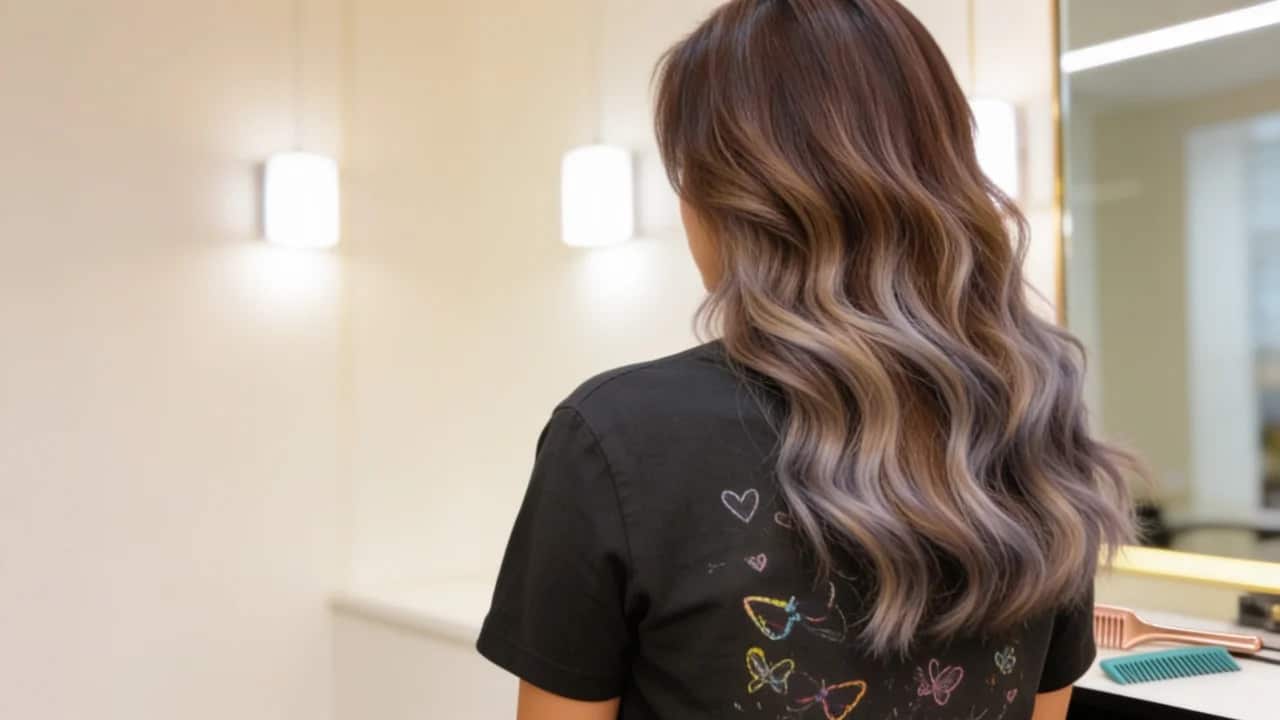
Sombré is a softer version of ombré. The root and end colors stay closer together, so the final look is gentler and more natural.
Tools & Materials: lightener or demi-permanent color, developer if needed, gloves, tint brush, clips, mixing bowl, gloss or toner if needed, timer, and conditioner
Basic steps:
- Pick a subtle shade change: Choose a color only slightly lighter than your current hair.
- Section the hair: Clip hair into neat sections for even placement.
- Apply through the lower lengths: Keep the roots natural and focus on the lower half.
- Soften the transition: Use light strokes where the two shades meet.
- Rinse and gloss: Rinse after processing, then use gloss or toner if needed.
Best for: Sombré is best for soft brightness, gentle dimension, and a low-maintenance color change that grows out smoothly.
12. Reverse Balayage
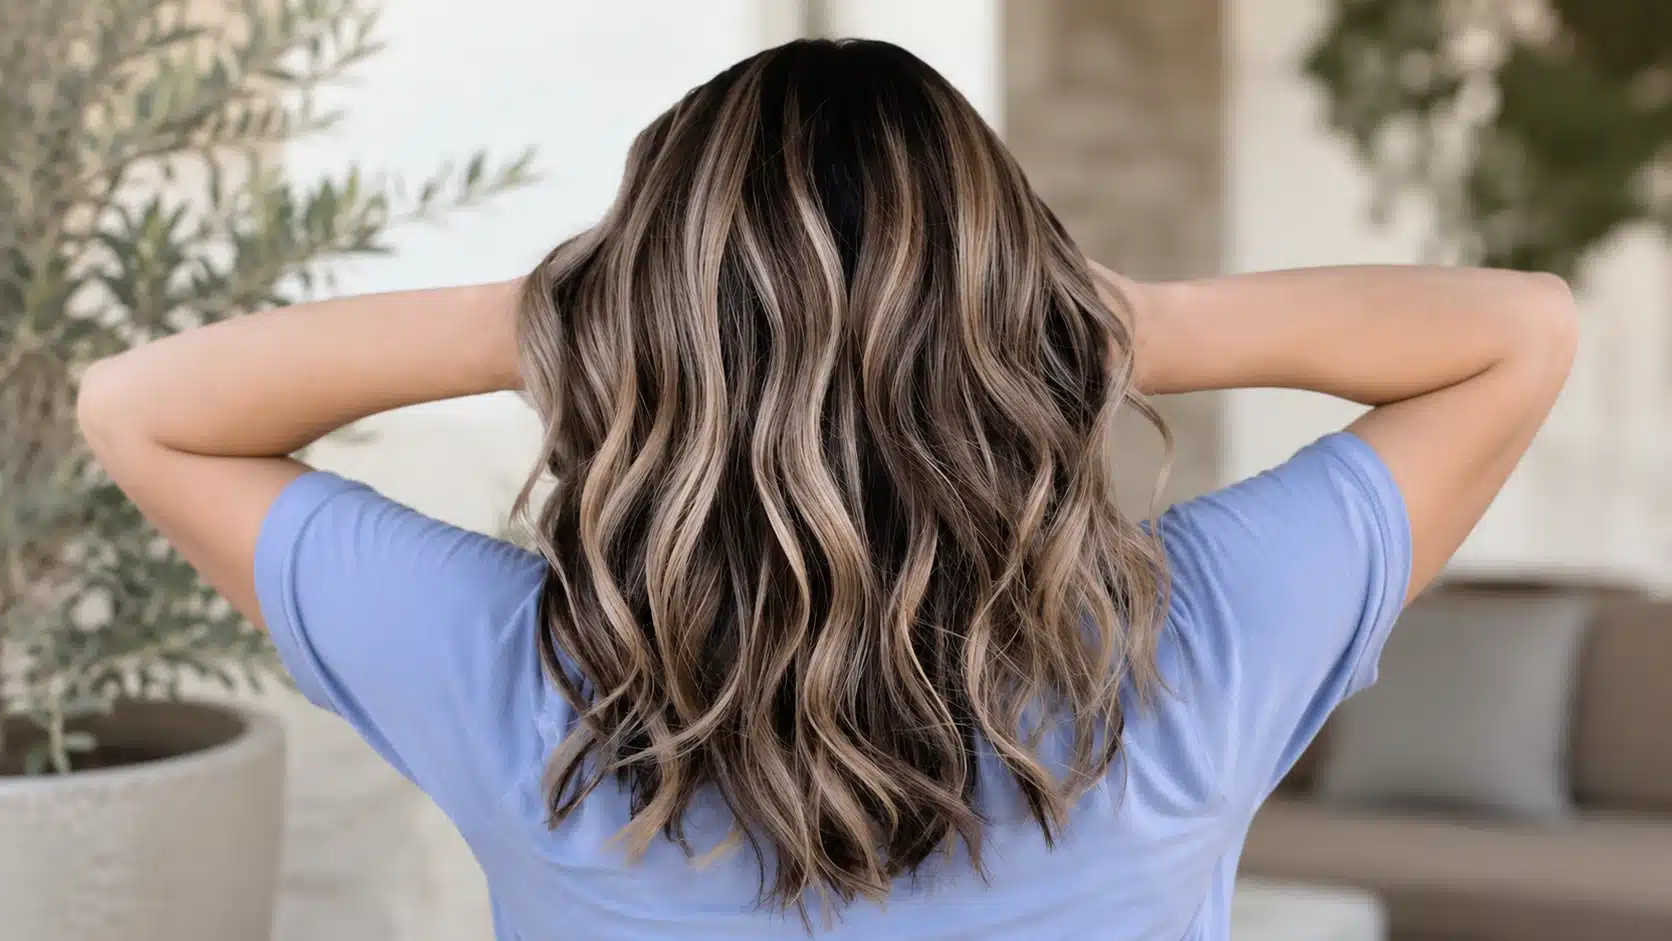
Reverse balayage adds darker pieces back into lighter hair. Instead of lightening more hair, it creates depth and soft contrast using darker shades.
Tools & Materials: demi-permanent or permanent color, developer if needed, gloves, tint brush, mixing bowl, clips, wide-tooth comb, timer, and conditioner
Basic steps:
- Choose a deeper shade: Pick a color close to your natural root or one shade darker.
- Section the hair: Focus on areas that look too light, flat, or washed out.
- Paint darker pieces: Apply color to the selected strands from the mid-lengths to the ends.
- Keep some light pieces out: Leave brightness around the face or ends if you still want contrast.
- Rinse and condition: Rinse after the listed timing and condition your hair well.
Best for: Reverse balayage is best for softening overly blonde hair, adding depth, reducing harsh grow-out, or making light hair look richer.
Freehand methods work best when you do not rush. Use a mirror, keep sections clean, and start with fewer pieces. You can always add more color later, but fixing too much lightener is harder.
Blending & Specialized Placements
These methods create more planned color effects. Some add color to the ends, while others place different tones through the hair. They are still possible at home, but they need careful shade choice and clean sectioning.
13. Dip-Dye
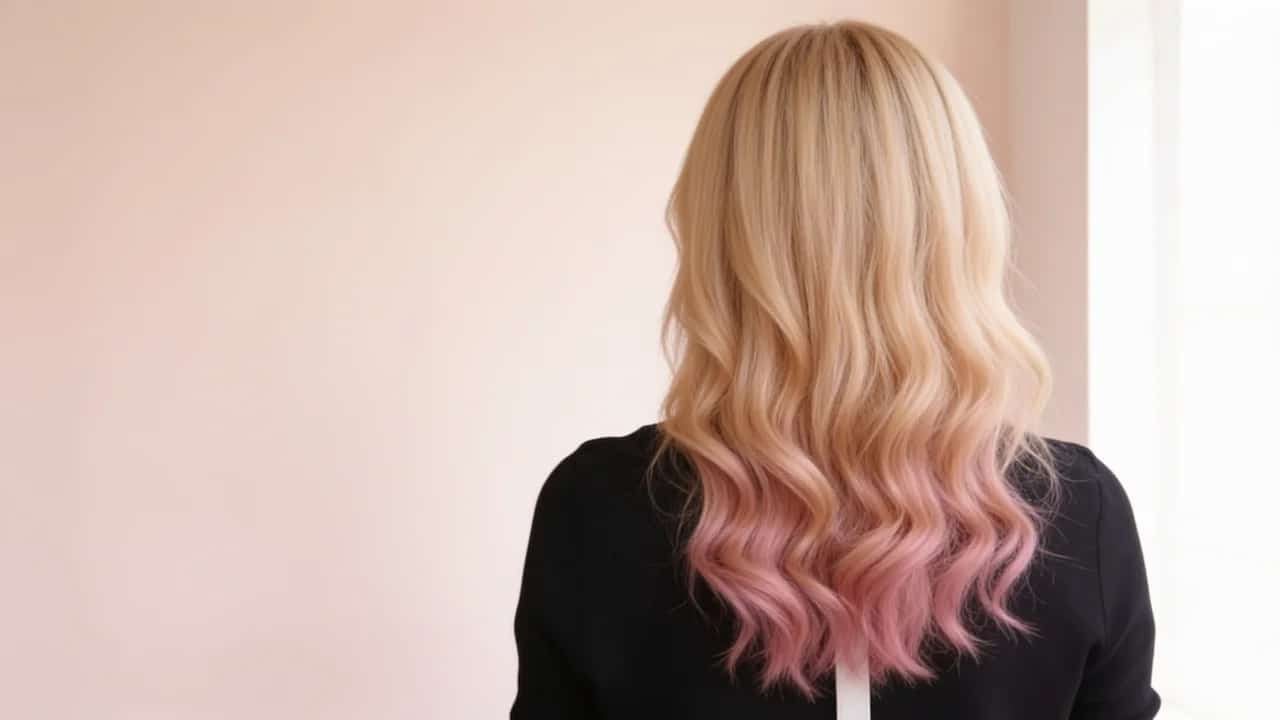
Dip-dye colors only the ends of the hair while leaving the roots and upper lengths untouched. It creates a stronger line of color than ombré, so it works well when you want a clear change at the ends.
Tools & Materials: semi-permanent color or dye kit, bleach kit if needed, gloves, tint brush, bowl, clips, foil, old towel, timer, and conditioner
Basic steps:
- Choose where the color begins: Clip your hair so both sides start at the same height.
- Lighten the ends if needed: Skip bleach if the color shows well on your current shade.
- Apply color to the ends: Coat each section fully so the color looks even.
- Process as directed: Follow the timing on the product and check the color as it develops.
- Rinse and condition: Rinse well, condition, and use low heat if you need to style.
Best for: Dip-dye is best for bold ends, fashion shades, or a noticeable change without coloring the full head.
14. Color Melt
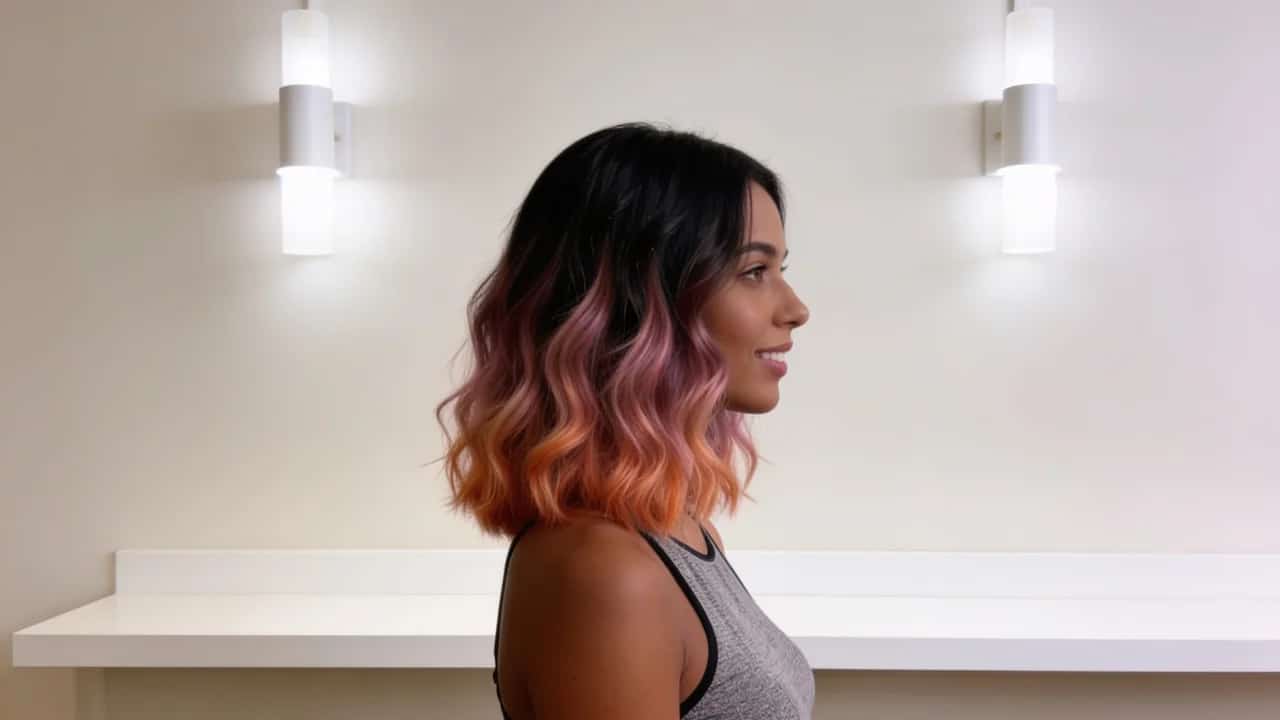
Color melt uses two or more shades that softly blend into one another. At home, it works best with shades in the same color family, such as dark brown to medium brown or copper to warm blonde.
Tools & Materials: two or more hair color shades, developer if required, gloves, tint brushes, bowls, clips, wide-tooth comb, timer, and conditioner
Basic steps:
- Choose related shades: Pick colors that sit close together so the result looks smooth.
- Section your hair: Divide the hair into clean parts before mixing color.
- Apply the darkest shade first: Place it near the roots or upper lengths.
- Add the lighter shade: Apply it through the mid-lengths and ends.
- Soften where shades meet: Use your fingers, a brush, or a comb to blur the transition before processing.
Best for: Color melt is best for soft color shifts, refreshing grown-out color, adding depth, or creating a multi-tone look with no strong lines.
15. Bronde
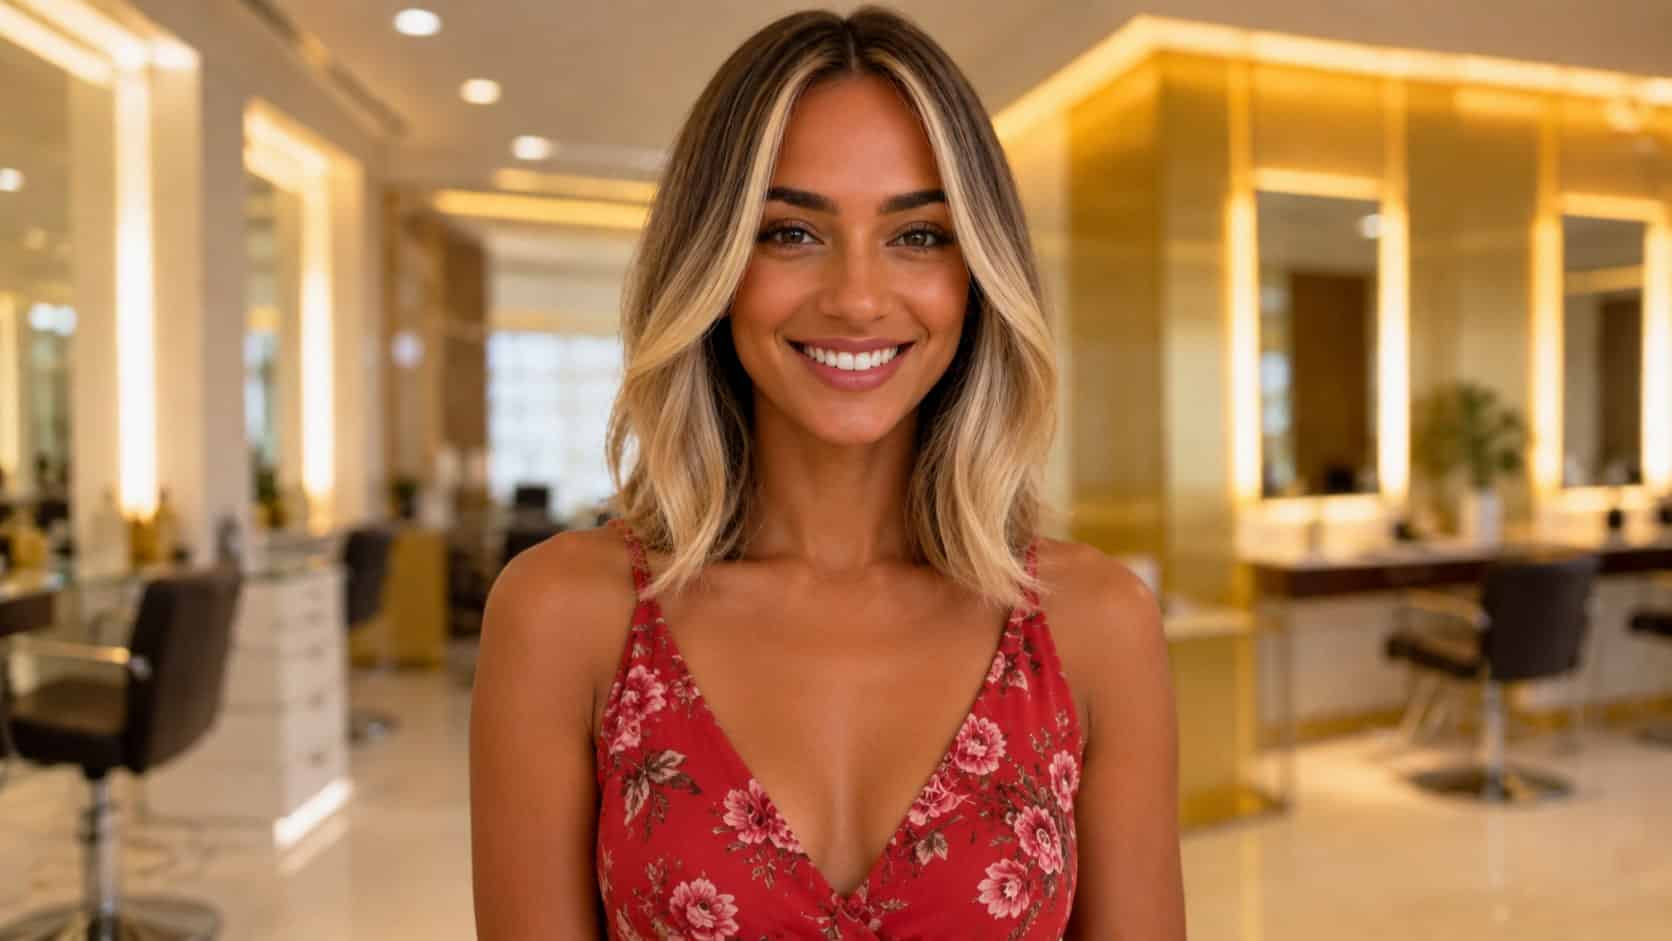
Bronde mixes brown and blonde tones for a color that sits between both shades. At home, it works best on light brown or medium brown hair when you want a soft, warmer change.
Tools & Materials: bronde color kit, highlighting kit if needed, developer, gloves, tint brush, clips, toner or gloss if included, timer, and conditioner
Basic steps:
- Keep your base color: Do not color every strand. Leave some natural brown pieces for depth.
- Add lighter pieces: Use a kit to brighten selected sections around the face and top layer.
- Keep the lift gentle: Aim for caramel, beige, honey, or soft blonde tones instead of a pale blonde.
- Tone if needed: Use toner or gloss to reduce unwanted orange or yellow tones.
- Condition well: Finish with a conditioner or mask to help the hair feel softer.
Best for: Bronde is best for brunettes who want a lighter look without going fully blonde. It also works well for warmth, depth, and soft dimension.
Special placement methods look best when the shades work together. Before choosing these hair colors, consider your current hair shade, hair health, and how much upkeep you want.
Hair Color Types You Should Know
Before you choose a method, you need to know what kind of color you are using. The product type matters because permanent dye, gloss, temporary color, and plant-based dye do not work the same way.
Two people can use the same shade name and still get different results. That is why these types of hair color are worth checking before you start.
| Type of Hair Color | What It Means | Best For | Important Note |
| Permanent hair color | A long-lasting dye that changes the hair more deeply | Gray coverage or a deeper color change | Repeated use on the same hair can make the ends look dark or dry |
| Demi-permanent hair color | A softer color that fades over time | Shine, tone, gray mixing, or going darker | It does not usually make hair lighter |
| Semi-permanent hair color | A temporary color that fades with washing | Short-term shade changes, fashion colors, and color refreshes | It shows best on light or pre-lightened hair |
| Temporary hair color | A color that coats the outside of the hair and washes out fast | One-day color, quick root fixes, or trying a shade first | It may transfer onto towels or clothes |
| Ammonia-free hair color | A dye made without ammonia, though it can still process the hair | People who want a gentler-feeling formula | Always read the box and do a patch test |
| Plant-based hair dye | A dye that adds tone by coating the hair with plant-based color | Softer color changes or plant-based routines | Some plant dyes can be hard to change later |
The right product helps you get closer to the result you want. Once you understand these types of hair color, choosing a technique becomes much easier.
Common Hair Coloring Mistakes to Avoid
Even a simple color can go wrong if the prep is rushed. These mistakes are common because they happen before the color even touches the hair.
- Skipping the strand test: It shows how your hair reacts to the color. It also helps you check timing, final shade, and dryness before coloring your full head.
- Picking a shade too far from your current color: A big color jump is harder to control at home. For safer results, stay close to your current shade unless you are using temporary color.
- Applying color in messy sections: Large sections can leave hidden patches. Smaller sections help the product coat the hair evenly from root to end.
- Overlapping permanent dye on the ends: Repeated permanent color on the same lengths can make the ends look dark, flat, or dry. Focus permanent color on new growth when possible.
- Using bleach on weak hair: Lightener can make dry or damaged hair worse. If your hair breaks, feels gummy, or has many layers of old color, avoid using bleach at home.
- Ignoring the timer: Leaving the dye on longer does not always improve the result. It can cause extra dryness, a darker color, or an uneven tone.
- Skipping skin protection: Hair dye can stain the hairline, ears, neck, and hands. Gloves, petroleum jelly, and an old towel make cleanup easier.
A little prep can save you from most color problems. When in doubt, test first, work in clean sections, and avoid doing too much in one session.
Aftercare Tips for Color-Treated Hair
Color-treated hair needs gentle care after dyeing. The right routine can help reduce fading, dryness, brassiness, and dullness between color sessions.
| Aftercare Tip | Why It Helps | Simple Way to Do It |
| Use color-safe shampoo | Helps reduce fading | Choose a shampoo made for dyed hair |
| Wash less often | Slows color washout | Space out wash days if your scalp allows it |
| Rinse with cool water | Helps protect shine | Use cool or lukewarm water instead of hot water |
| Use heat protection | Reduces dryness from styling | Apply before blow-drying, curling, or straightening |
| Add a weekly mask | Helps dry hair feel softer | Use a conditioner or mask once a week |
| Use purple or blue shampoo only when needed | Helps control yellow or orange tones | Use it only when your tone looks brassy |
| Try a gloss | Refreshes shine and tone | Use a clear or tinted gloss between dye sessions |
Aftercare does not need to be complicated. Keep your routine simple, use gentle products, and adjust it based on how your hair looks and feels.
Frequently Asked Questions
Can I mix two box dyes at home?
It is safer to avoid mixing two different box dyes unless the brand says you can. Formulas may use different developers, pigment levels, and timing. If you want a custom shade, choose a ready-made color that closely matches your goal, or ask a stylist for help.
How do I choose the right hair color shade for home use?
Stay within one or two shades of your current color for the safest result. Check the side of the box, not only the model photo. Those result charts show how the shade may look on different starting hair colors, which matters a lot.
What should I do if hair dye stains my skin?
Wipe the stain as soon as you notice it with a damp cloth. A little mild cleanser may help around the hairline. Do not scrub hard, especially near your face. Next time, apply petroleum jelly around your hairline before coloring.
Why did my hair color turn darker than expected?
Hair color can look darker if your hair is porous, dry, or already colored. Overlapping dye on the ends can also deepen the shade. Next time, apply permanent color mainly to new growth and use gloss or conditioner on the ends.
Is it okay to color damaged hair at home?
It depends on the damage. If your hair feels dry but strong, use a gentle gloss or semi-permanent color. If it snaps, feels gummy, or has heavy bleach damage, avoid dyeing it at home. Focus on repair first, or see a stylist.
Final Takeaways
The best way to choose between different hair coloring techniques is to start with your goal. Gray roots, dull color, faded tone, lighter ends, and short-term color tests all need different products.
For beginner-friendly at-home color, start with all-over color, root touch-up, gloss, semi-permanent color, temporary color, or dip-dye. For highlights, babylights, balayage, ombré, sombré, reverse balayage, color melt, and bronde, keep the change small and follow the kit directions closely.
Once you understand the main types of hair color, it gets easier to choose a method that fits your hair today. Test first, use clean sections, follow the timer, and stop if your scalp burns or your hair feels weak.
Have you tried coloring your hair at home before? Share your result, favorite method, or biggest hair dye mistake in the comments.