

If you’ve ever scrolled through skincare videos and wondered how some people’s skin looks like it’s literally made of glass, you’re not alone.
I’ve been there too, staring at my phone thinking, is that even real? The good news is, glass skin isn’t just for K-beauty influencers. With the right routine, most of us can achieve it, no filter needed.
I’m going to walk you through what glass skin is, how to achieve it with a simple glass skin routine, the best ingredients, AM vs. PM tips, skin-type advice, and how long it takes to see results.
If you’re a total beginner or looking to upgrade your current routine, I’ve got you covered.
What Is Glass Skin?
Glass skin is more than just a trend; it’s a skincare goal. The term describes skin that looks smooth, clear, deeply hydrated, and almost reflective, like a polished pane of glass.
The concept comes from Korean skincare culture, where the focus has always been on achieving healthy, well-hydrated skin through gentle, layered care rather than harsh treatments.
Many confuse glass skin with dewy skin or the “glazed donut” look. Dewy skin appears fresh and moist, glazed donut skin is shiny and wet-looking, while glass skin is ultra-smooth, radiant, and glows from within.
The honest truth? Genetics and age play a role. But with the right routine, almost anyone can move their skin closer to that glass-like finish. It’s not about being perfect; it’s about being consistent.
Step by Step: Glass Skin Routine
If you want to know how to get glass skin, this step-by-step routine breaks down exactly what to do and in what order.
Step 1: Double Cleanse (AM & PM)
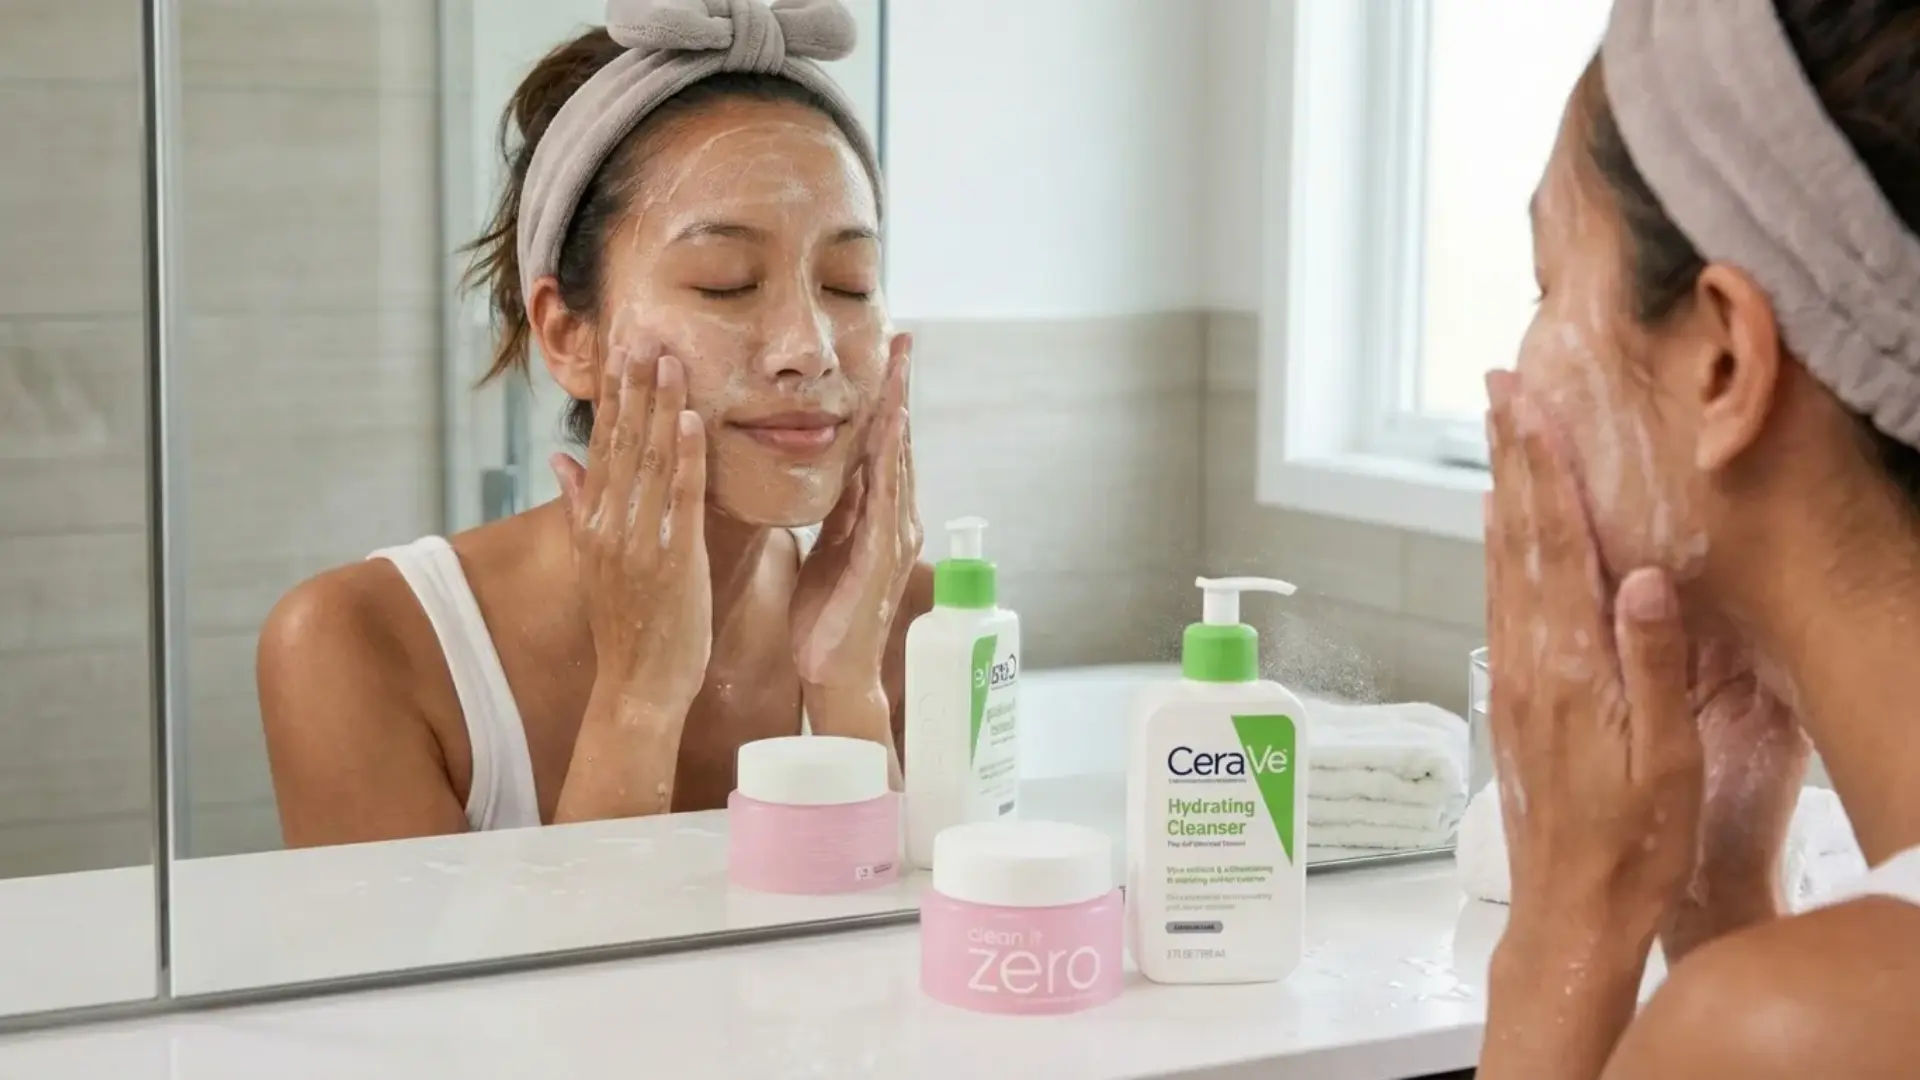
Start with an oil-based cleanser to melt away sunscreen, makeup, and daily grime. Follow it up with a water-based cleanser to wash away what’s left.
This two-step cleanse makes sure your skin is truly clean, not just surface-level clean. When your pores are clear, every product you apply after absorbs better. Think of double cleansing as the essential base of your routine.
Use it: Every morning (water-based only) and every night (oil-based + water-based).
Beginner picks: Banila Co Clean It Zero (oil cleanser), CeraVe Hydrating Cleanser (water-based)
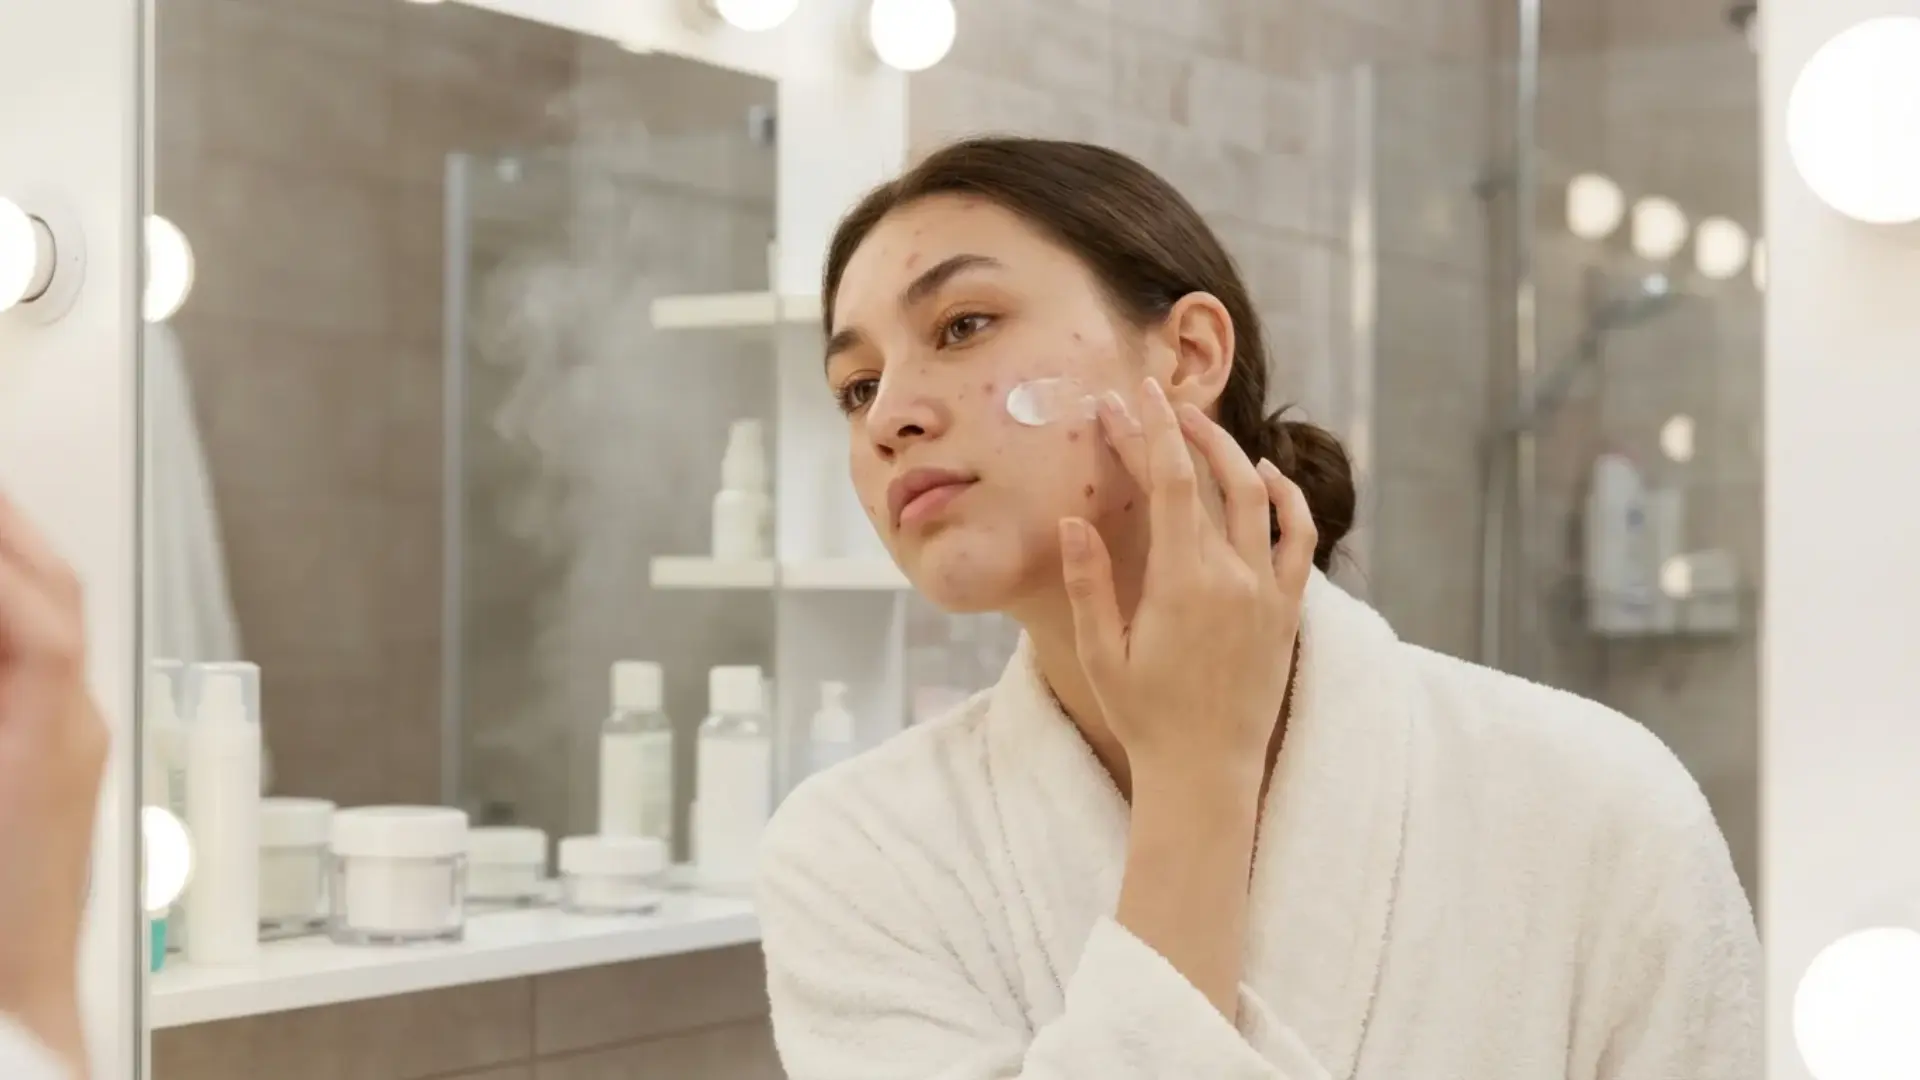
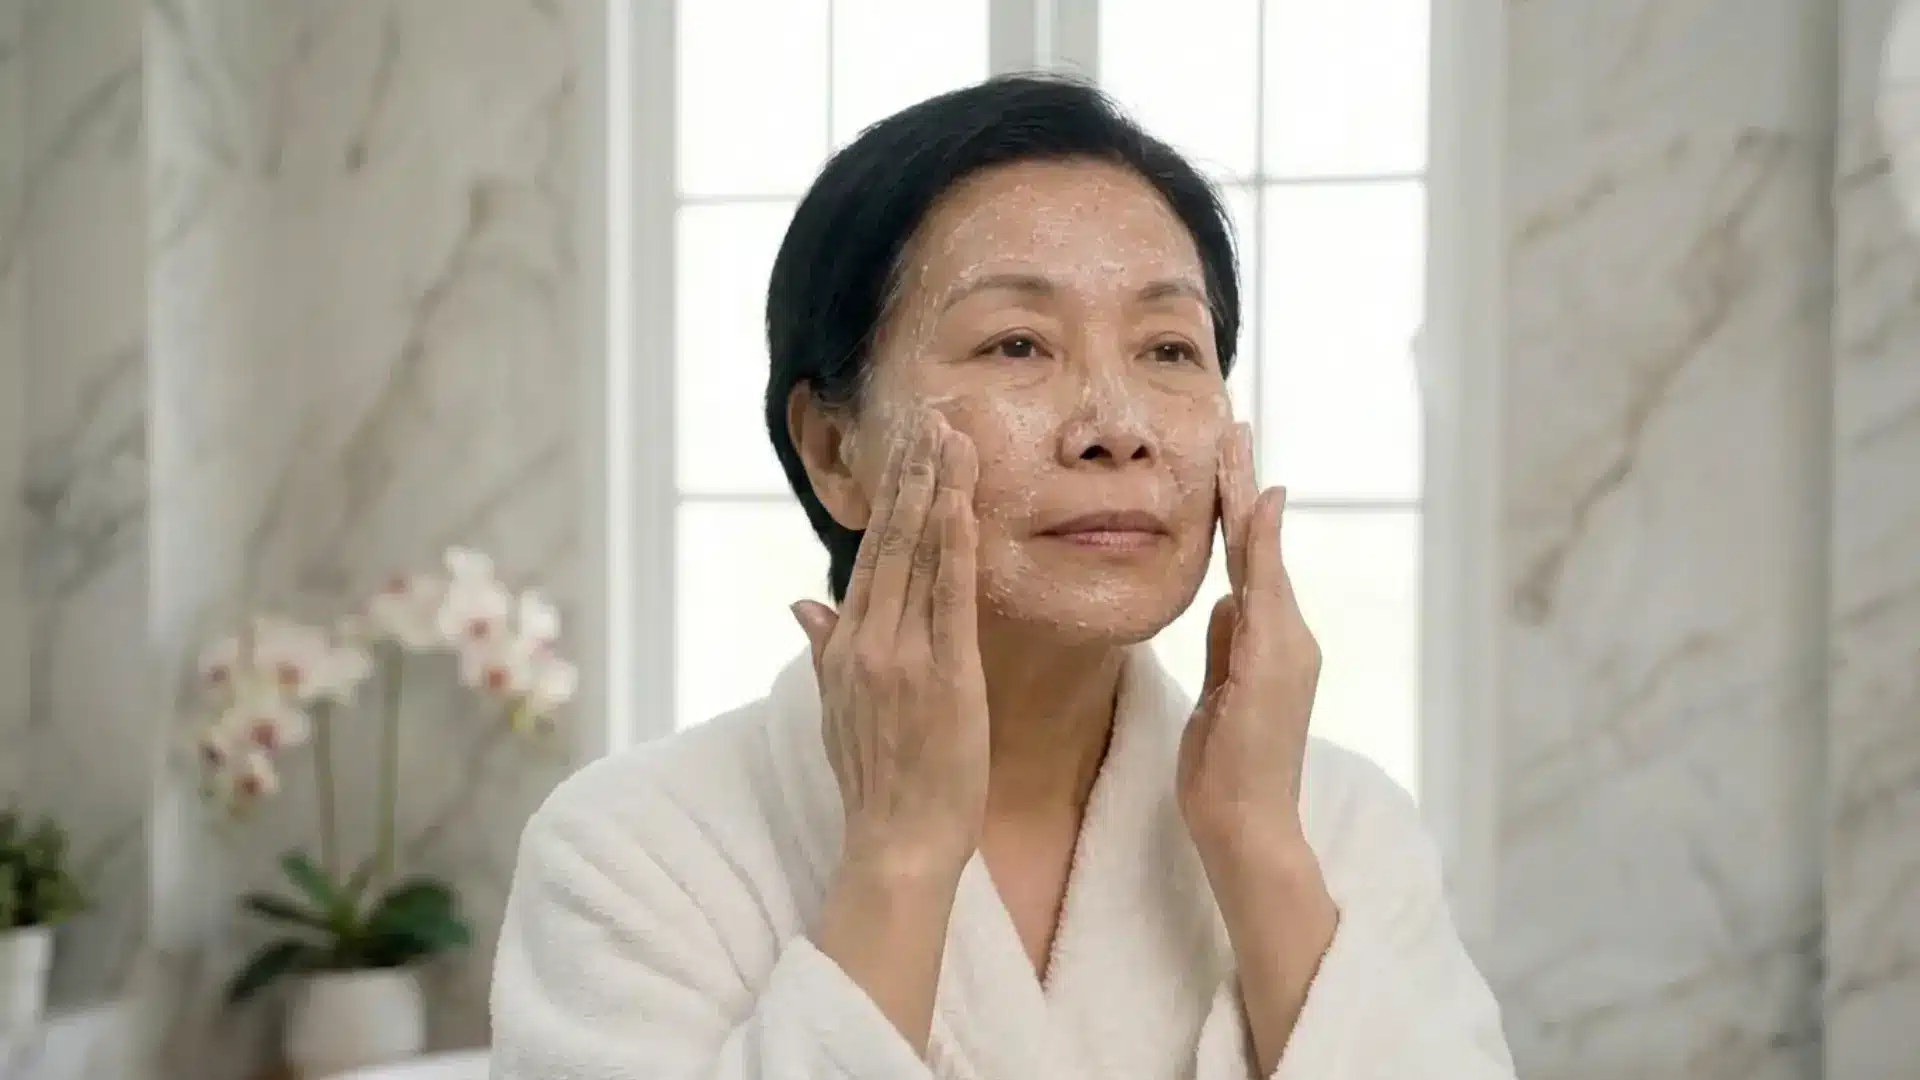
Step 2: Gentle Exfoliation (2–3x a Week)
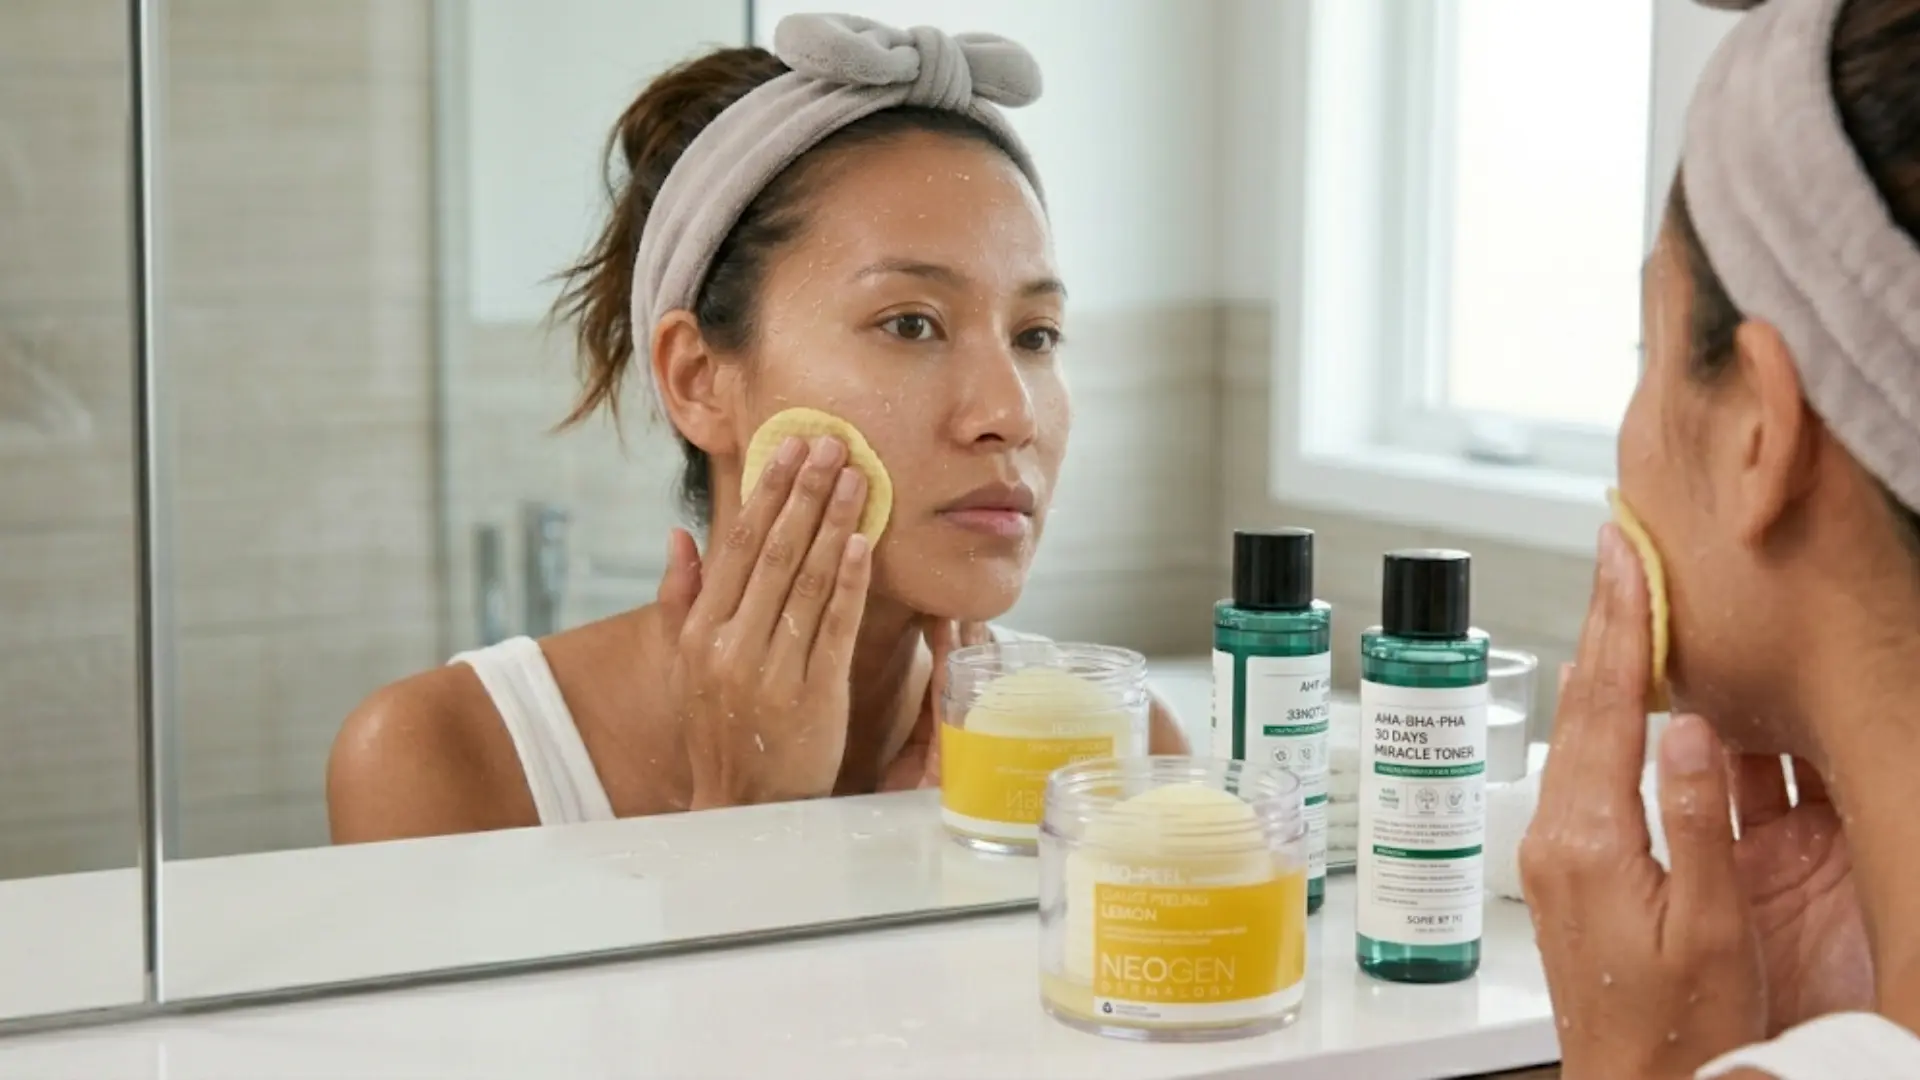
Dead skin cells are the number one reason skin looks dull instead of glassy. AHAs (like glycolic acid) work on the surface to brighten, BHAs (like salicylic acid) go deeper into pores, and PHAs are the gentlest option for sensitive skin.
Use one 2–3 times a week, no more. Over-exfoliating damages your skin barrier and actually makes achieving glass skin harder, not easier.
Use it: PM only, 2–3 nights a week after cleansing.
Beginner picks: Some By Mi AHA BHA PHA Toner, Neogen Bio-Peel Gauze Pads
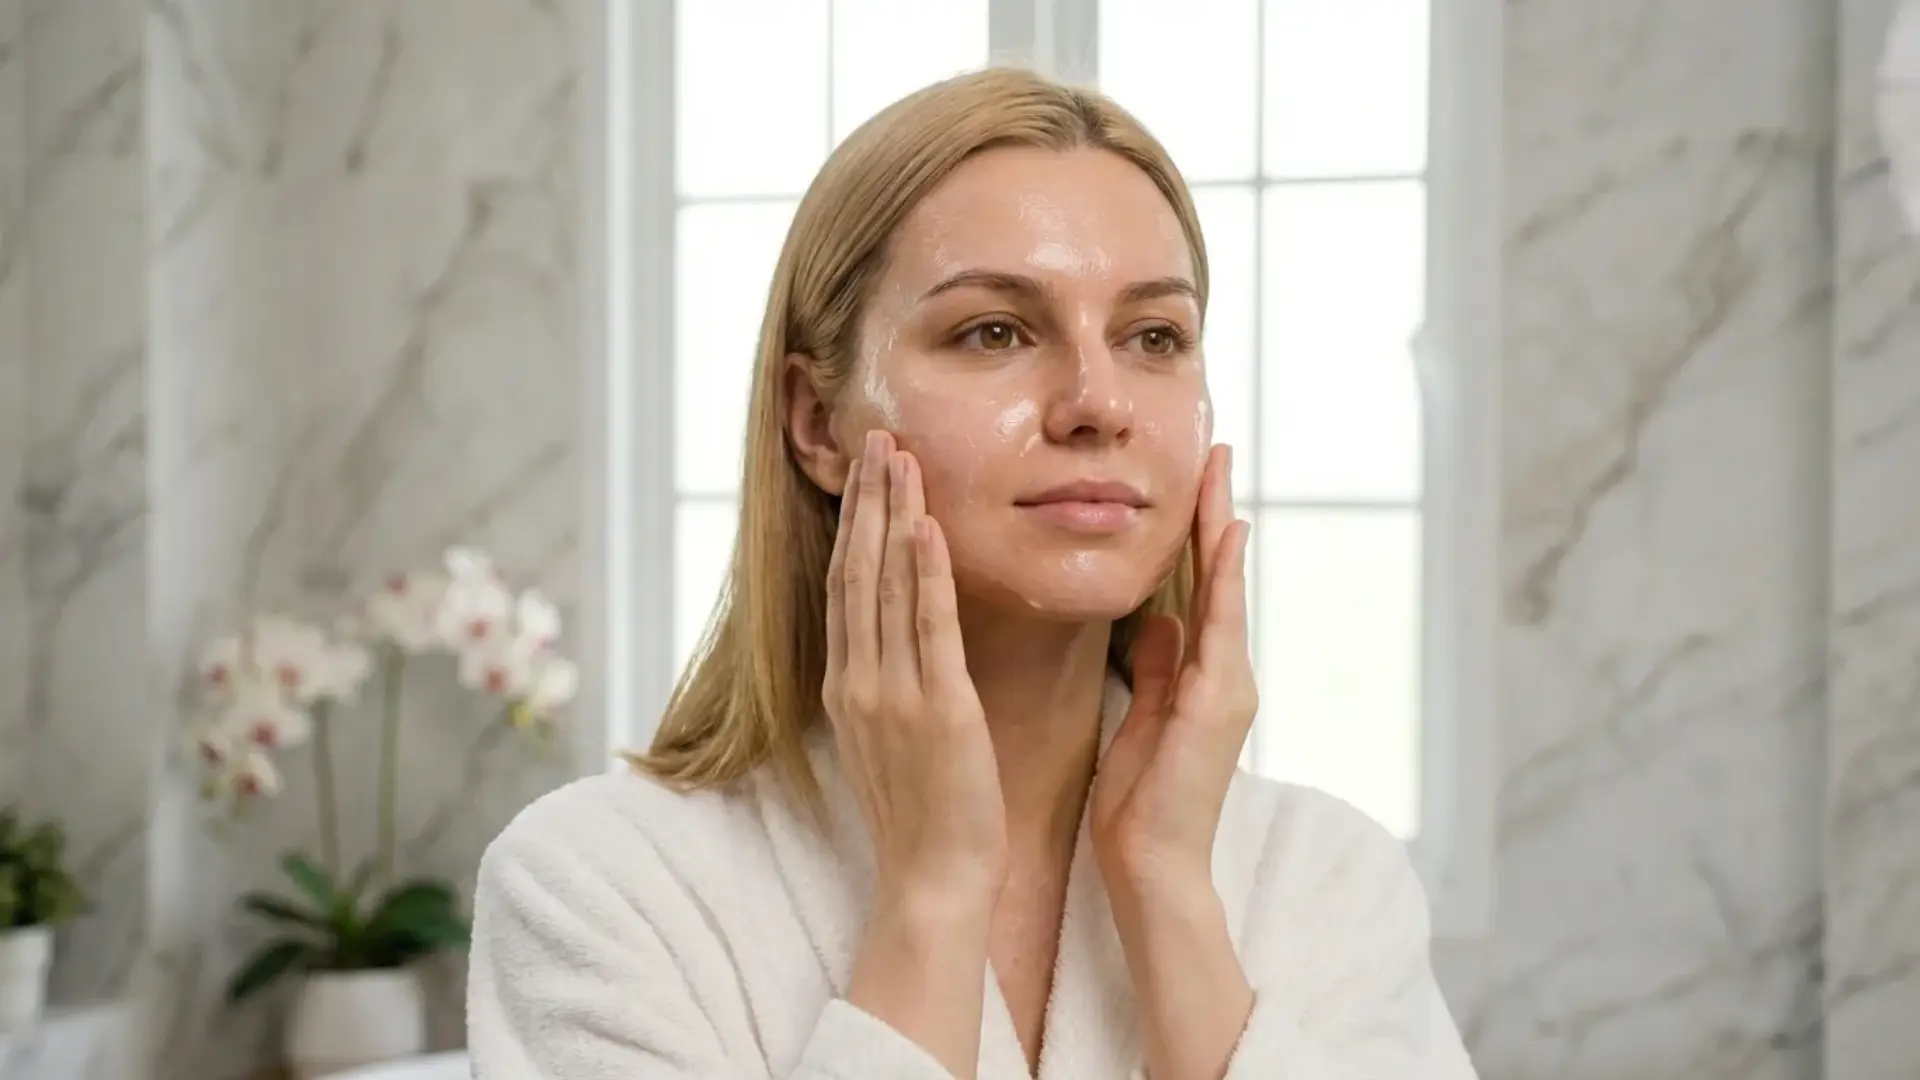
Step 3: Hydrating Toner
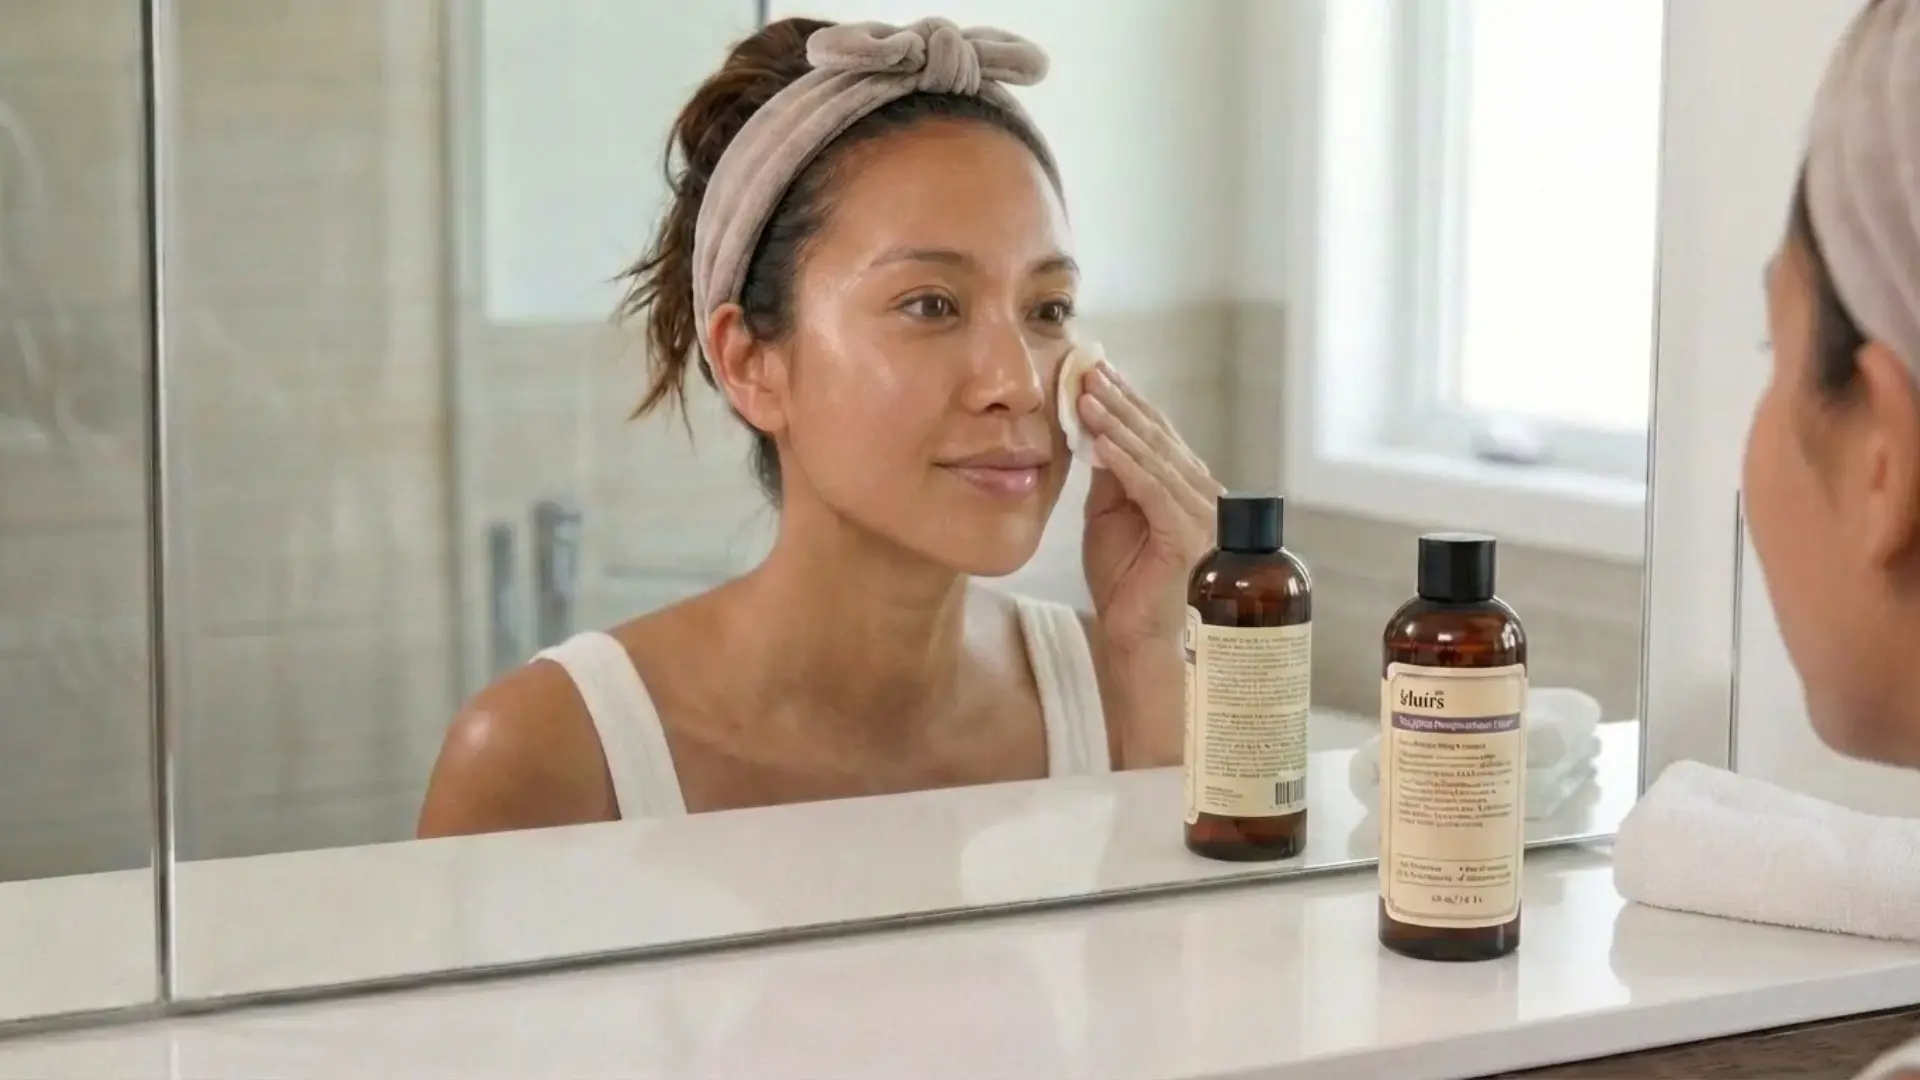
After cleansing, your skin is ready to absorb. A hydrating toner floods skin with lightweight moisture before heavier products go on.
This technique builds up deep, lasting hydration. Always apply thinner, water-like products first and work your way up to thicker textures throughout your routine.
Use it: Both AM and PM, right after cleansing.
Beginner picks: Klairs Supple Preparation Toner, Missha Time Revolution Essence
Step 4: Serums (Hyaluronic Acid, Vitamin C, Niacinamide)

Serums are where the real work happens. Hyaluronic acid pulls moisture into the skin and keeps it plump. Vitamin C brightens uneven tone and fades dark spots.
Niacinamide minimizes pores and controls oil. You don’t need all three at once. Start with one or two. If you layer them, apply the thinnest serum first and wait 30 seconds between layers for better absorption.
Use it: Vitamin C in the AM for brightening + SPF boost. Hyaluronic acid and niacinamide work well in both AM and PM.
Beginner picks: The Ordinary Hyaluronic Acid 2% + B5, COSRX Snail Mucin 96% Power Repairing Essence
Step 5: Eye Cream
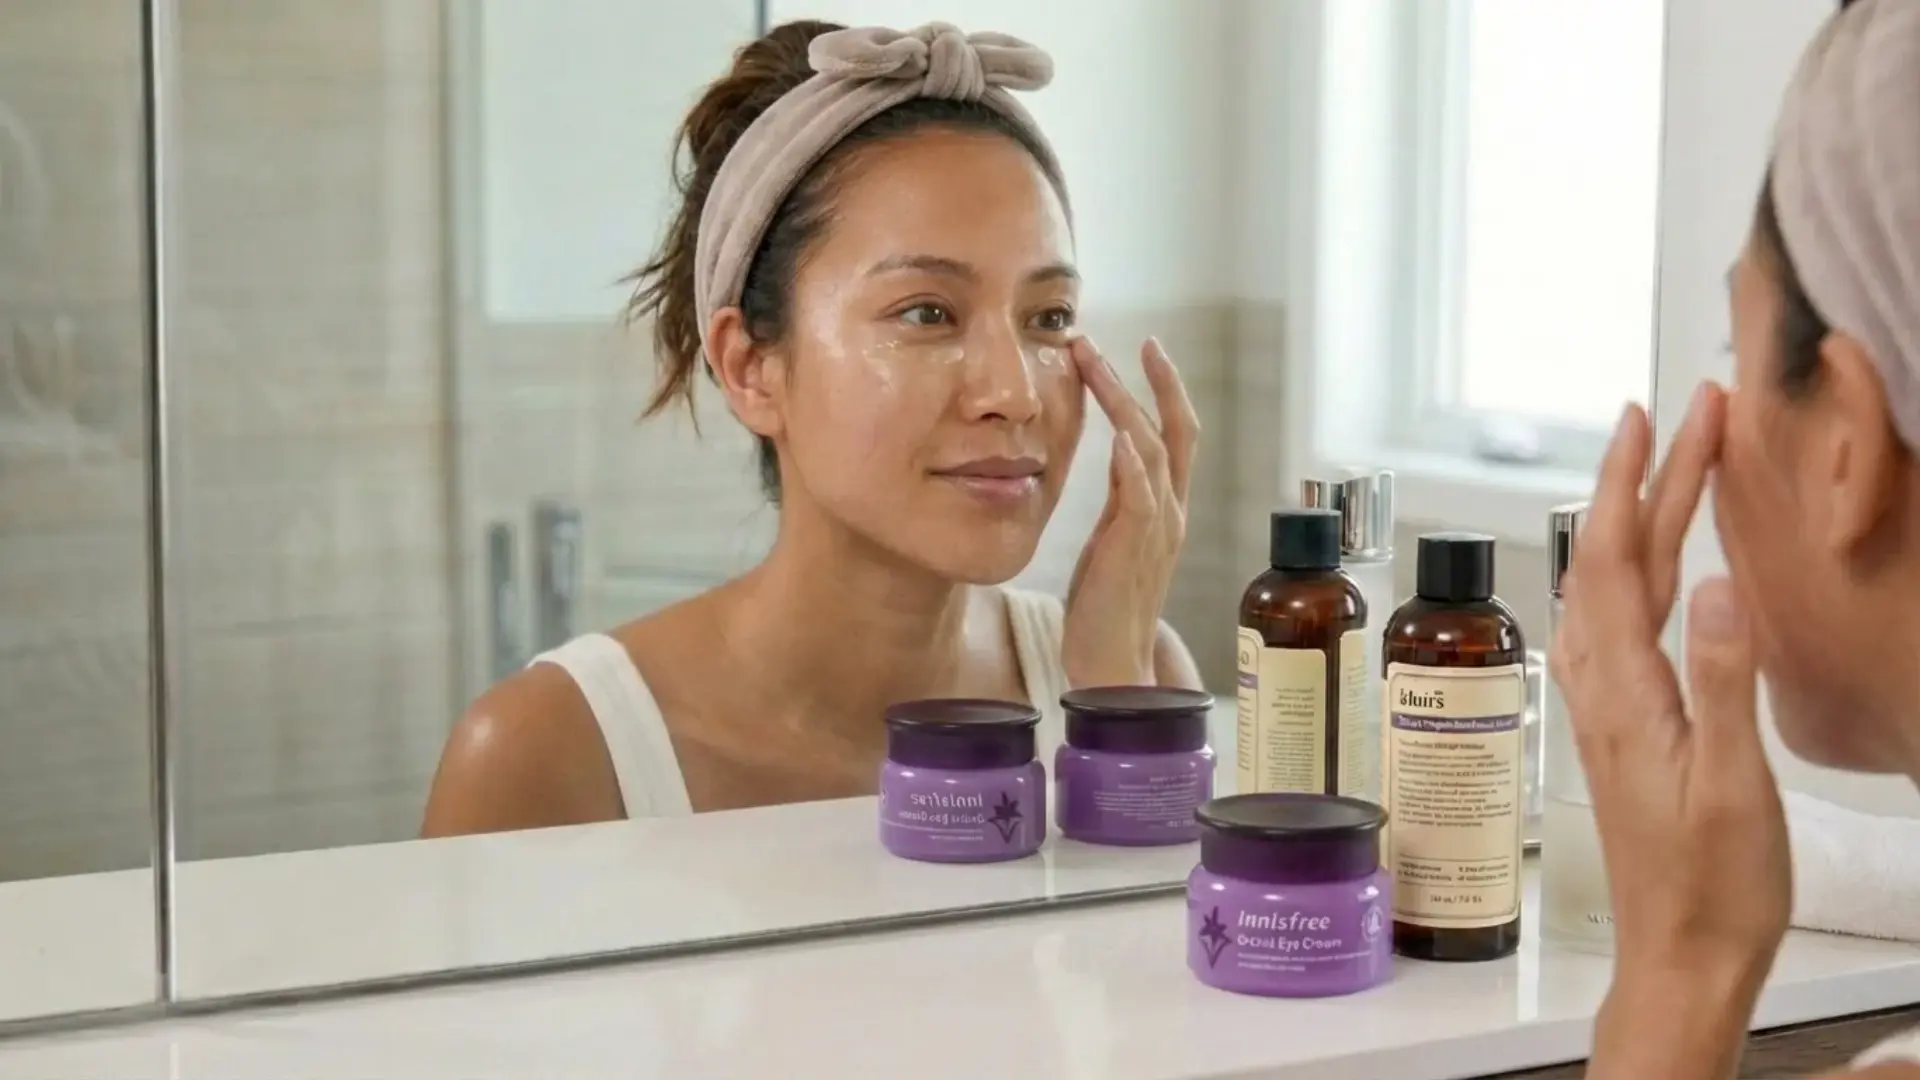
The skin around your eyes is the thinnest on your face, which means it shows dryness, puffiness, and fine lines faster than anywhere else. A good eye cream keeps this area hydrated and firm.
Look for peptides, caffeine, or hyaluronic acid on the label. Always use your ring finger to apply; it naturally uses the least pressure, so you’re not dragging or stressing that delicate skin.
Use it: Both AM and PM, after serum and before moisturizer.
Beginner picks: Innisfree Orchid Eye Cream, Kiehl’s Creamy Eye Treatment with Avocado
Step 6: Moisturizer
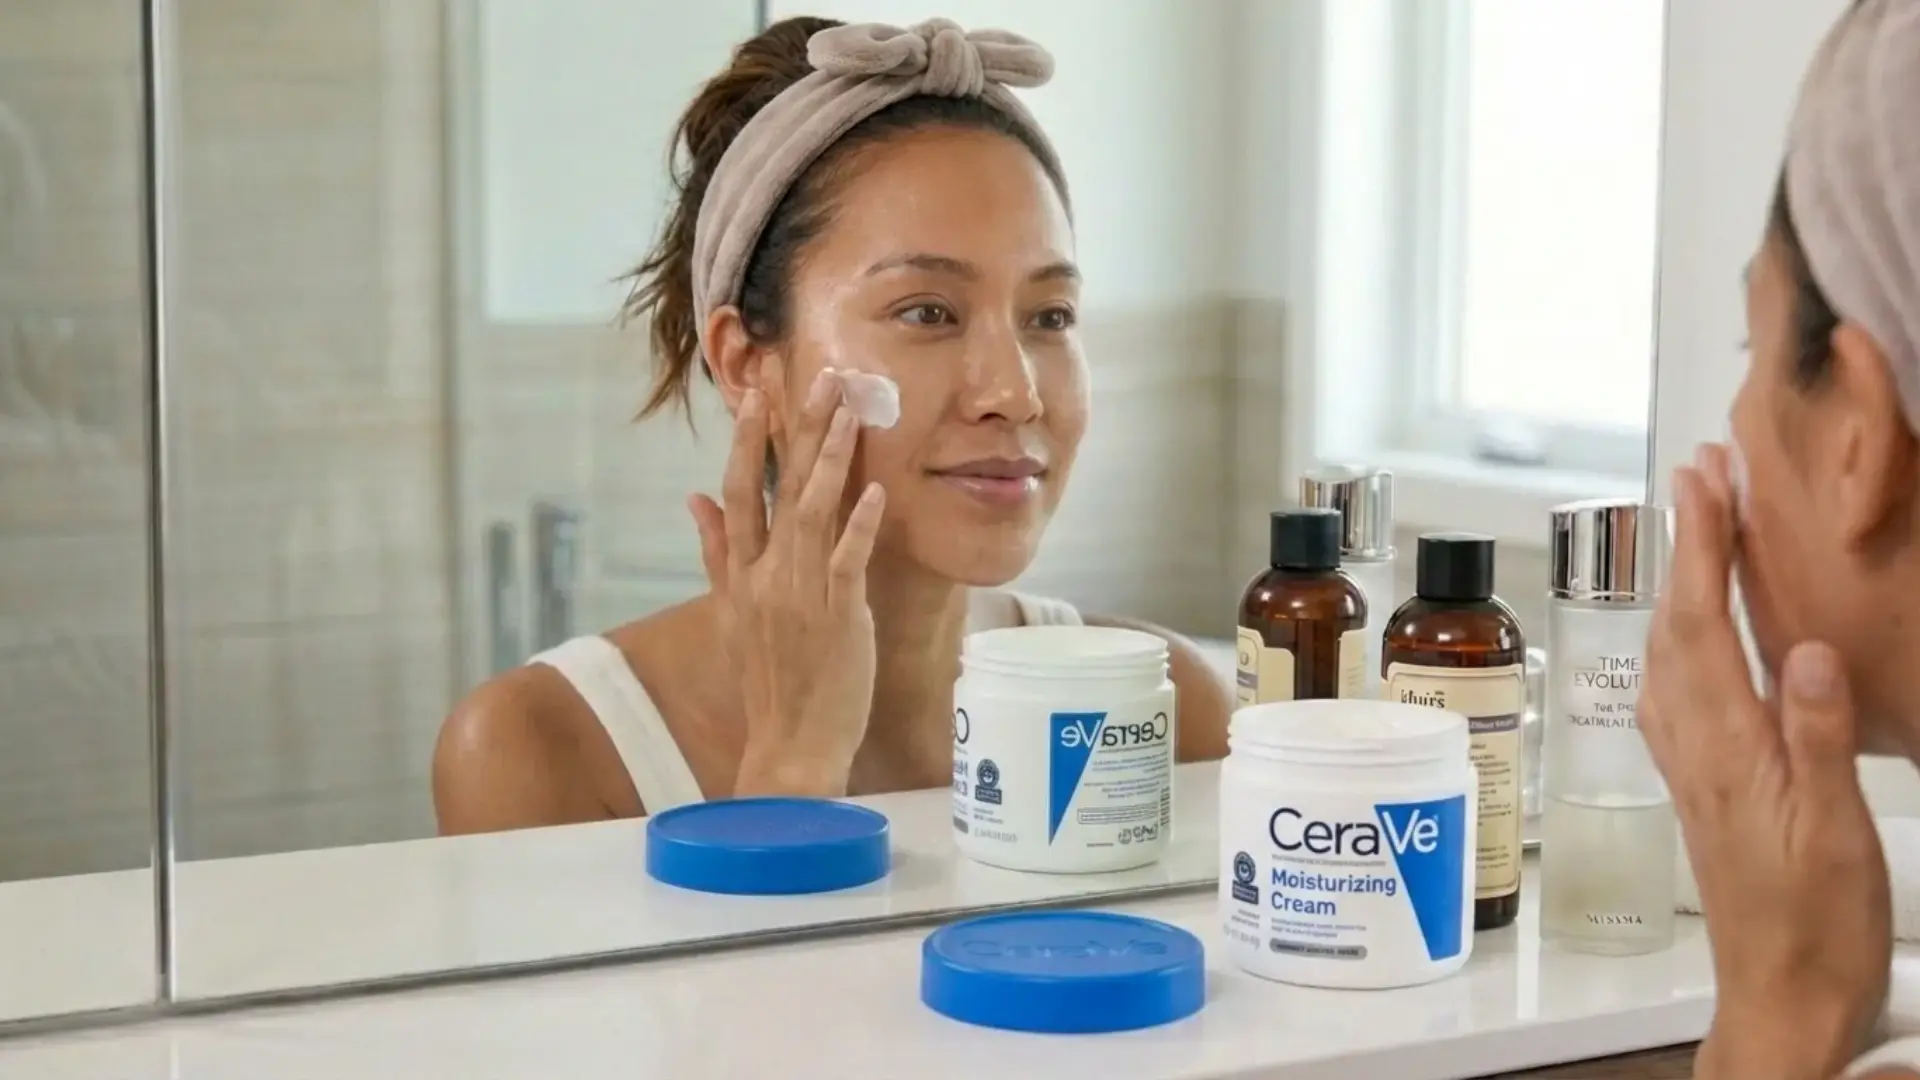
Even if your skin feels hydrated from your toner and serum, moisturizer is what locks everything in. Without it, all that hydration evaporates.
For glass skin, choose a lightweight, non-comedogenic formula if you’re oily, or a richer barrier-repairing cream if you’re dry. Look for ceramides or peptides on the ingredient list. Apply while your serum is still slightly damp for maximum absorption.
Use it: Both AM and PM as the final step before sunscreen.
Beginner picks: Laneige Water Bank Blue Hyaluronic Cream, CeraVe Moisturizing Cream
Step 7: Sunscreen (AM Only)
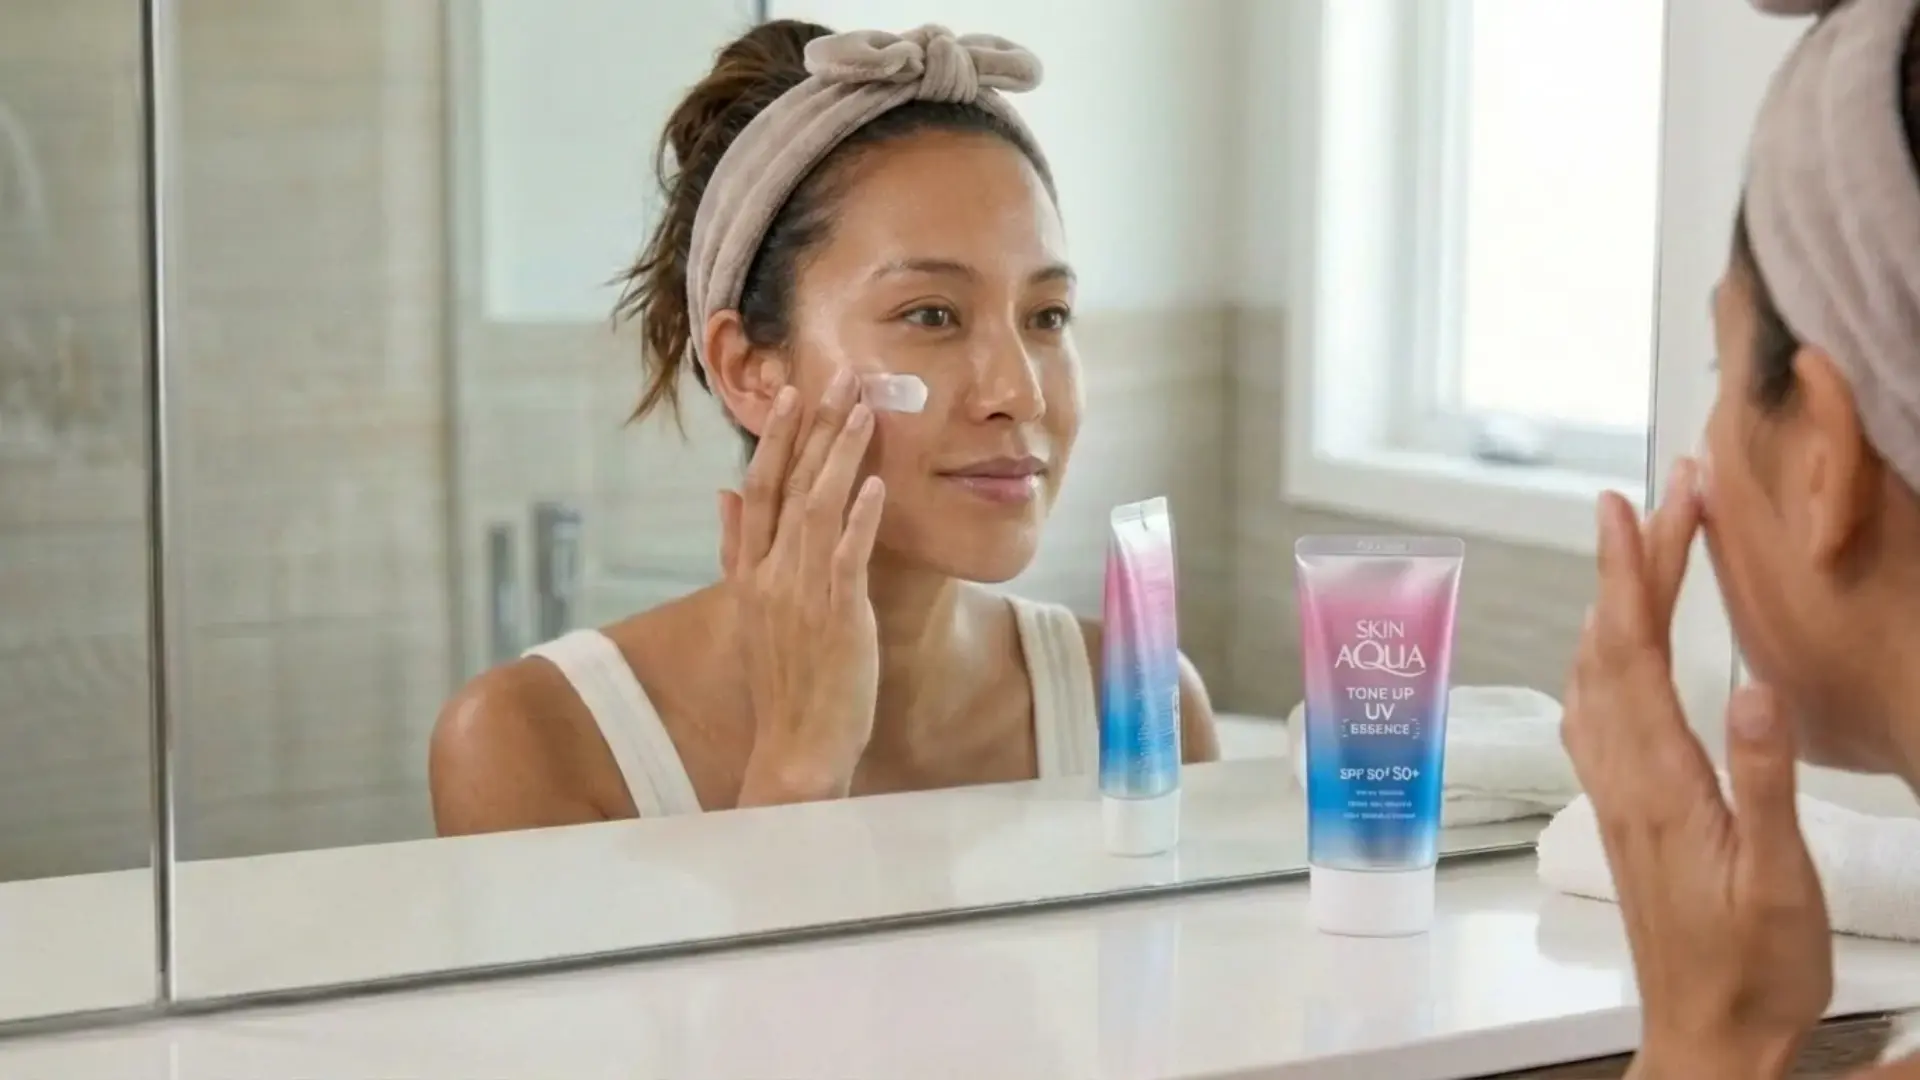
Sunscreen is the step most people skip, and it’s the one that matters most for long-term glass skin. UV damage breaks down collagen, causes dark spots, and dulls your complexion over time, undoing everything else in your routine.
Use a broad-spectrum SPF 30 or higher every single morning. Korean sunscreens are a fan favorite because they sit beautifully under makeup without pilling.
Use it: AM only, as the very last step. Never skip it.
Beginner picks: Skin Aqua Tone Up UV Essence SPF 50+, Round Lab Birch Juice Moisturizing Sunscreen
Healthy, radiant skin takes time and consistency. Expect hydration first, improved balance in two weeks, smoother texture by week four, and lasting glow after six weeks
Best Ingredients for Glass Skin
The right ingredients make a visible difference in how smooth, hydrated, and radiant your skin looks. Here’s what to look for:
| Ingredient | What It Does | Best For |
|---|---|---|
| Hyaluronic Acid | Draws moisture into the skin and keeps it plump and hydrated. | All skin types. |
| Niacinamide (Vitamin B3) | Minimizes pores, balances oil, evens tone, and strengthens the barrier. | Oily, combination, and acne-prone skin. |
| Snail Mucin | Hydrates deeply, supports barrier repair, and improves texture over time. | Dry, sensitive, and textured skin. |
| Vitamin C | Brightens dark spots, fades pigmentation, and boosts glow. | Dull or uneven skin tone. |
| Ceramides | Strengthen the skin barrier and lock in moisture. | Dry or sensitive skin. |
| Peptides | Support collagen and improve firmness and smoothness. | Mature or textured skin. |
Ingredients to Avoid: Alcohol-heavy formulas, strong fragrances, and harsh sulfates, as they strip moisture and weaken your skin barrier.
Glass Skin Routine for Different Skin Types
Since every skin type has different needs, your routine should reflect that. Here’s how to tailor yours.
1. Oily and Acne-Prone Skin
If your skin gets shiny quickly or breaks out often, your routine should focus on oil control without drying your skin out.
- Cleanse with a gentle foaming or gel cleanser
- Exfoliate with BHA 2–3x weekly to keep pores clear
- Apply a lightweight hydrating toner
- Use a niacinamide serum to control oil and minimize pores
- Finish with an oil-free gel moisturizer and sunscreen
When you balance oil rather than strip it, your skin will look clearer, smoother, and naturally glossy over time.
2. Dry and Flaky Skin

If your skin feels tight, rough, or dull, your routine should focus on deep hydration and strengthening your moisture barrier.
- Wash with a cream-based hydrating cleanser
- Exfoliate gently with a mild AHA once or twice weekly
- Layer a hydrating toner or essence generously
- Apply a hyaluronic acid serum
- Seal with a rich ceramide moisturizer and sunscreen
With consistent moisture and gentle care, dry skin becomes plumper, softer, and visibly more radiant.
3. Combination Skin
If your skin is oily in some areas and dry in others, your routine should balance hydration without overwhelming either zone.
- Cleanse with a gentle low-pH cleanser
- Exfoliate oily areas with BHA as needed
- Apply a balancing hydrating toner all over
- Use a lightweight serum suited to your main concern
- Finish with a gel-cream moisturizer and sunscreen
Targeting each area properly helps your skin look even, smooth, and healthy without feeling greasy or dry.
4. Sensitive Skin

If your skin tends to react easily or frequently turns red, prioritize soothing and barrier protection above all else.
- Use a fragrance-free, gentle cleanser
- Exfoliate with PHA once weekly only
- Apply a soothing toner with calming ingredients like centella or green tea
- Use a ceramide or barrier-repair serum
- Finish with a barrier-repair moisturizer and mineral sunscreen
When you consistently protect and soothe your skin, the glow comes naturally, without irritation or flare-ups.
5. Mature Skin
If you notice fine lines, loss of firmness, or changes in texture, your routine should focus on hydration, smoothness, and collagen support.
- Cleanse with a hydrating, non-stripping formula
- Exfoliate gently once weekly
- Layer a hydrating essence
- Apply a peptide or low-strength retinal serum
- Finish with a nourishing moisturizer and daily sunscreen
Pick the routine that fits your skin, stay consistent, and your skin will improve safely without compromising your barrier.
Common Mistakes That Prevent Glass Skin
Your routine may not work because of small daily habits that slowly weaken your skin barrier and reduce your glow.
- Over-Exfoliating: Exfoliating too often damages your barrier and causes irritation, redness, and breakouts.
- Skipping Sunscreen: Not wearing SPF daily leads to pigmentation, dullness, and collagen breakdown.
- Too Many Actives: Mixing strong ingredients together can overwhelm and sensitize your skin.
- Harsh Cleansers: Stripping cleansers remove natural oils, leaving skin tight and reactive.
- Inconsistency: Frequent changes in products prevent your skin from showing real improvement.
Correcting these simple habits can quickly improve your skin’s balance, helping you achieve a smoother, healthier, glass-like glow.
Final Thoughts
Getting glass skin isn’t about having perfect genetics or spending a fortune on products; it really comes down to consistency, hydration, and giving your skin the right ingredients in the right order.
Some steps, like double cleansing and layering a good serum, can make a noticeable difference within just a few weeks.
The key is to start simple, be patient, and listen to your skin. You don’t need a ten-step routine overnight. Pick what works for your skin type, stick with it, and build from there.
I genuinely hope this glass skin routine guide helps you feel more confident in your skincare travel. Ready to start glowing? Pick one step from this guide and try it tonight; your skin will thank you.